
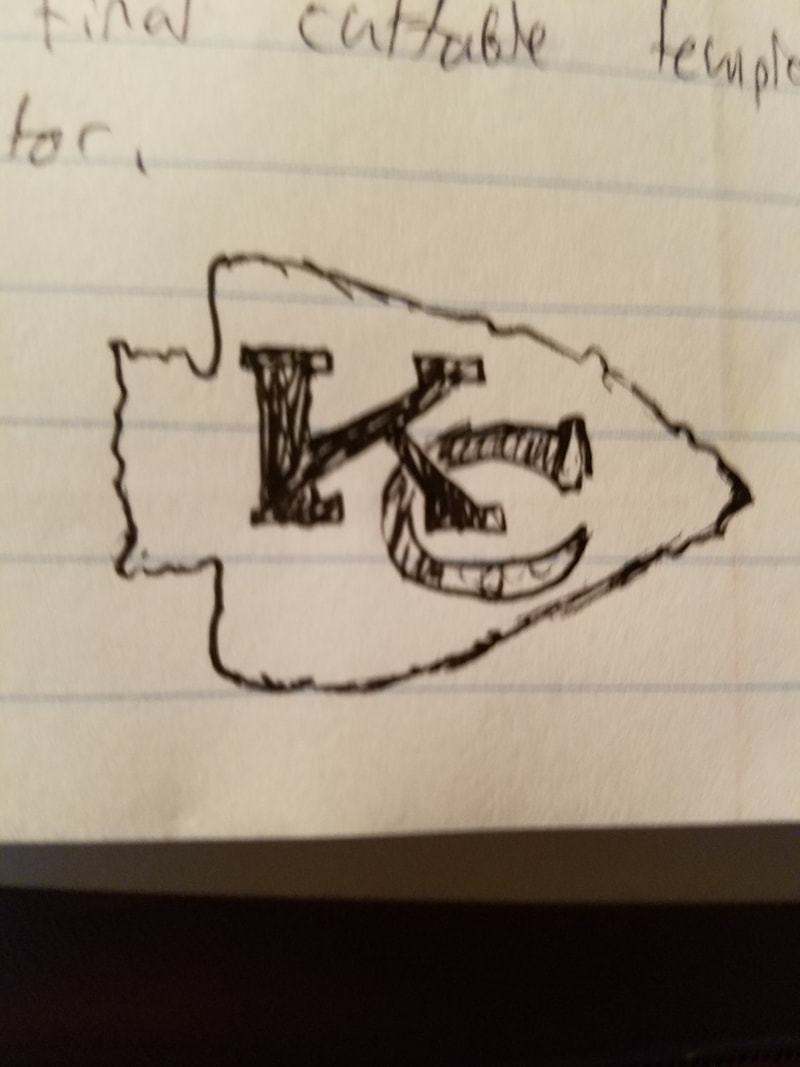
Documentation and Sketches
When I started this vinyl project I had the idea of making a Waunakee logo with the words "Track and Field" underneath it, because I'm in track and I thought it would make a cool logo. After finding and attempting to create the logo I encountered some issues. When I broke apart the logo into the different colors for cutting, it simply would not cooperate and created very difficult shapes to cut and apply. Due to these issues, I was unable to continue with that design, so I decided to make the Kansas City chiefs logo because it's my second favorite football team and it's appropriate for my skill level. After I selected this logo, I completed all of the necessary Illustrator work and proceeded to cut and apply my decal.

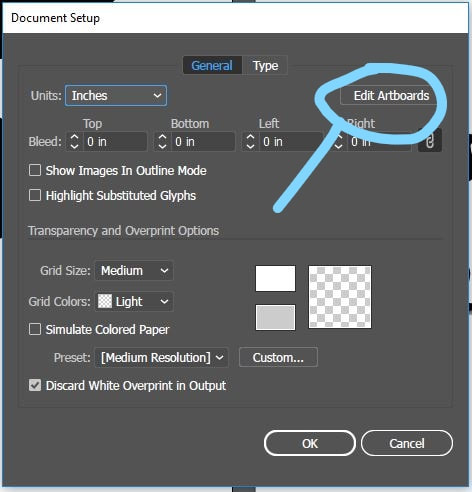
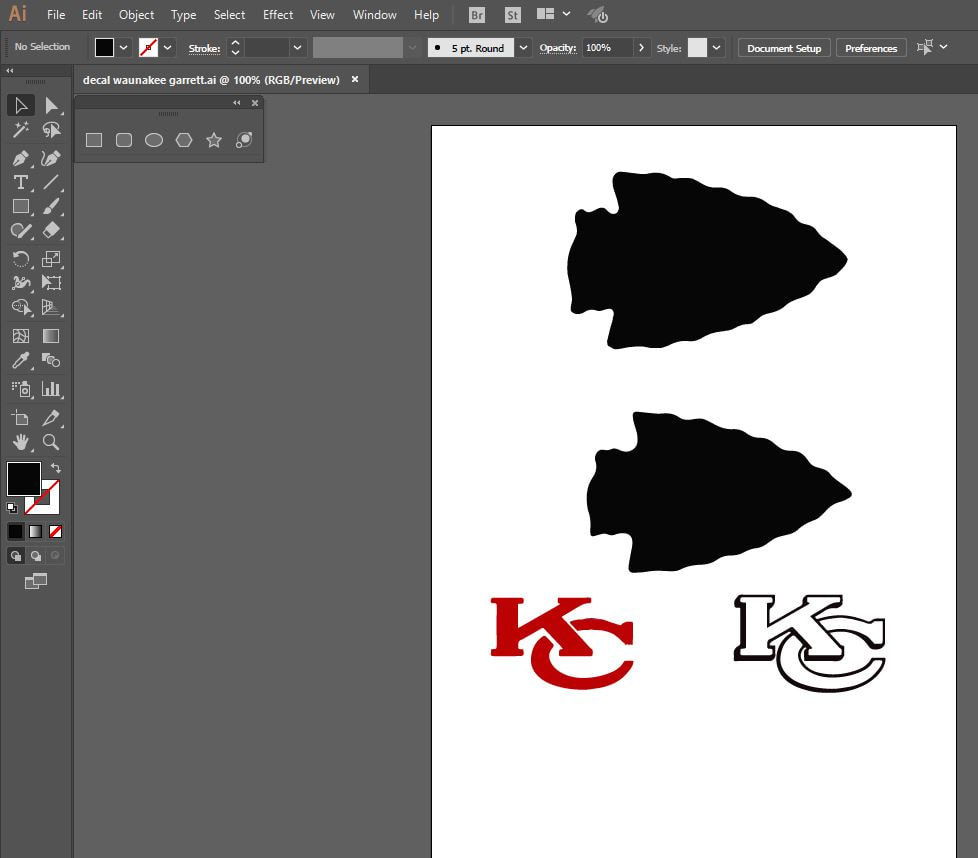
How the Project was Completed
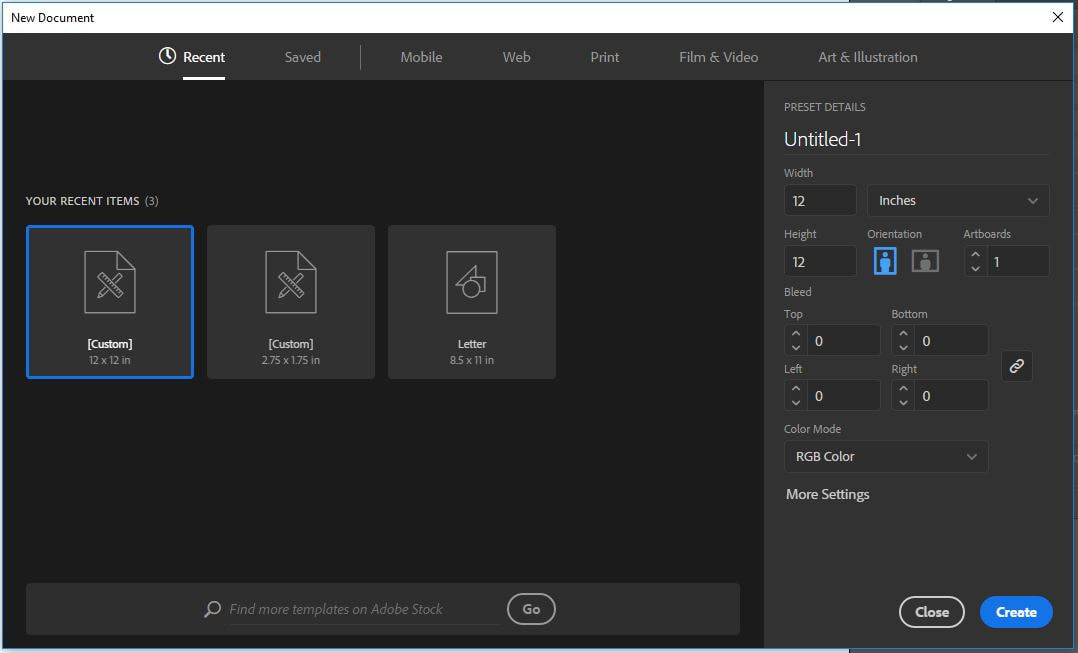
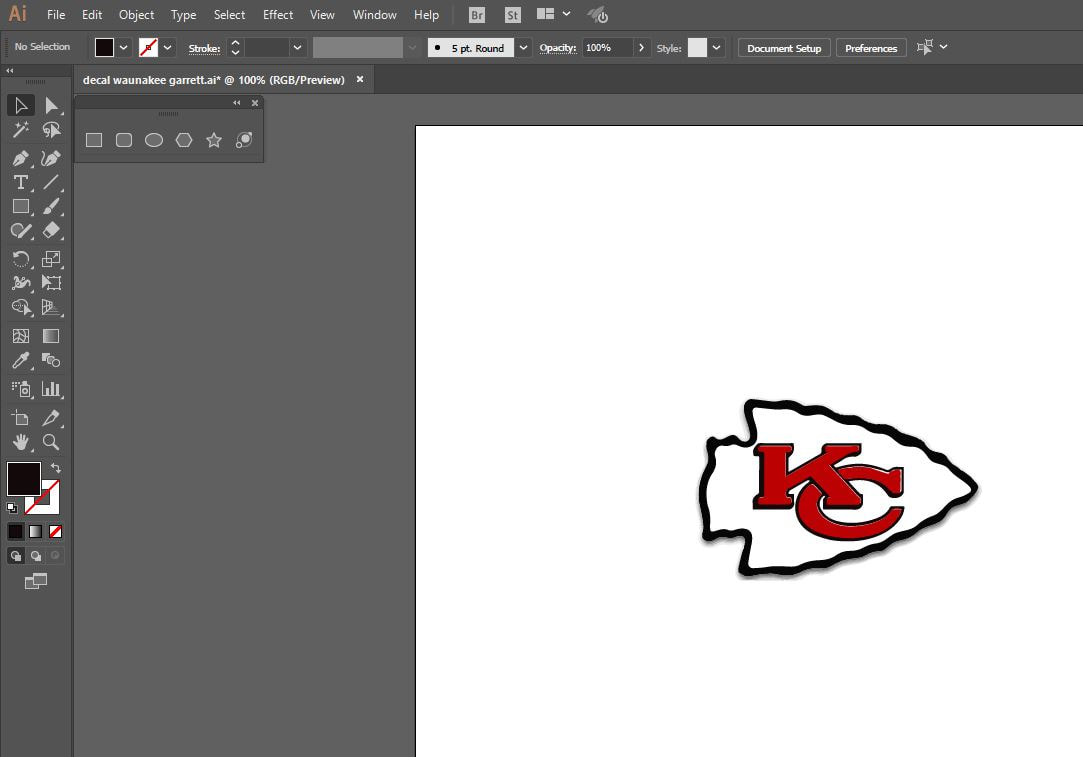
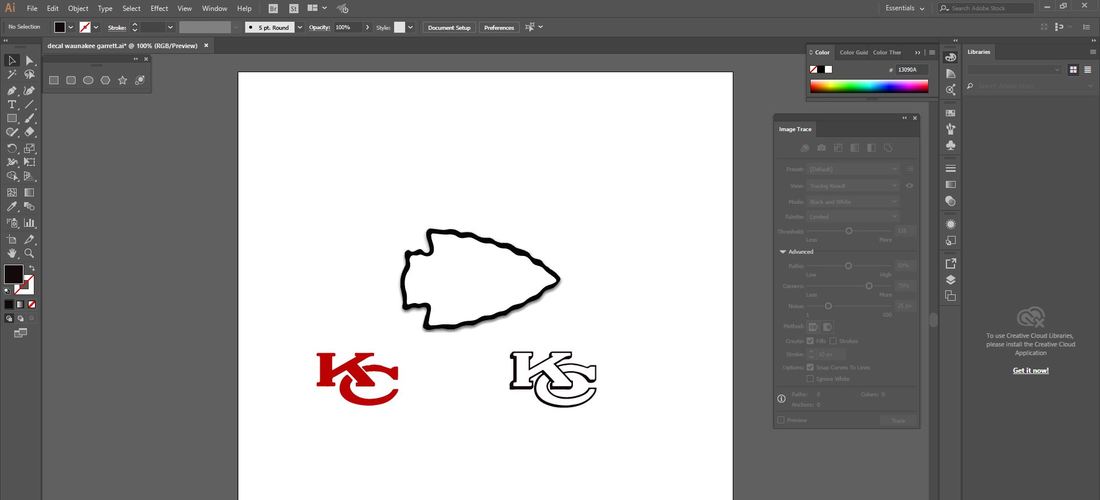
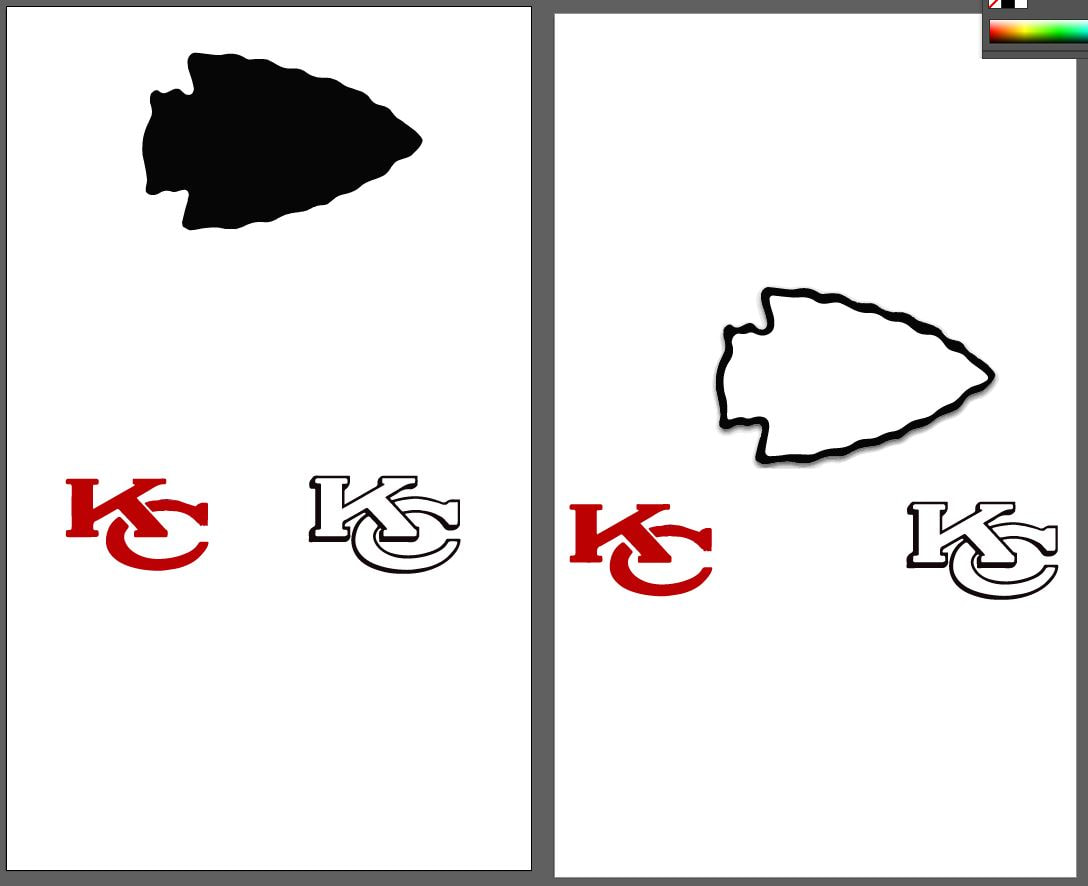
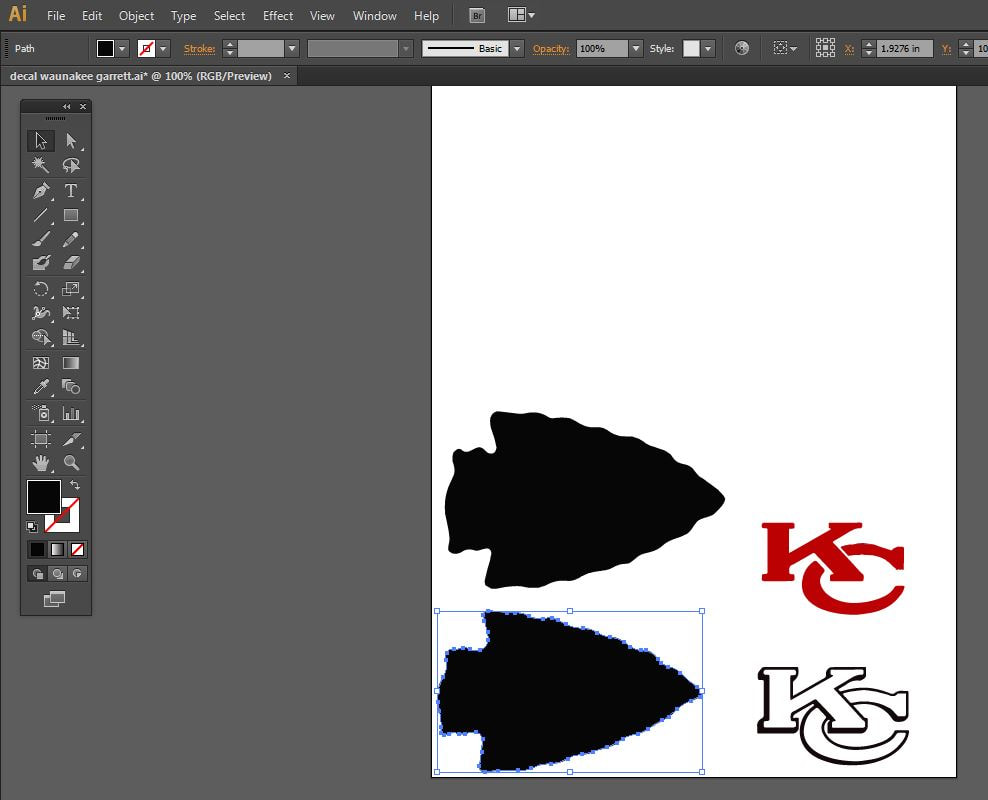
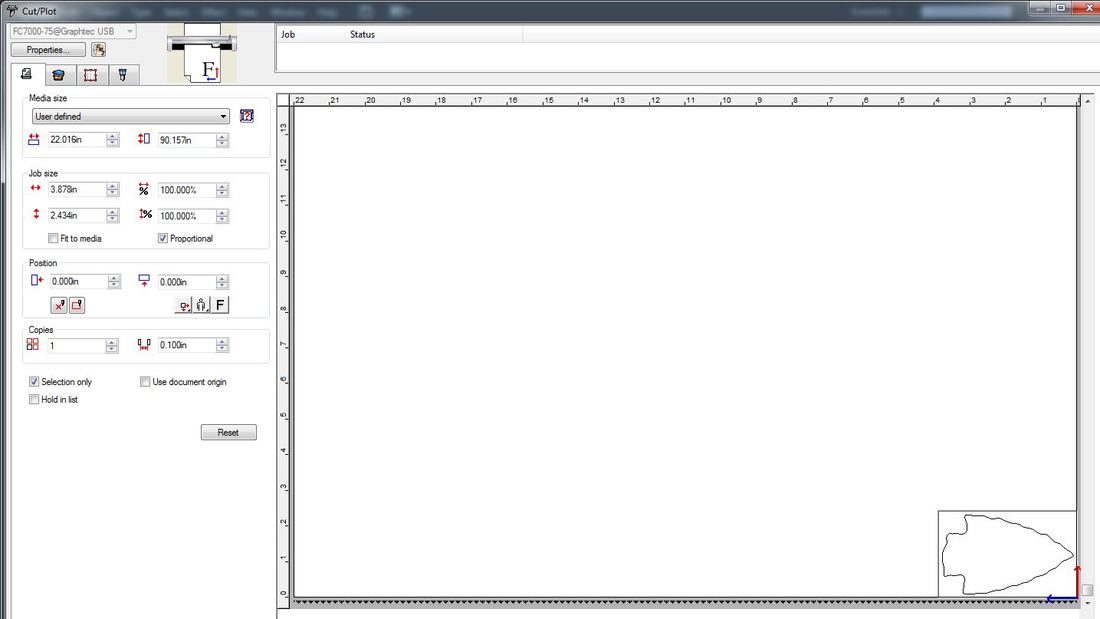
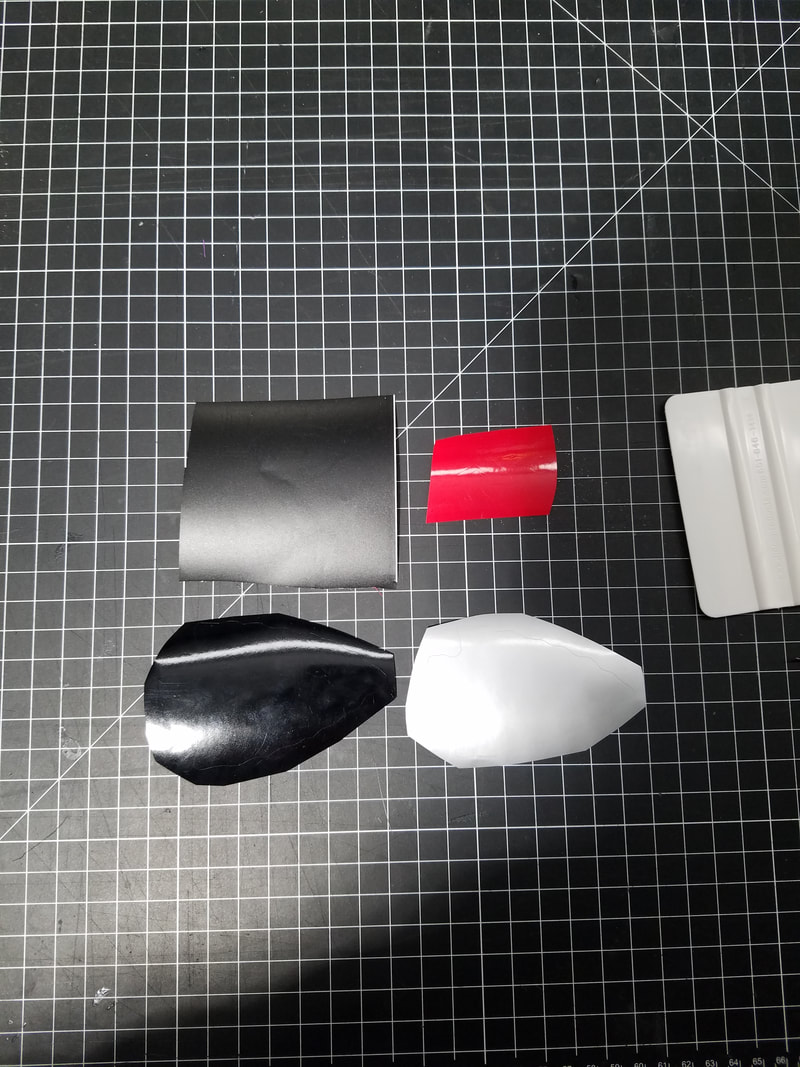
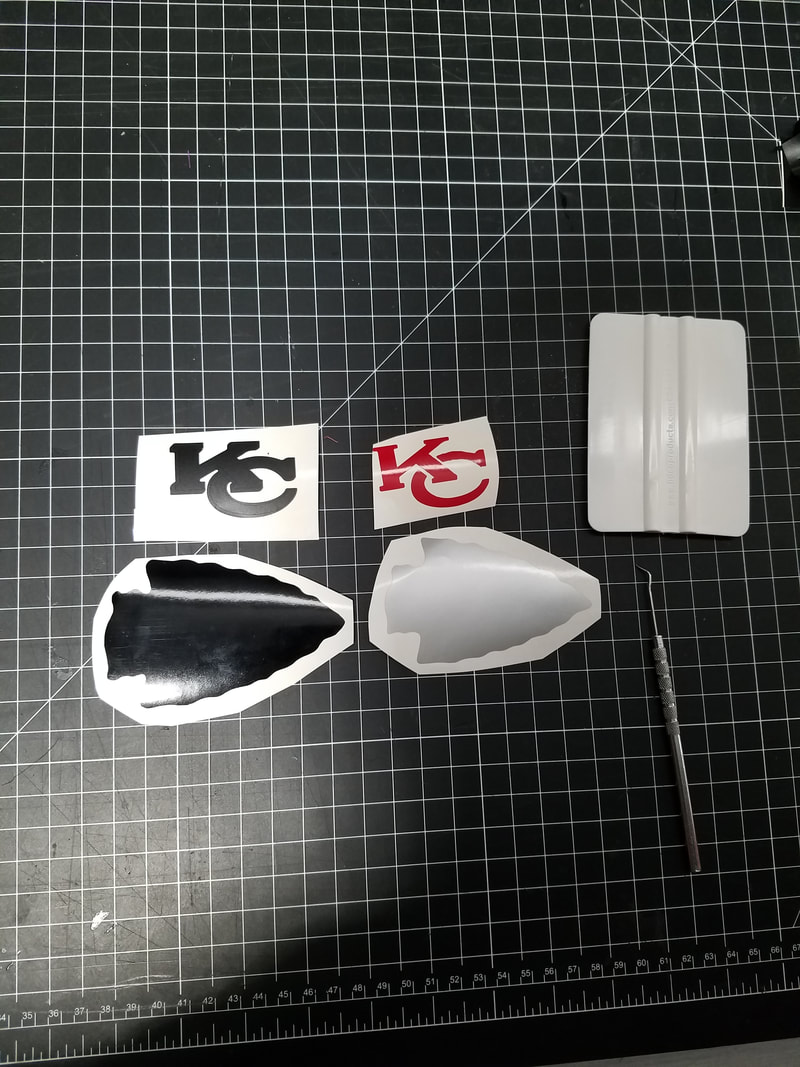
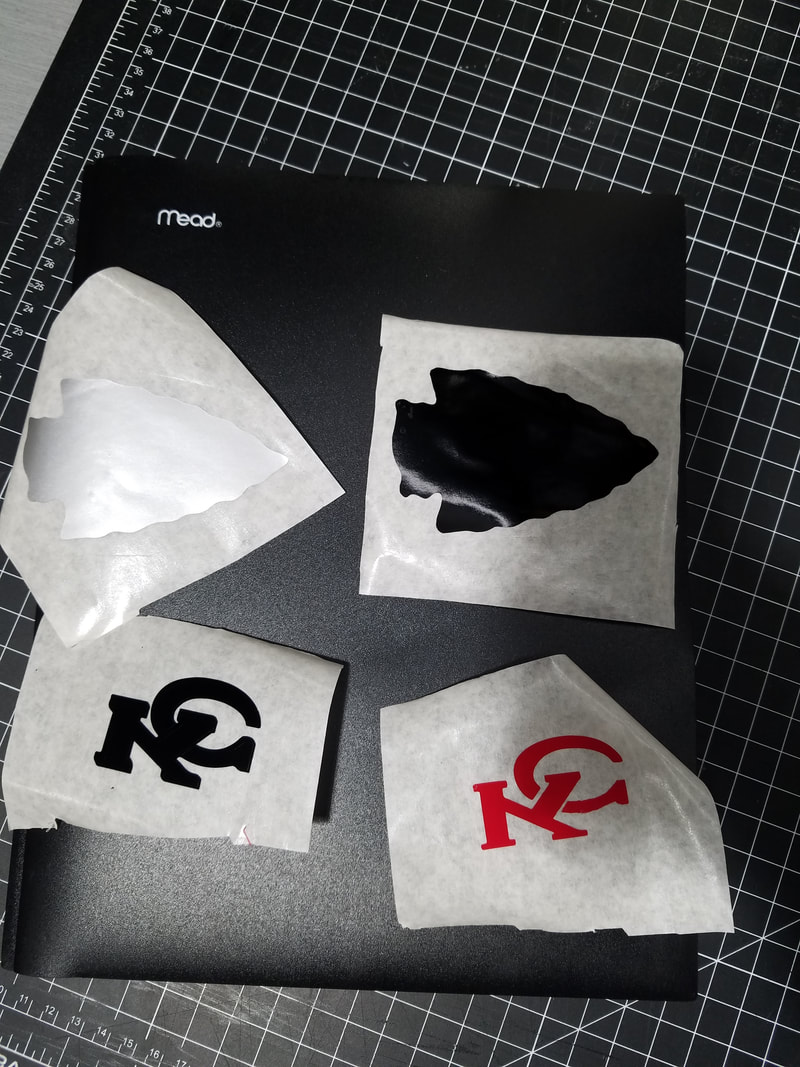
After I selected which decal I was going to create, I opened up a new artboard in Illustrator and got to work. First, I found the Chiefs logo on google and copy/pasted that image onto the workspace. The next step was to right click on the image and select the "Create Outlines" button in order to change it from a raster image to a vector image. Then I did the unnecessary step of creating a separate artboard for the multiple pieces of my decal that would be cut on different vinyl colors. I got these multiple pieces by ungrouping the image and rearranging the four pieces. For every piece, the process of sending it to the cutter was exactly the same, except on different vinyl colors. Essentially, I opened up my Illustrator file on the vinyl computer and then accessed the cutting master program. After that, I selected the piece that I wanted to cut, loaded the right color into the cutter, and pressed the big green button. When all the pieces were cut, I carefully transferred them and layered them on op of eachother to achieve the appearance of a seamless multicolored decal.
Illustrator Set-up Pictures
Getting ready to Cut
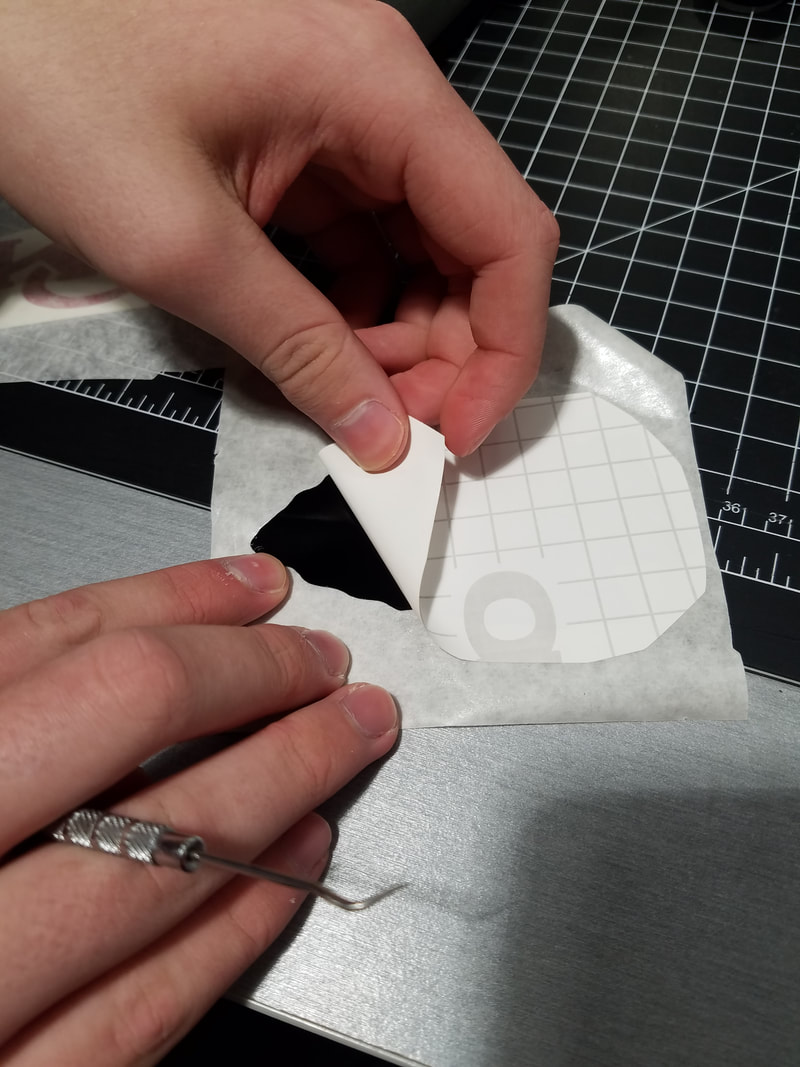
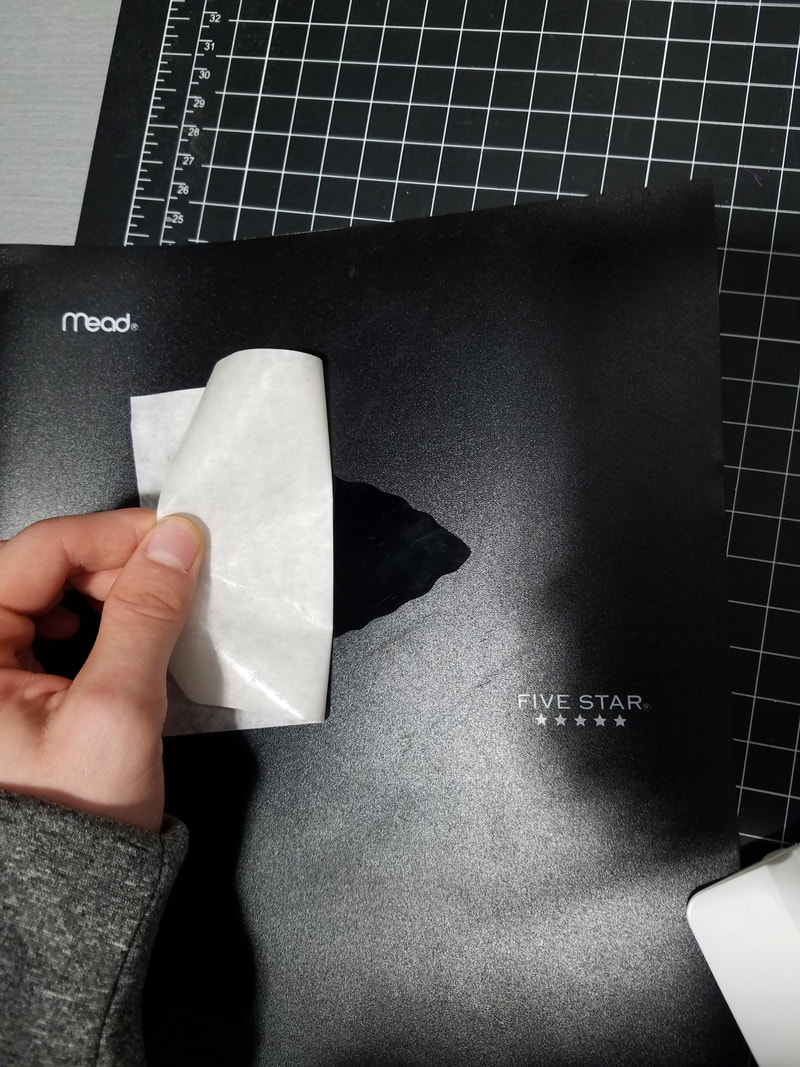
Application Process

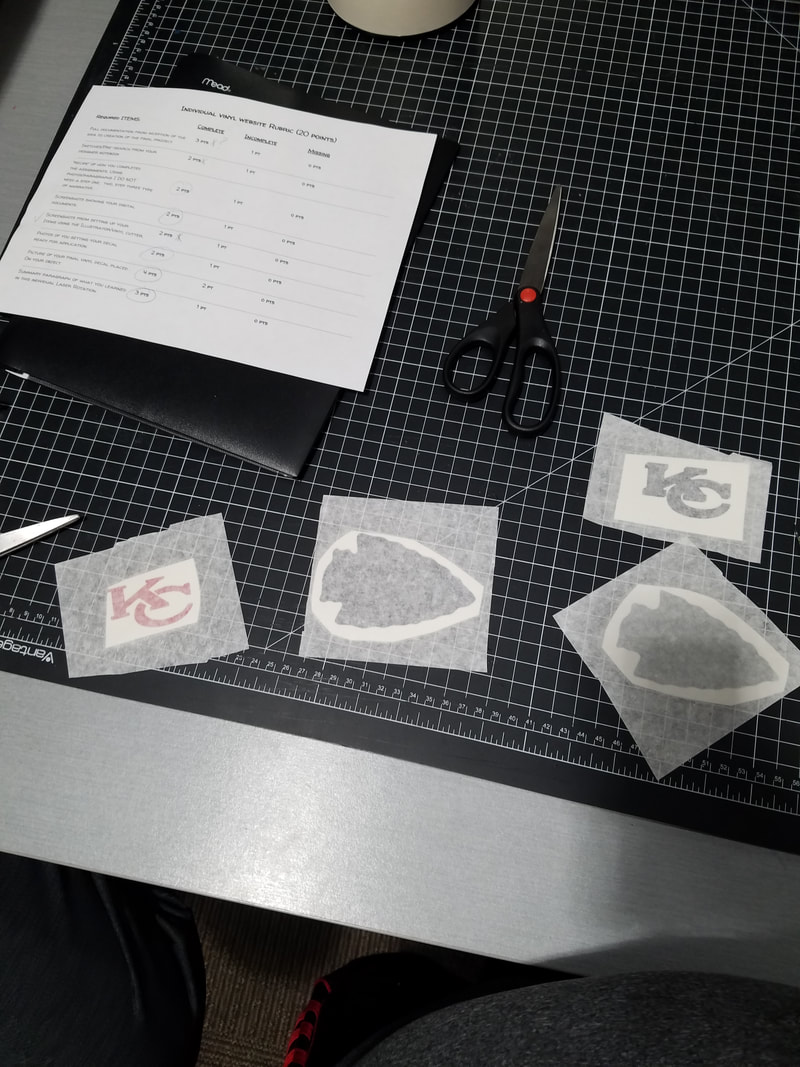
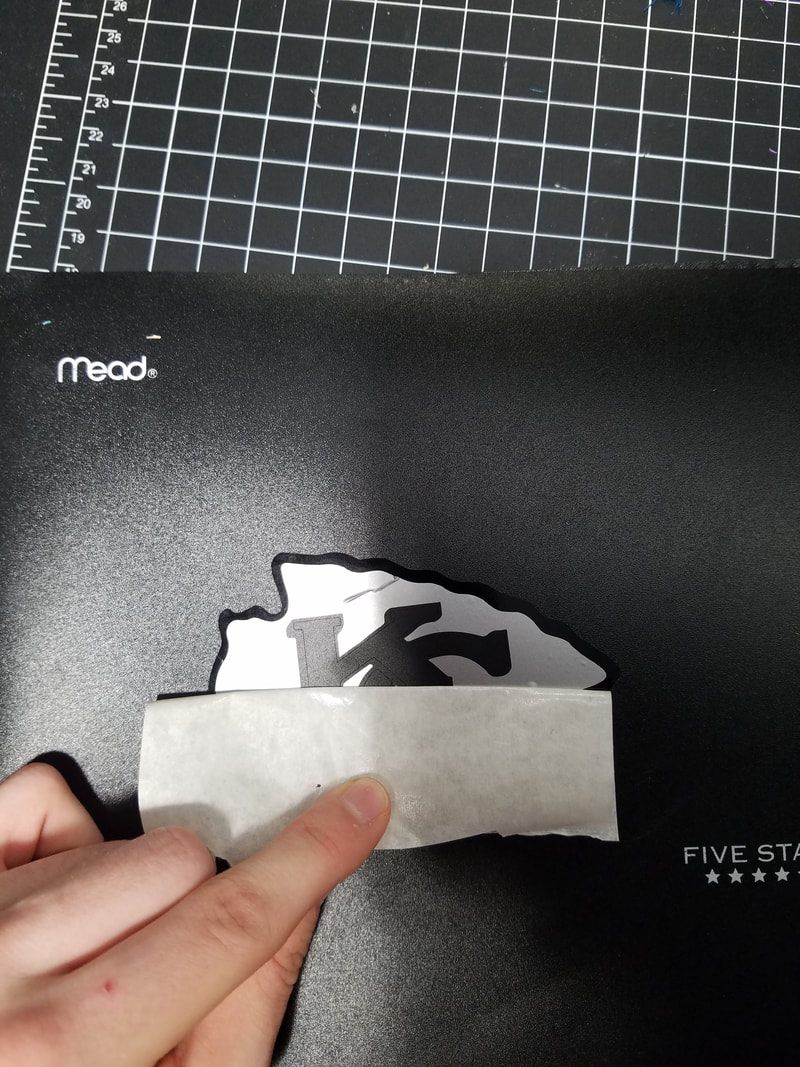
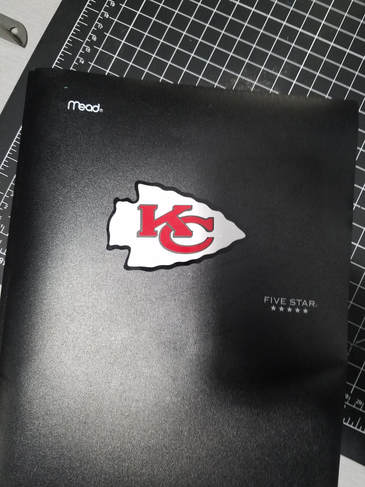
Final Design
Final Evaluations
This was my first real project rotation, and I was really excited to implement some of the cool skills I learned in Illustrator to create something tangible. At first, I started too ambitious and attempted an overly complicated decal, but I soon came to my senses and worked on a practical decal. This helped to kind of slap me upside the head and taught me that I can use Illustrator but I'm definitely not a master at it and I can still work on it. Also, it was very satisfying to not only use the basic tools shown on the handout, but to also find new and convenient tools in Illustrator that made the process much easier. Overall, it was a great experience to use some of the basic skills from the first projects to create a tangible and interesting decal from an online picture and some software and I can't wait for the next project.
