
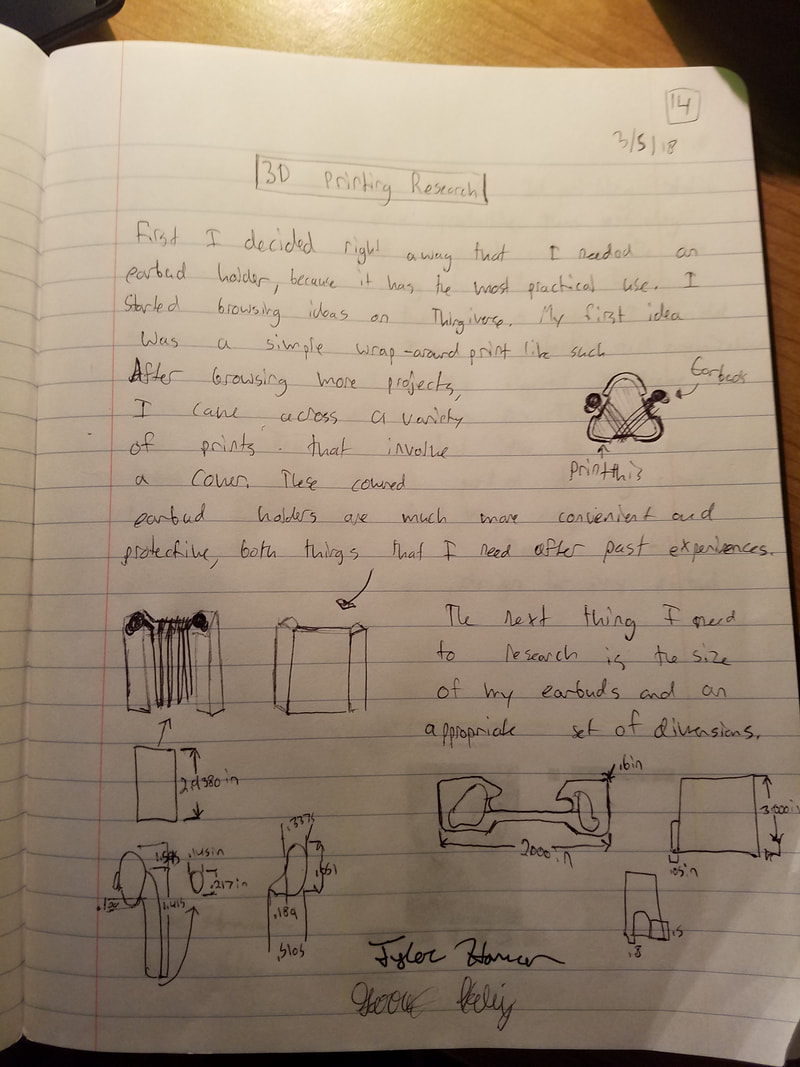
Documentation and Sketches
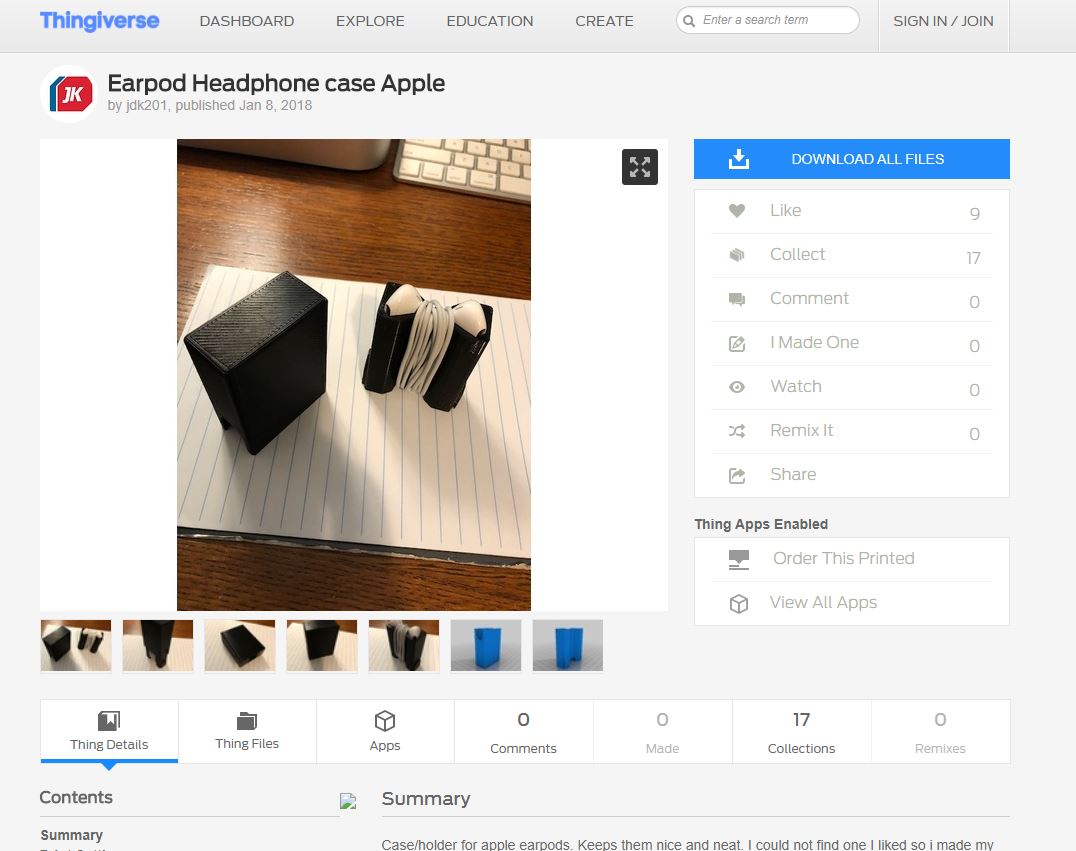
I immediately decided that I wanted to do an earbud holder, due to past experiences where my unprotected earbuds have broken or got tangled up. This meant that I had to go to thingverse and sift around through ideas until I found a good one. One idea was a simple triangular holder that left the earbuds unprotected. I chose not to do this because it was too basic and had minimal protection. Towards the end of the hour, I came across a unique looking holder and cover that could be customized to fit any set of earbuds. I instantly pounced on this unique design and decided to take some measurements of my earbuds to fit. I got all the measurements, created the design in Inventor, and printed my first draft. That draft was too tight and the edges of the holder were too thin, so I redesigned it and reprinted it until the design was perfect and functional.

How the Project was Completed
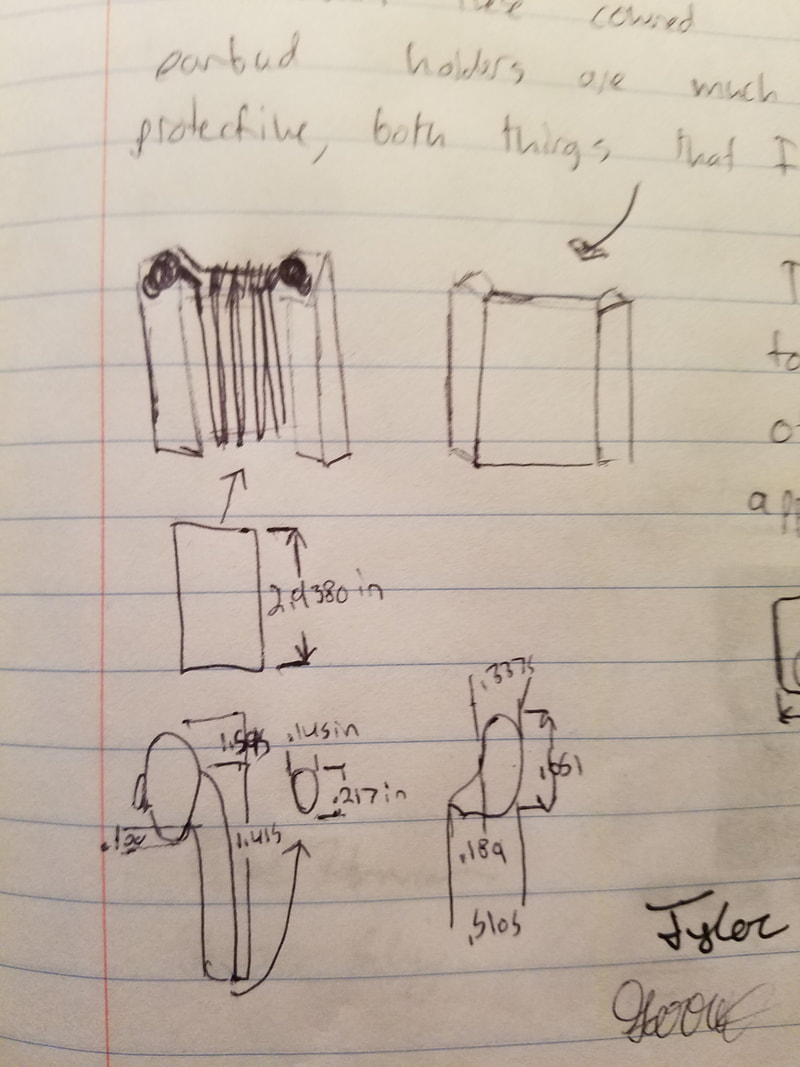
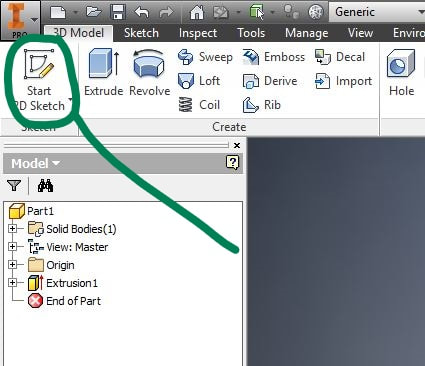
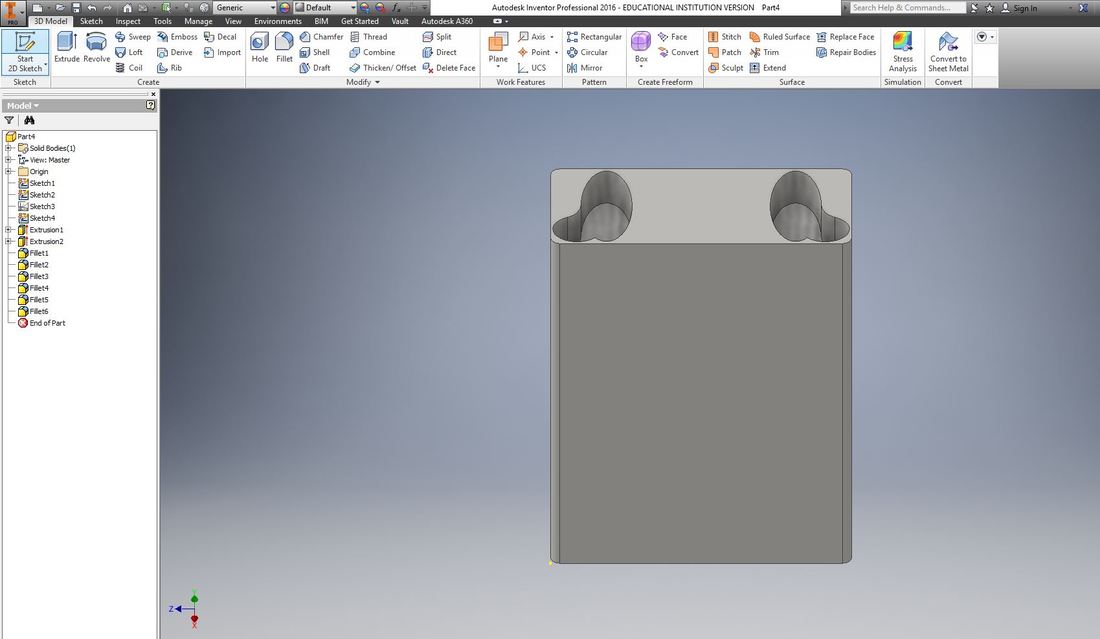
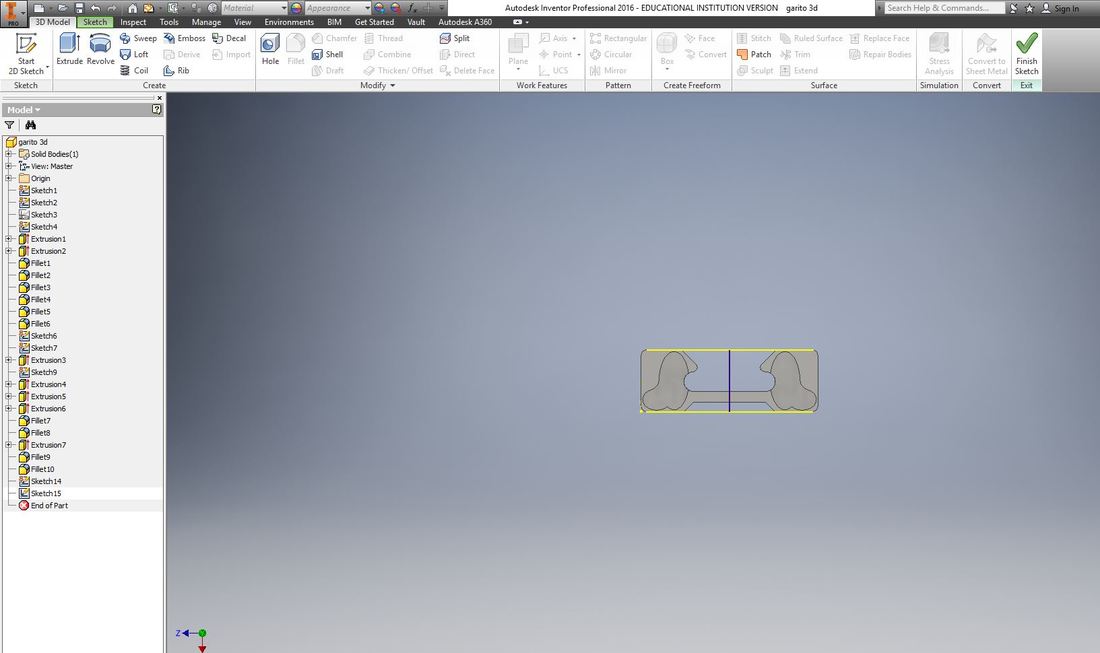
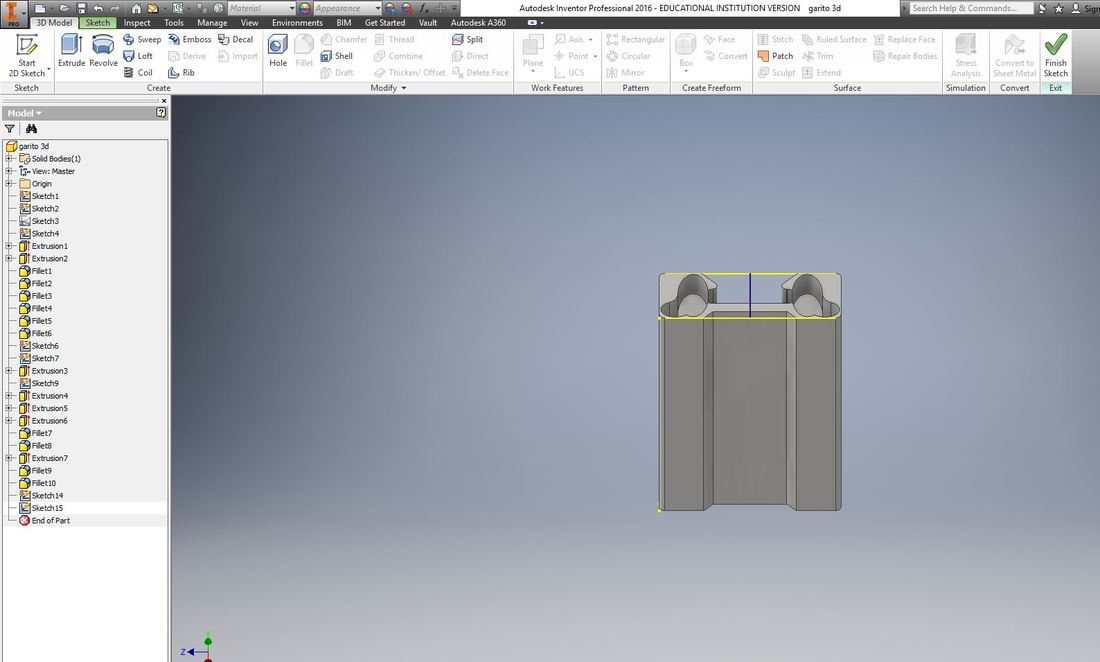
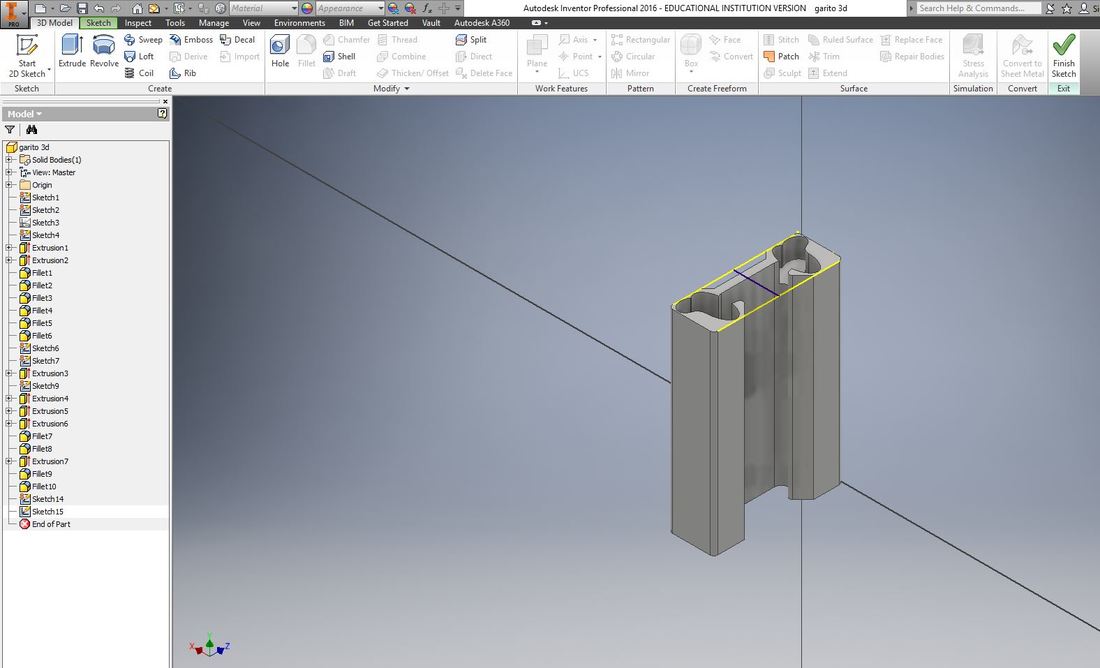
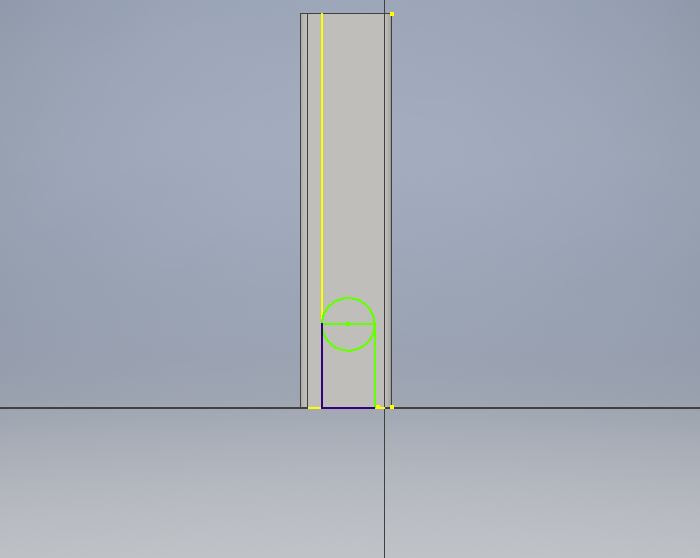
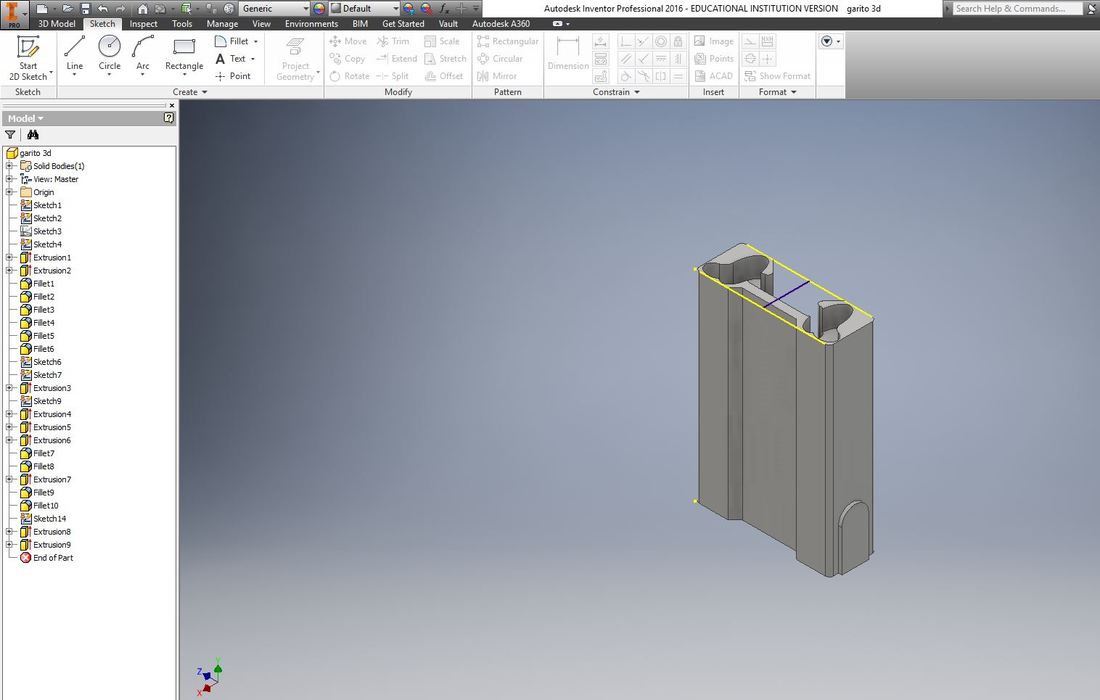
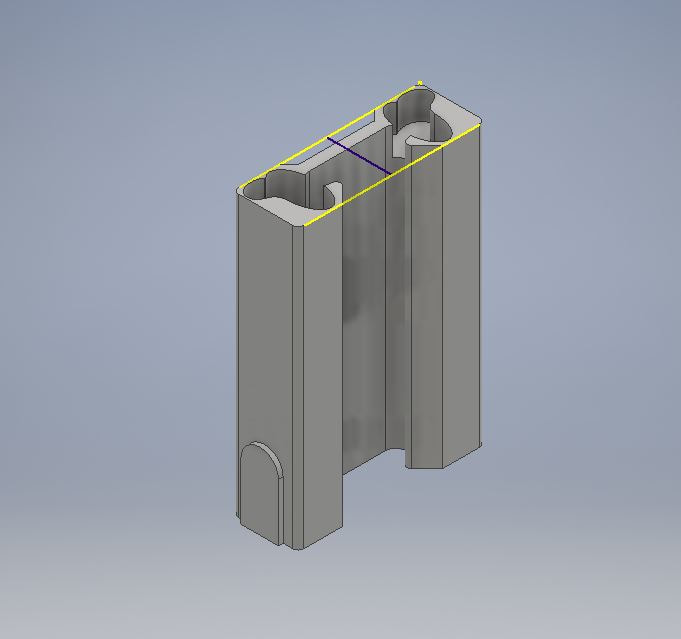
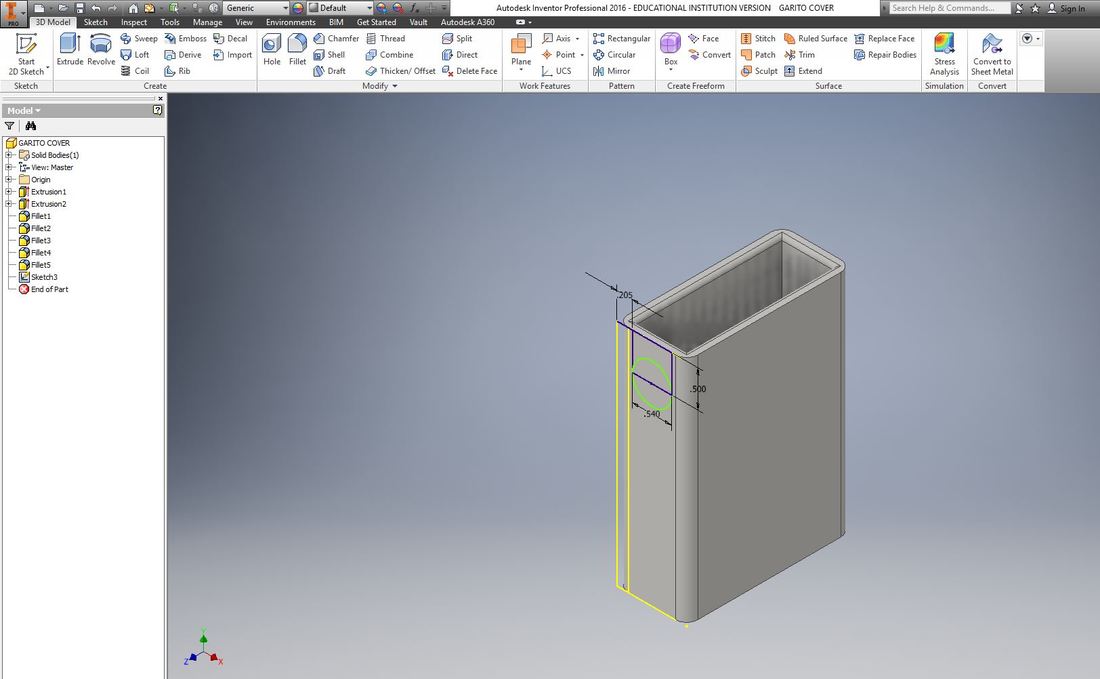
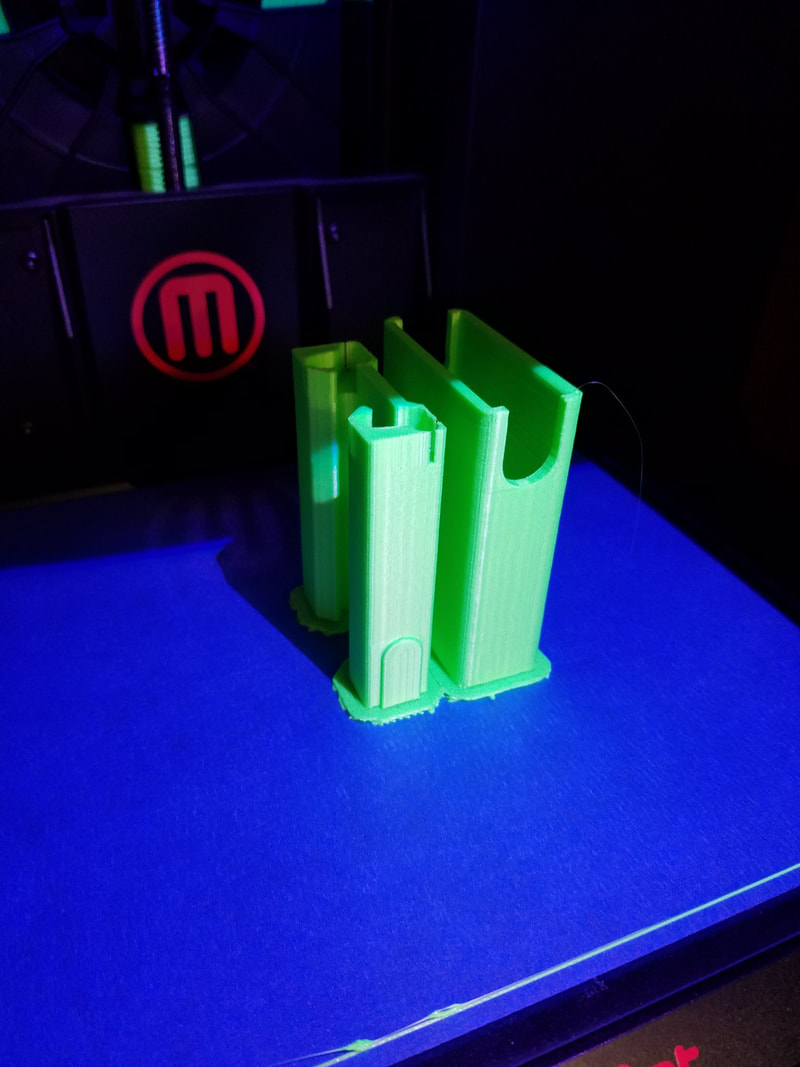
First I used a dial caliper to take complete measurements of the dimensions of my earbuds and document them in my notebook. Then I selected the earbud holder/cover design and began to design the holder part in Inventor. I created a new sketch and started by extruding and filleting the basic rectangular base. Then I used half circles, ovals, and a few lines to create the resting place for my earbuds themselves (the part without a cord). After that, I cut out a large portion between the two earbud "nests" to make room for the cord. The first design had too much material taken away so the walls of the holder were too thin. I corrected this by adding a small amount to each side and enlarging the cover slightly. The last step on the holder was to add small bump outs on the base so that I could easily remove the cover and to ensure that the cover didn't slide down too far past the holder (I wanted it to be flush). After that step, I promptly began to design the much much easier cover. I used the same dimensions as the original rectangle for the holder, only to realize later that was way too tight, which resulted in a re-dimension for my second print. Essentially, the insides of the cover were .1 inch larger and .4 inches deeper than the holder, with .125 inch thick walls. This was to accommodate extra space taken up by the earbuds/cord. The last step in Inventor was to cut out a shape from each side of the cover that would line up with the holder's bump out. Next I converted the designs to millimeters in Makerbot and put them on a flash drive. After this, my designs were ready to print. I printed twice, the first draft showed me the flaws, and the second print was the final design after a few tweaks (as listed above).
Inventor Set-Up
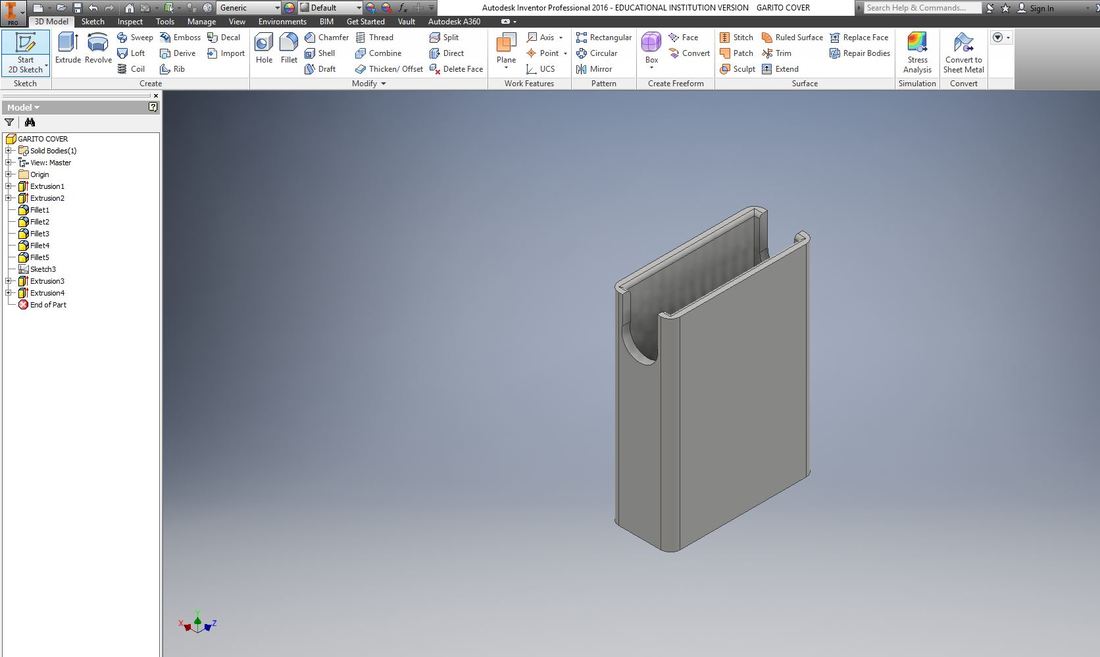
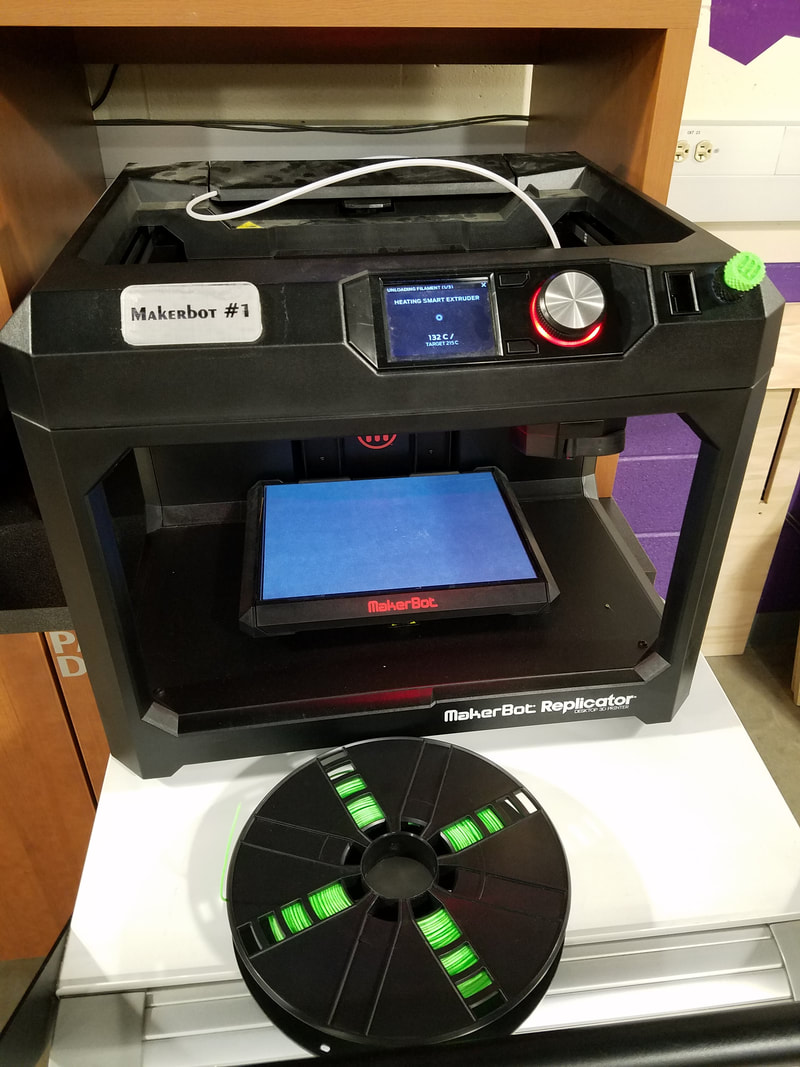
Makerbot Set-Up and Preview
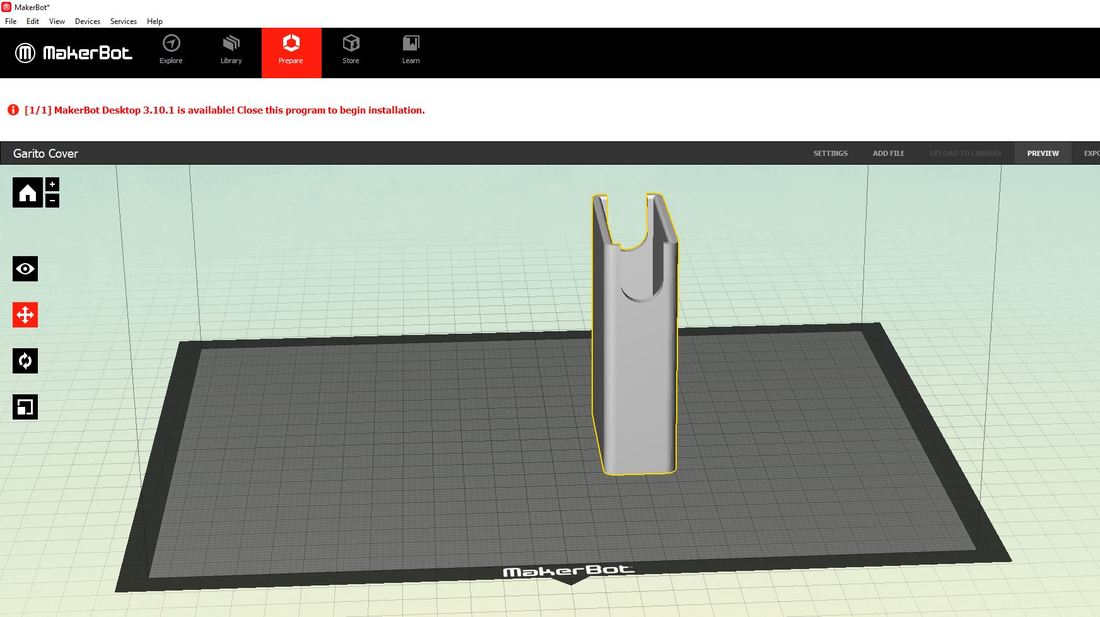
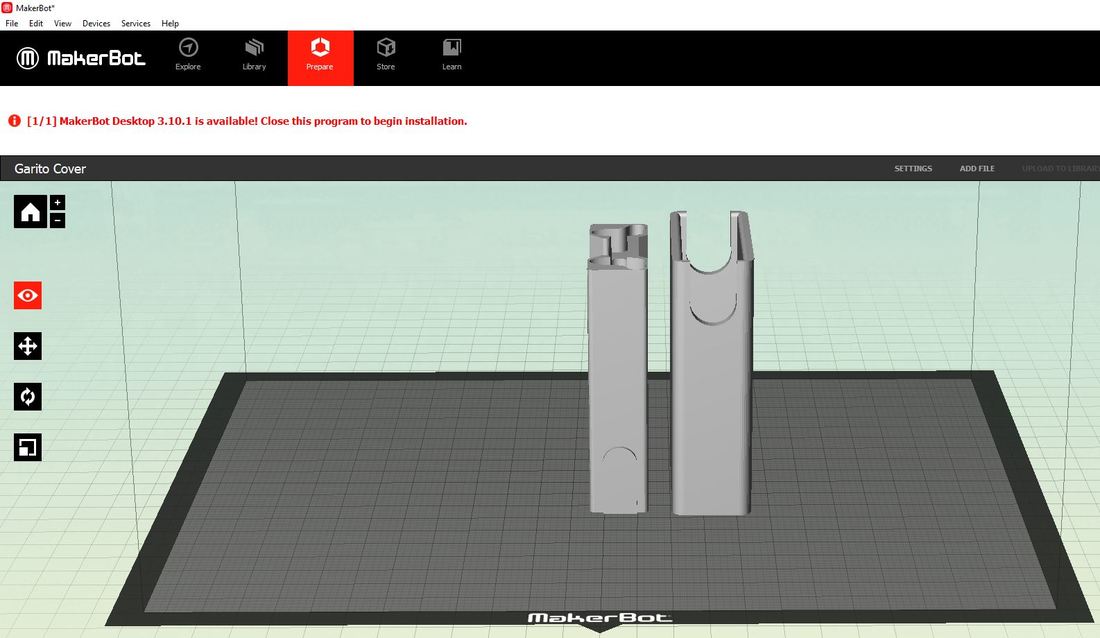
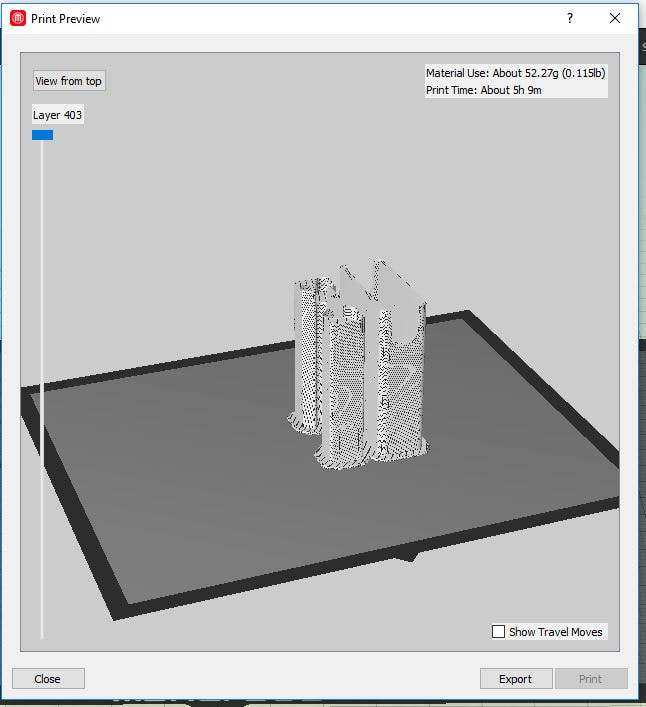
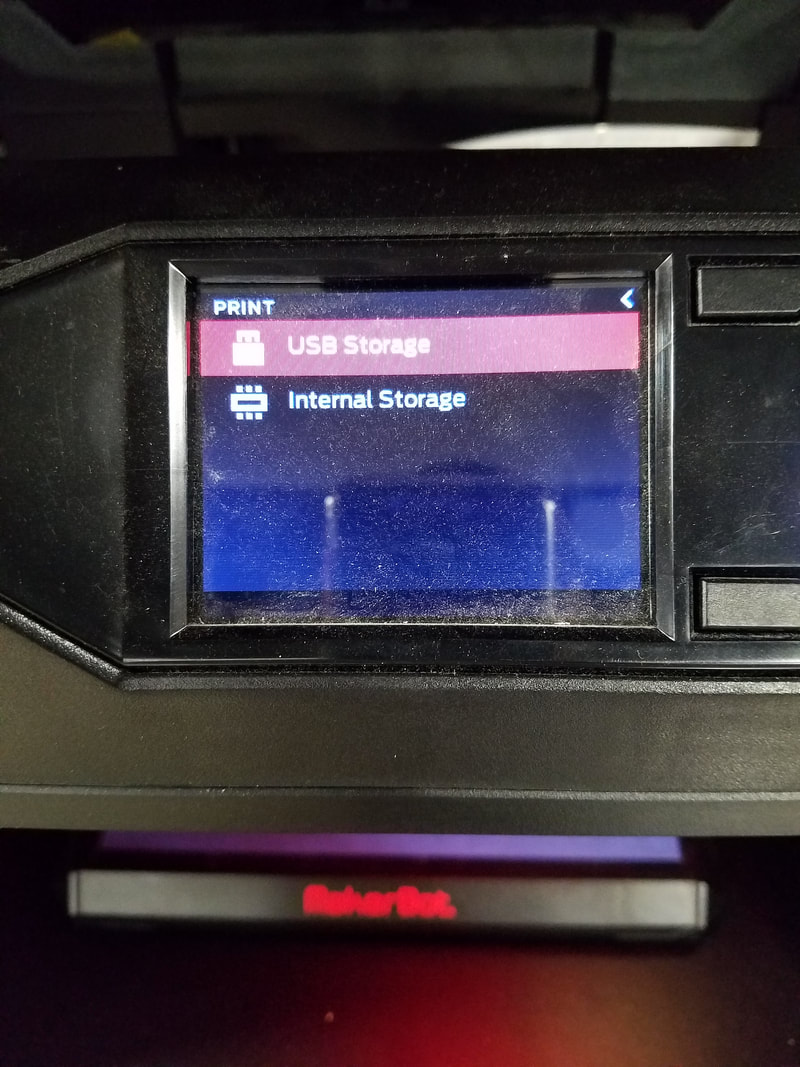
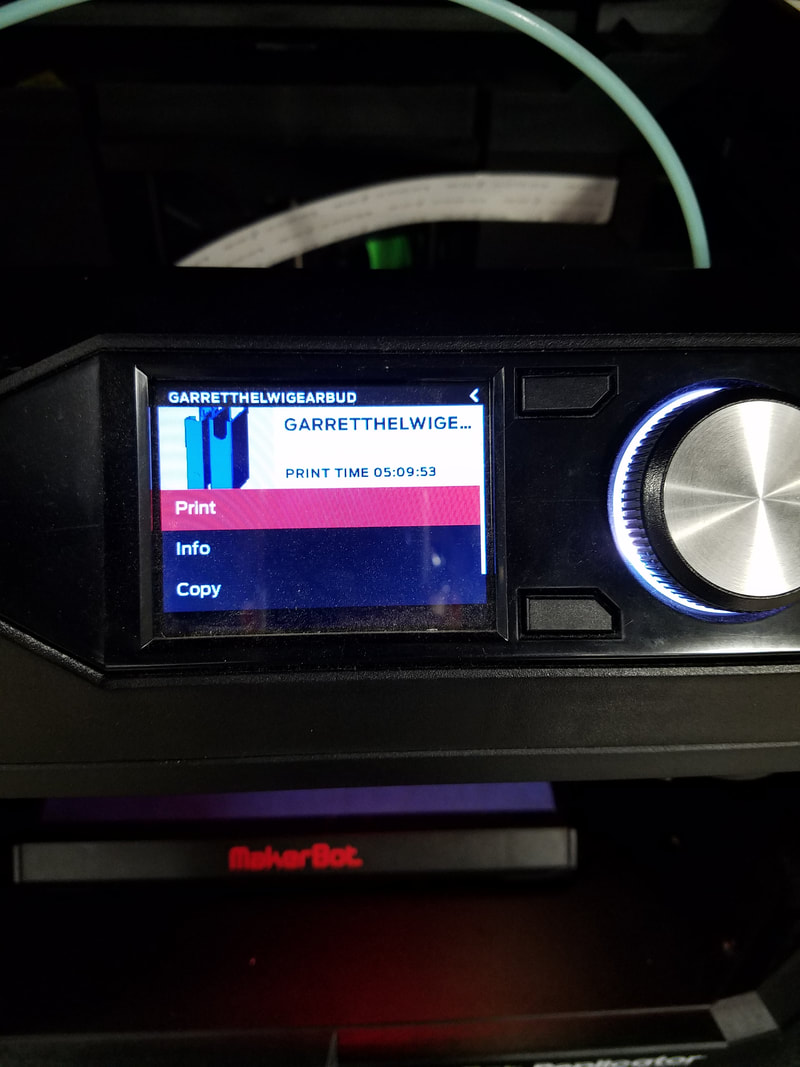
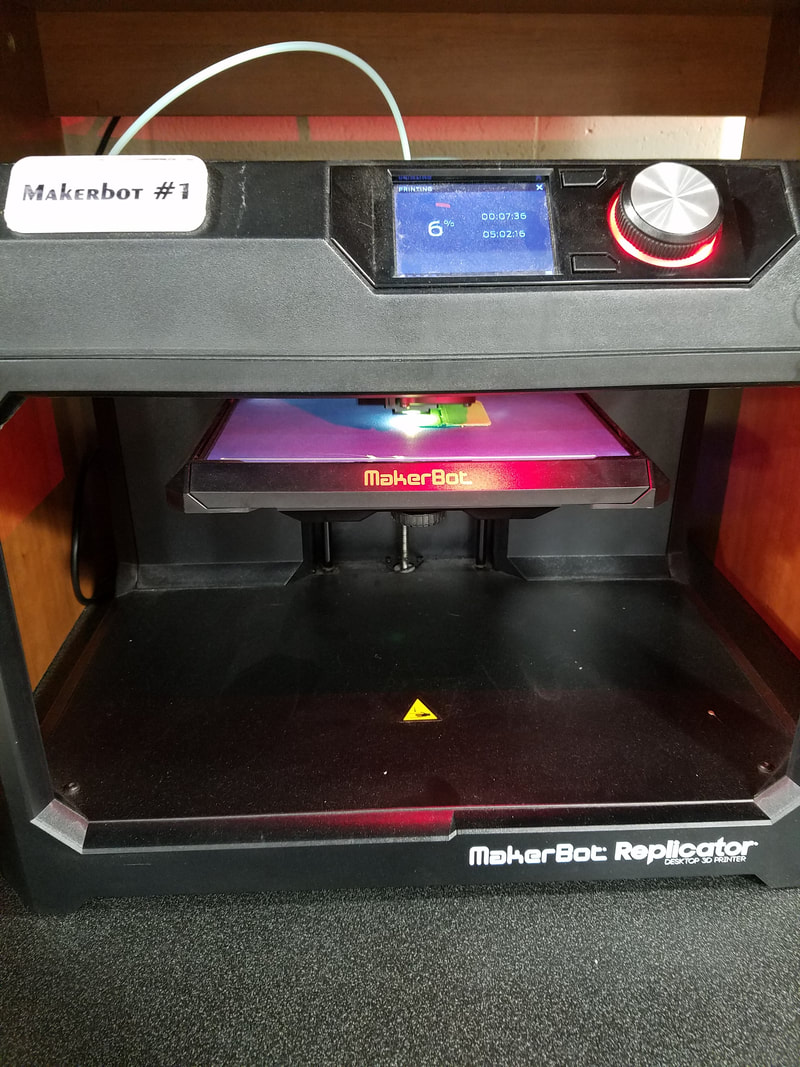
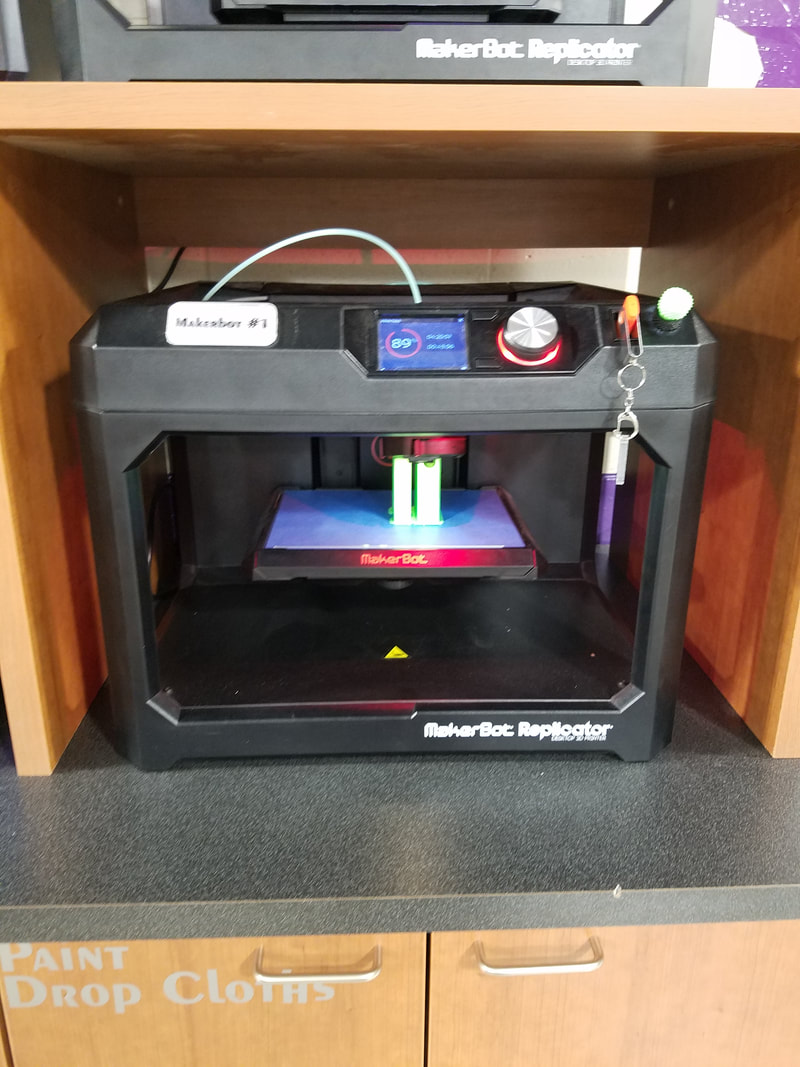
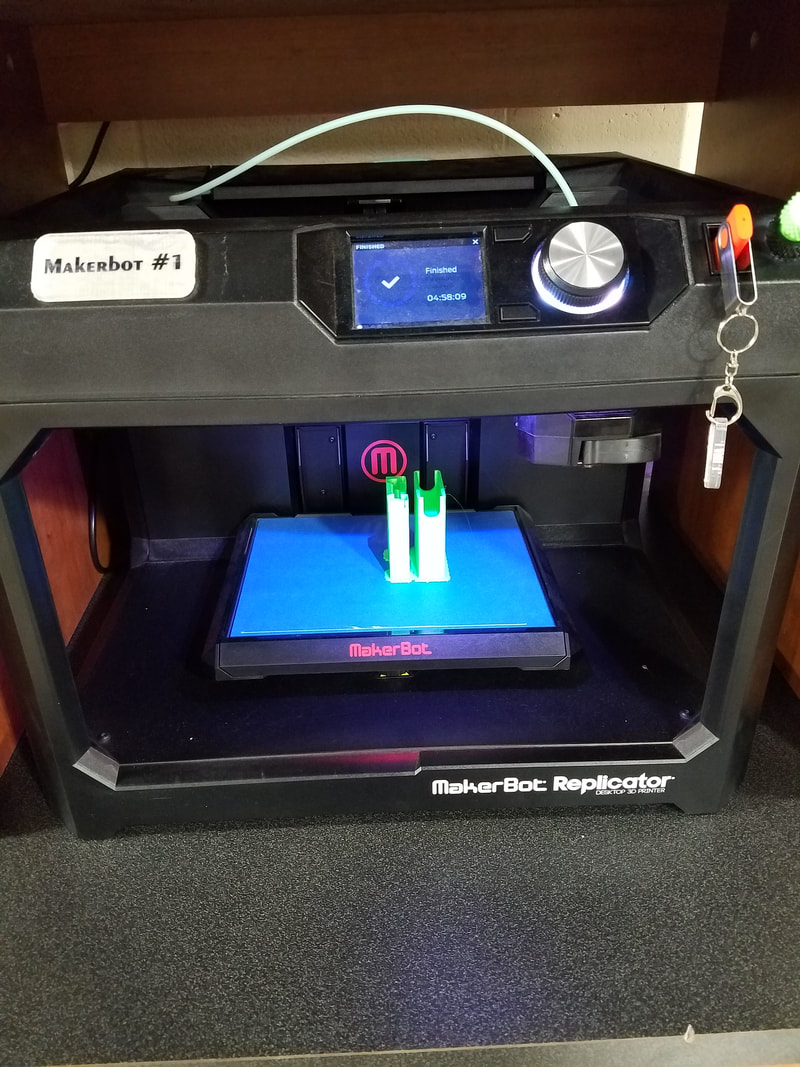
3D Printer Set-Up
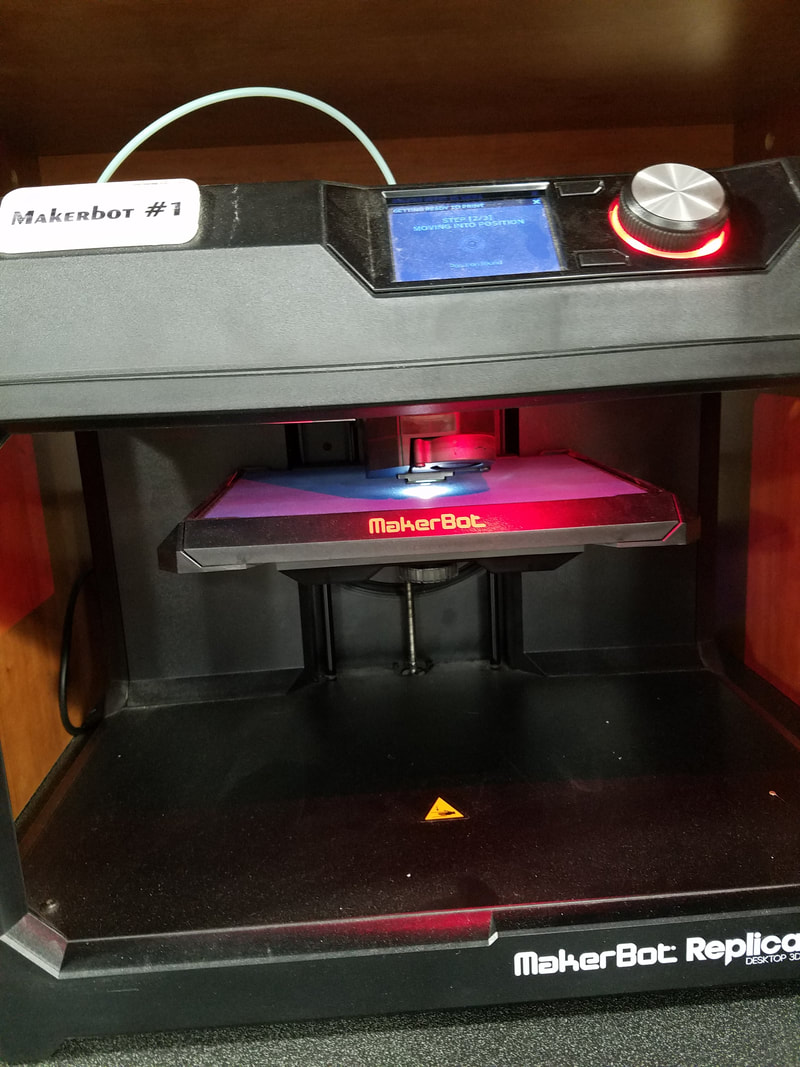
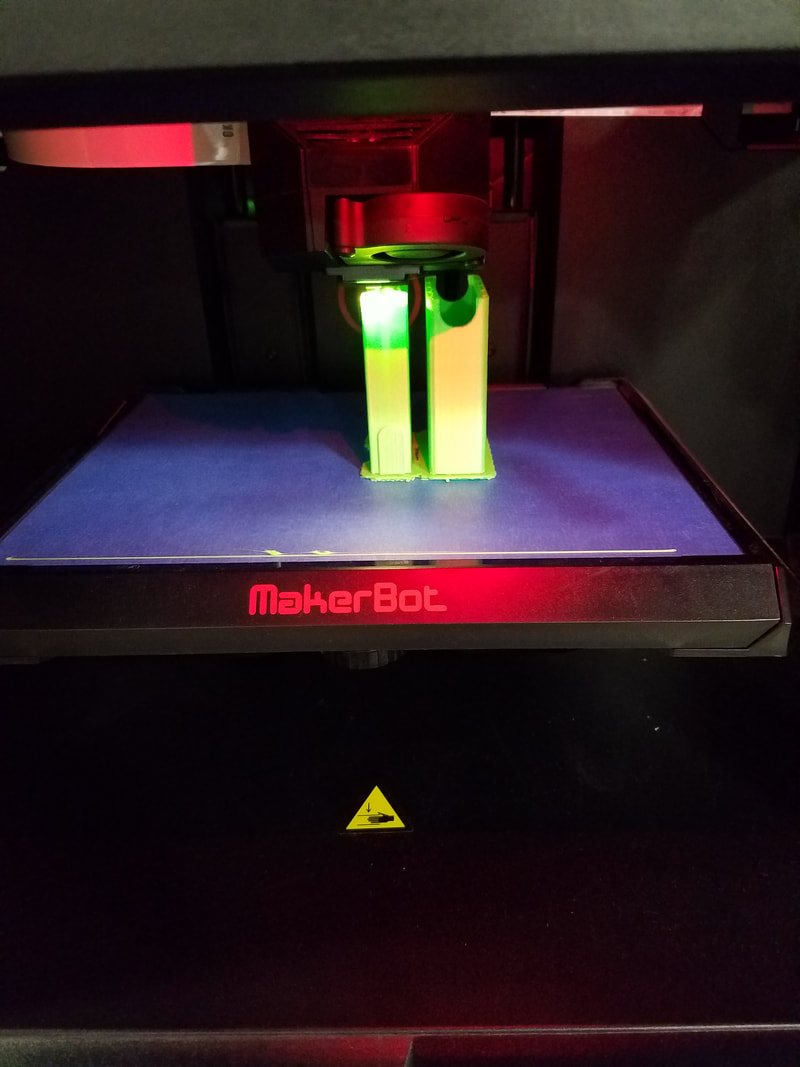
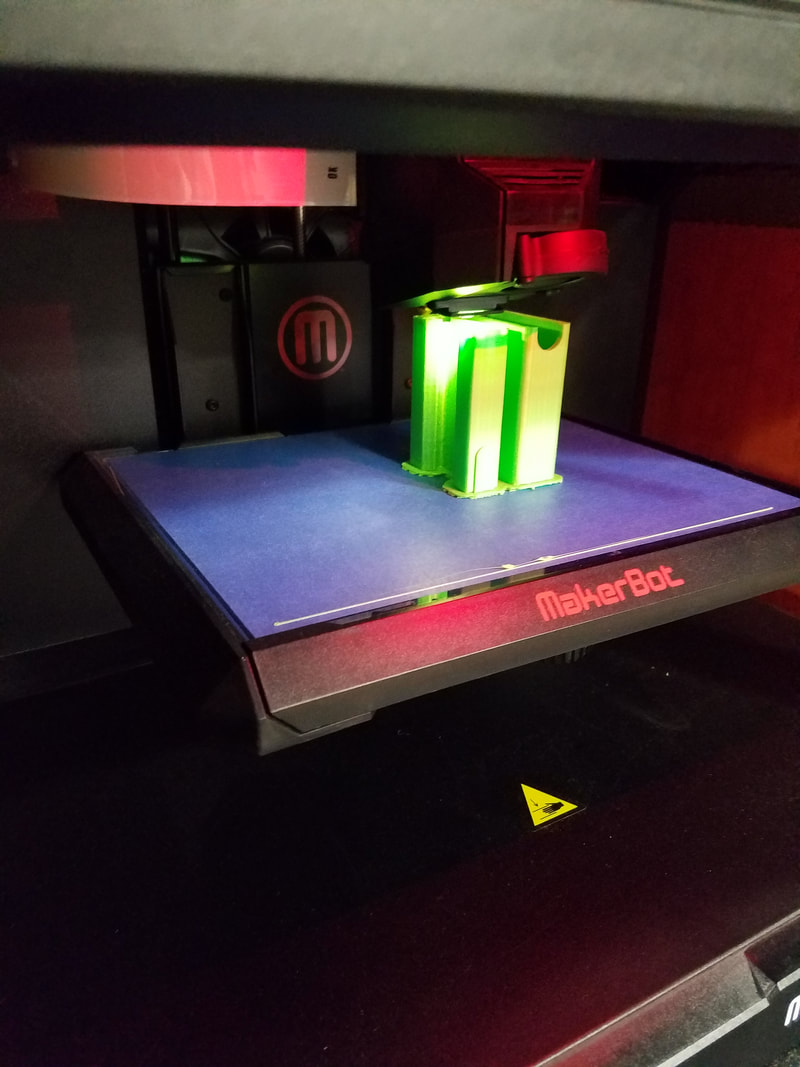
3D Printer at Work
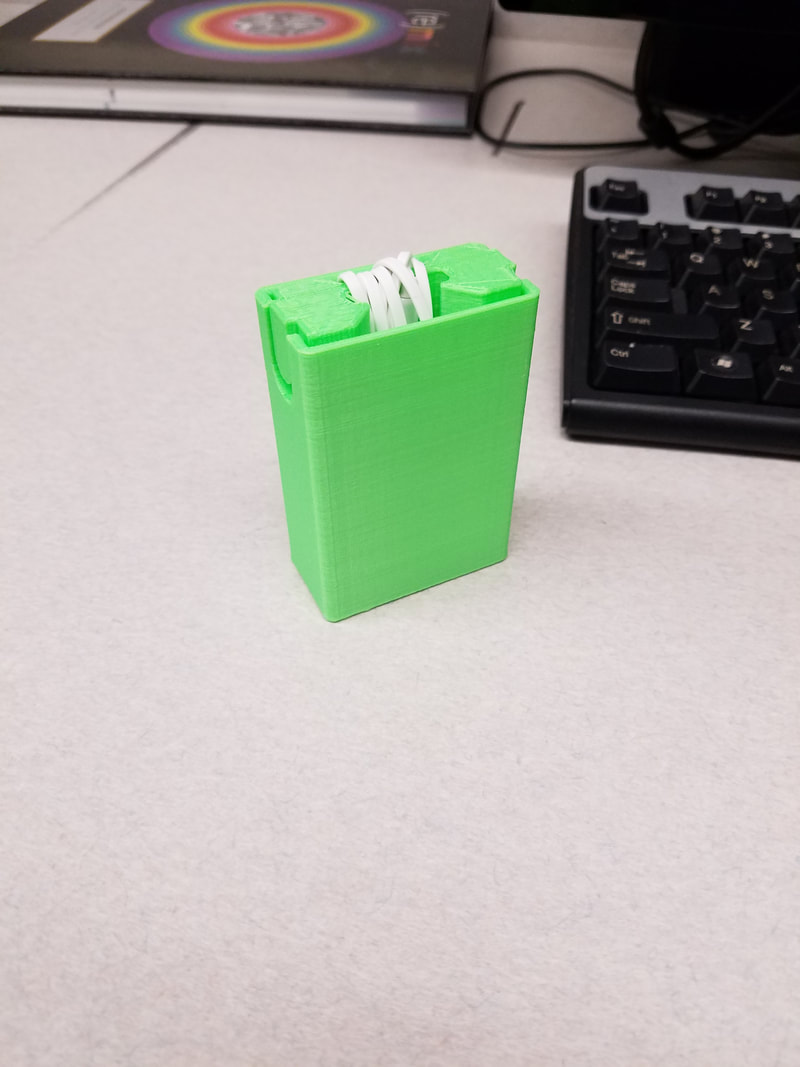
Project in Action


Final Evaluations
This project was by far the most practical and valuable project that I've done so far. The creation of the design really tested my ability to quickly sort through ideas and find a unique, appealing, functional, and customizable option. The physical design and testing process for the holder/cover tested my patience, but improved my Inventor skills to the point where I downloaded it on my personal computer to work on even more cool projects. Besides the class-specific skills that I attuned like sifting through ideas and designing my objects on Inventor, I learned some life skills about perseverance when my first design didn't exactly come out as planned, but I changed the design later and it worked perfectly. Overall, this was the first project where I had a legitimate problem that I wanted to fix, came up with a solution, and turned it into a physical component, an experience that is invaluable.
