
Documentation and Sketches
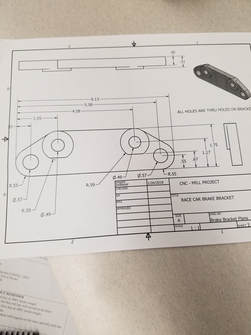
This project was super straight forward, so there is very little documentation or sketches. Essentially we were given a technical diagram (pictured below) and were told to model it to exact specifications in either Inventor or Fusion. I decided to complete it in Fusion so that I could do the model and toolpath in one set of software without worrying about extra file conversions.
How the Project was Completed
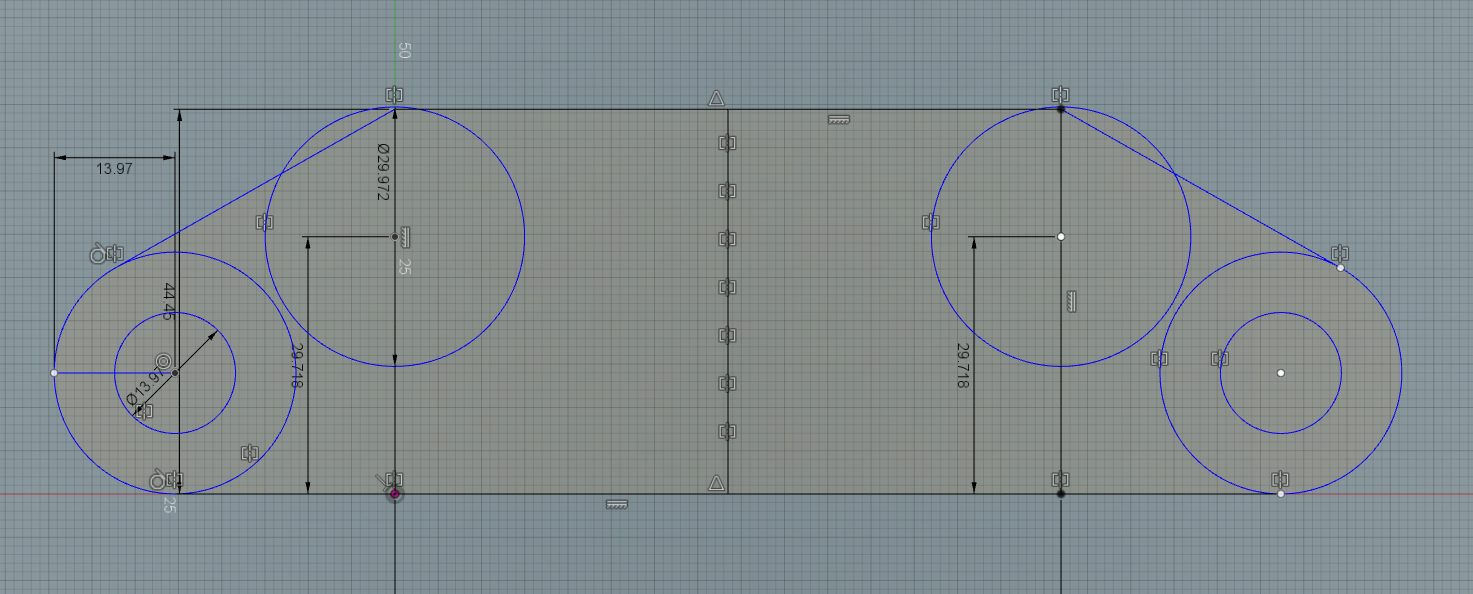
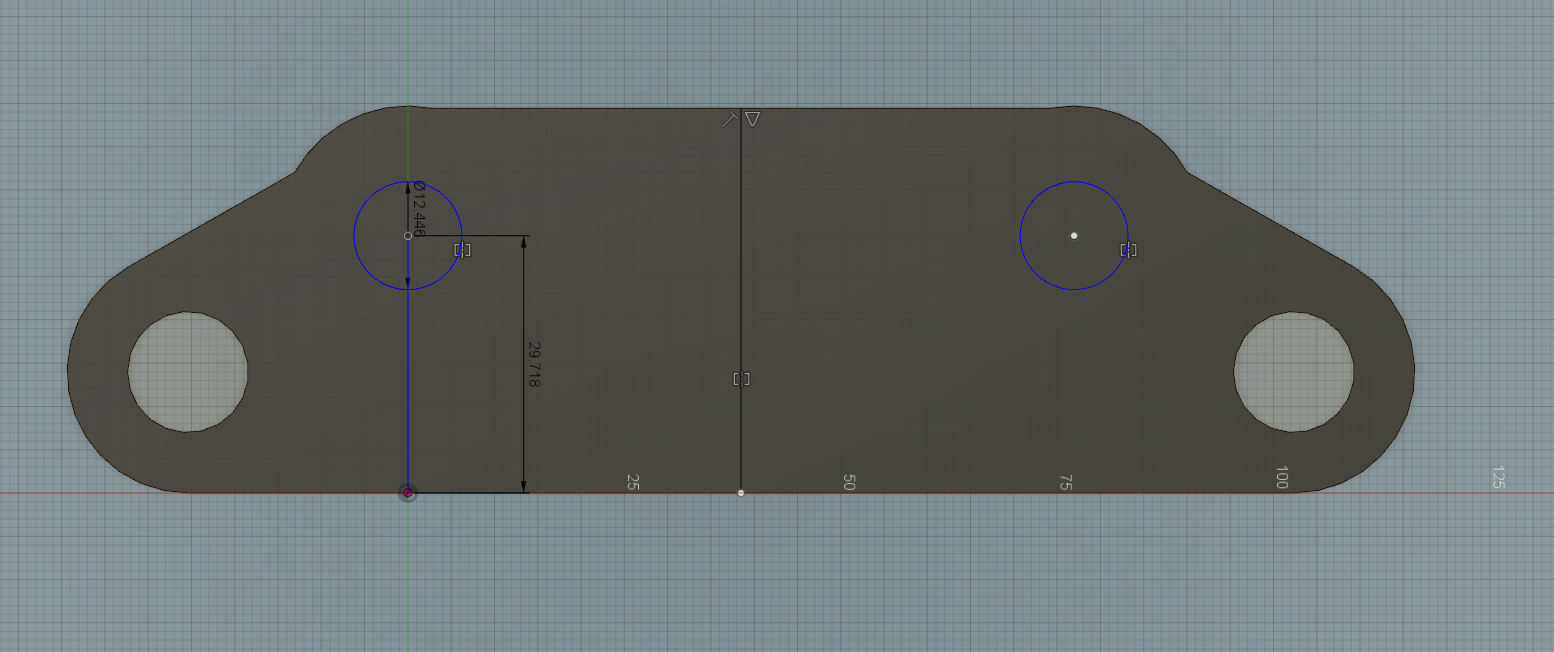
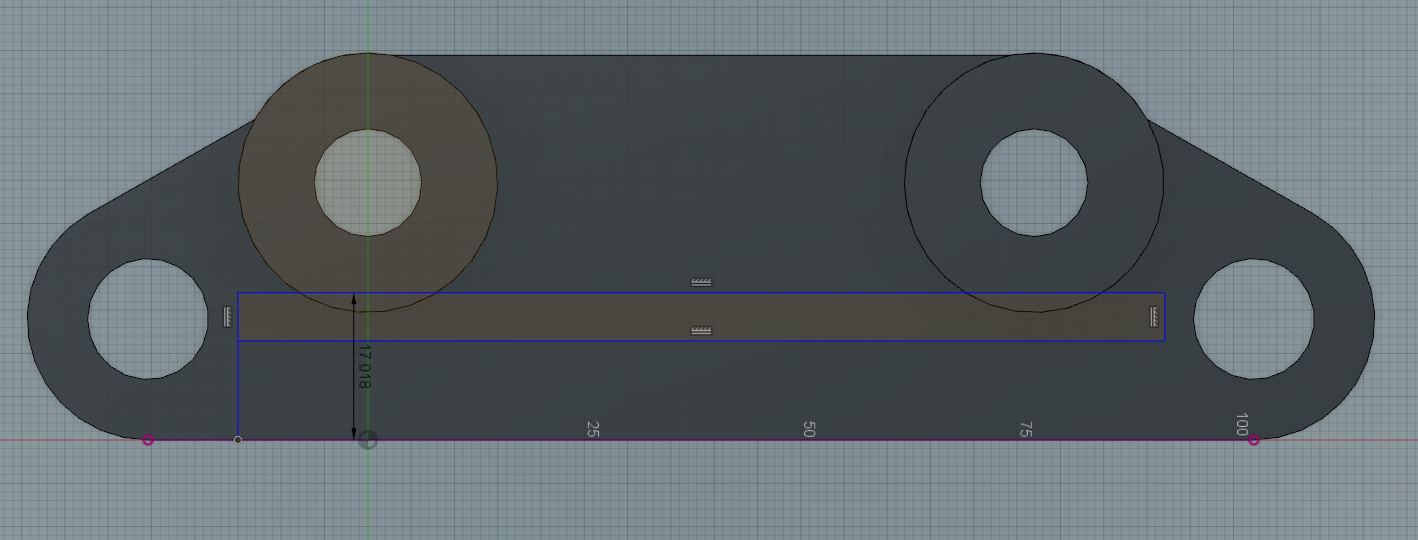
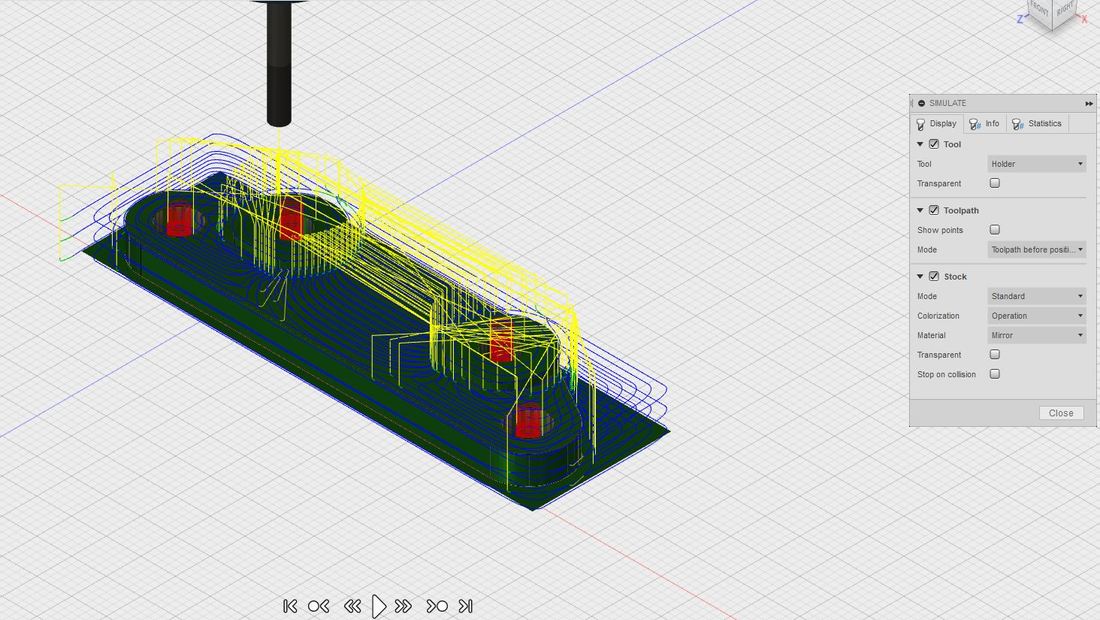
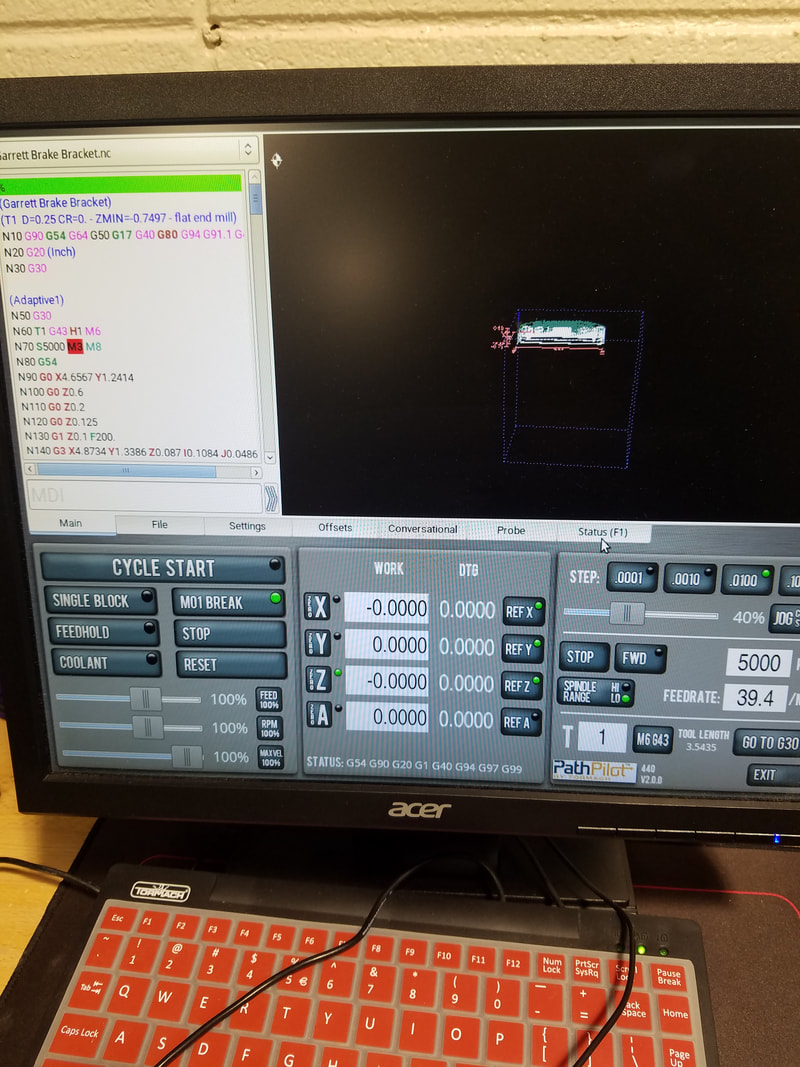
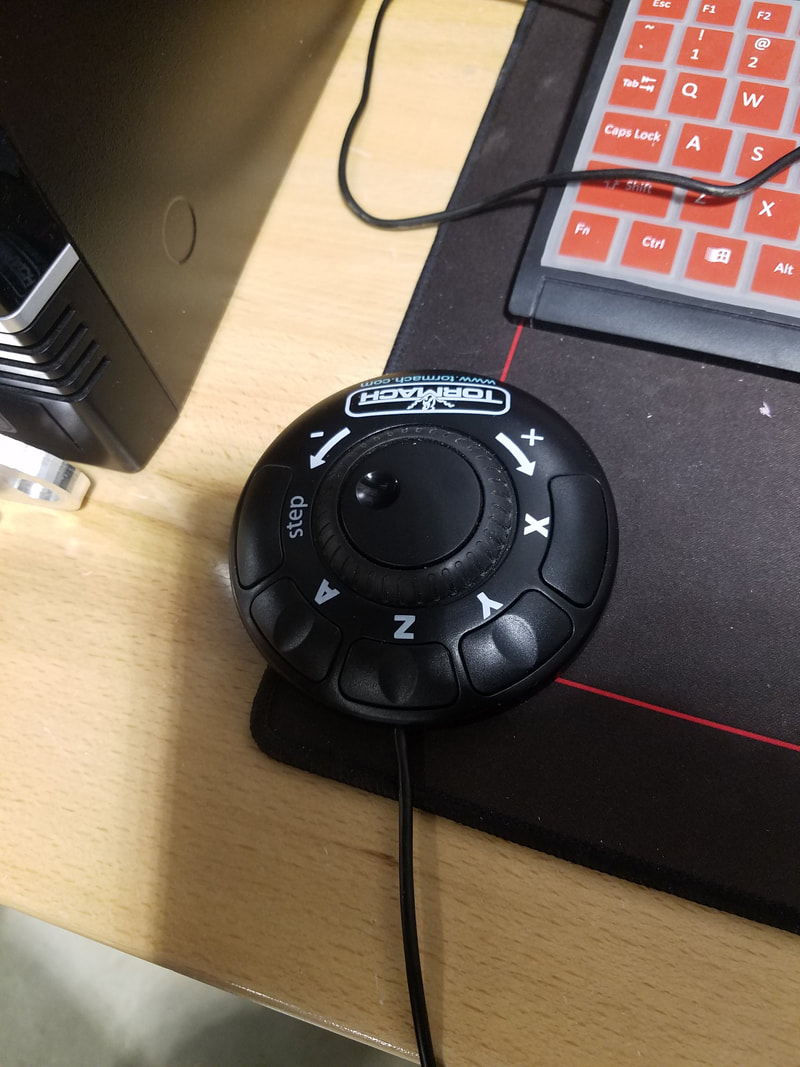
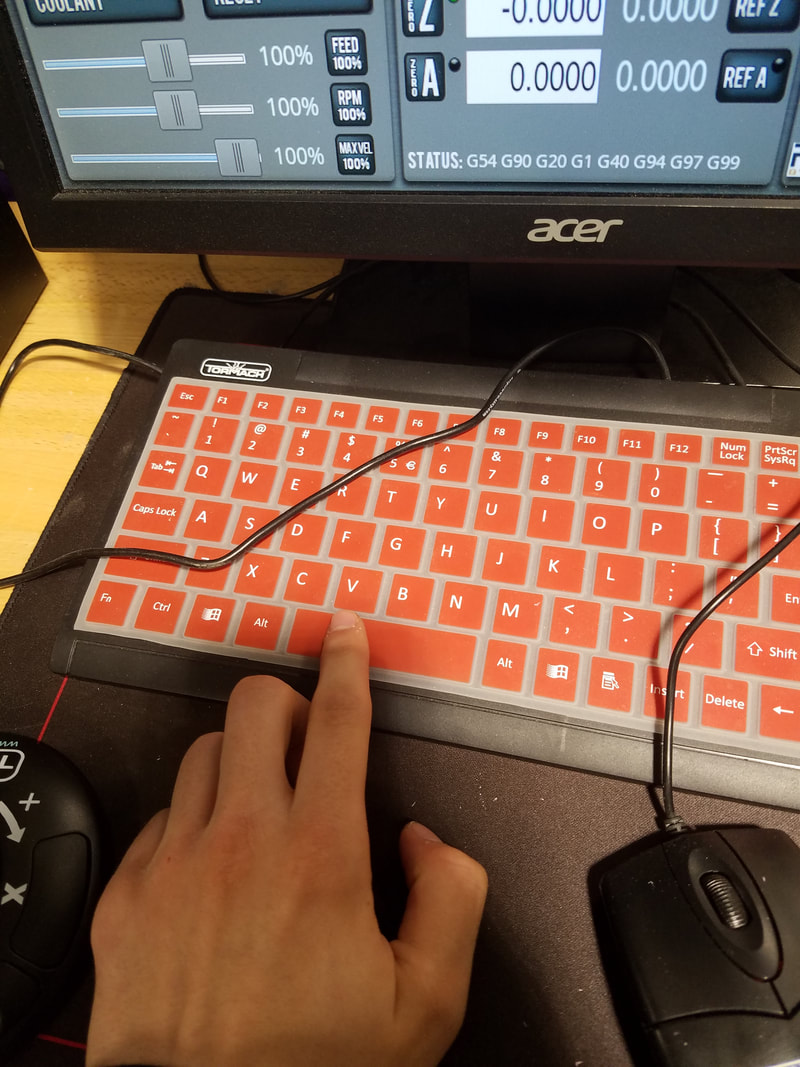
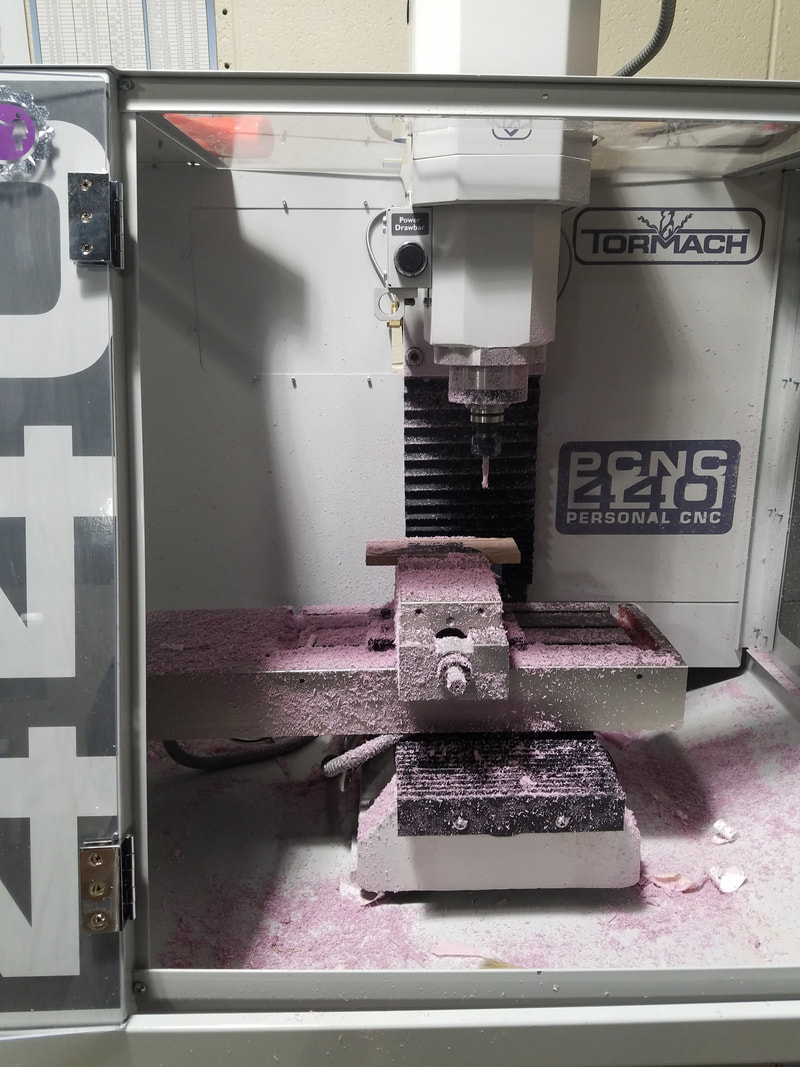
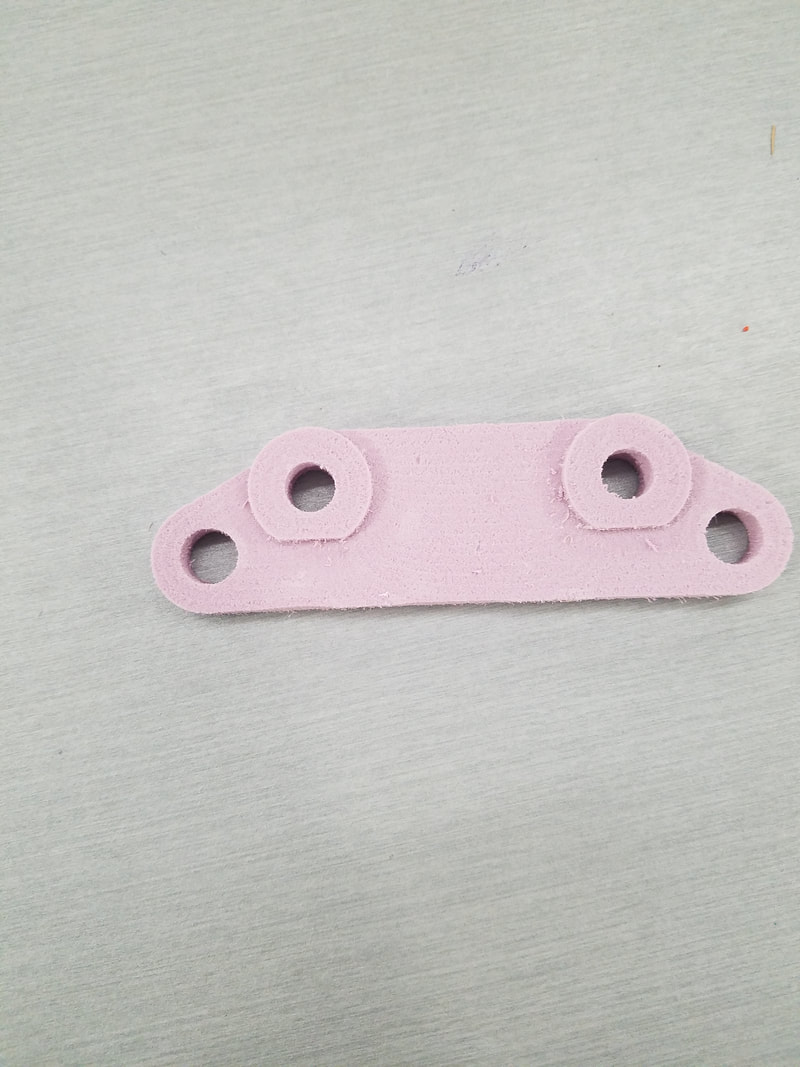
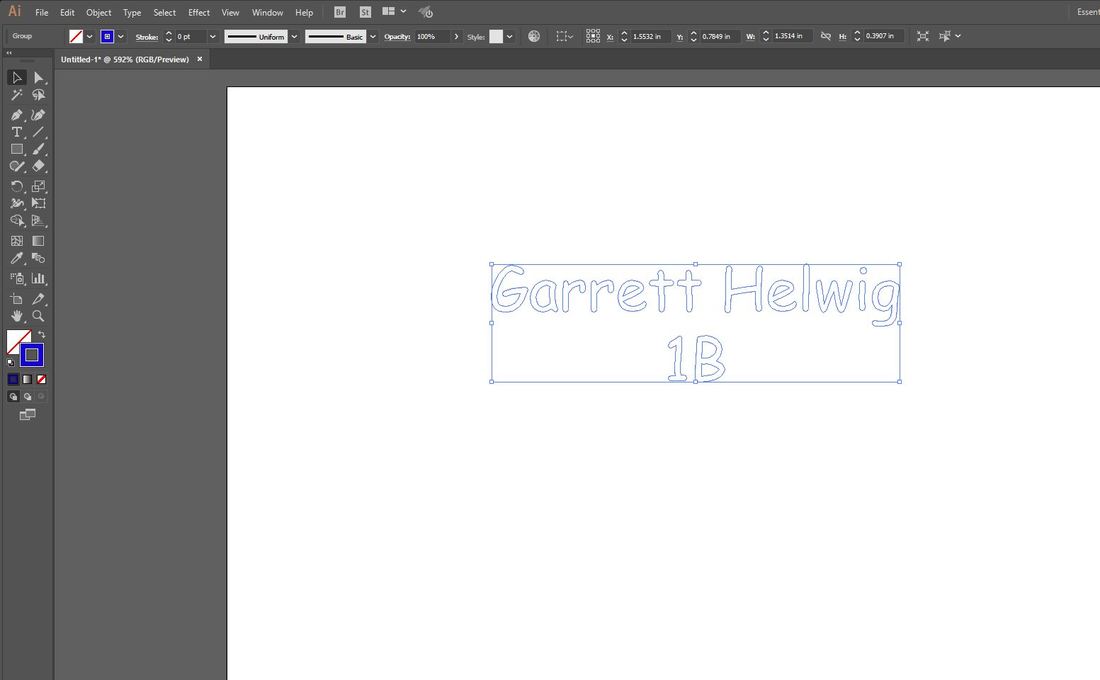
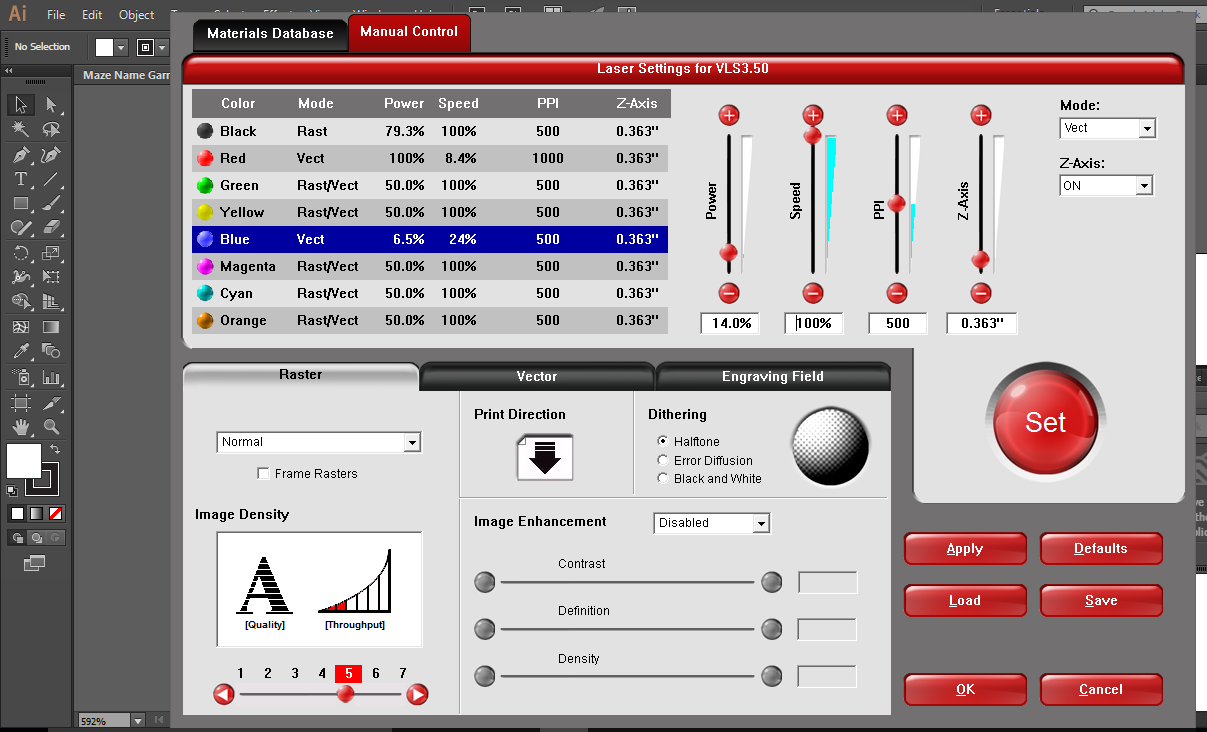
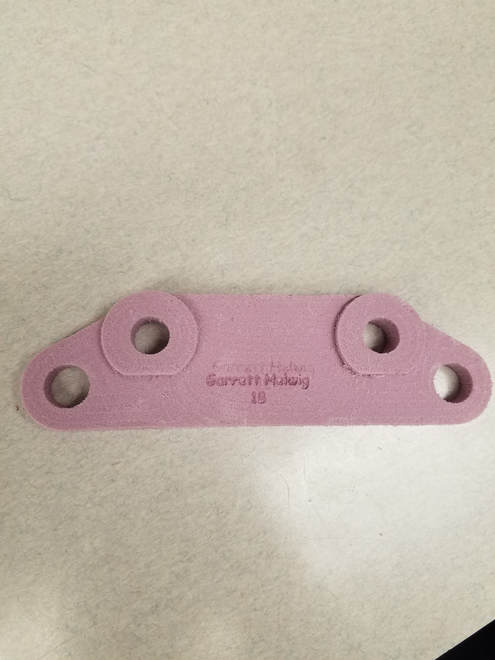
When I got the technical diagram I first decided to model and extrude the outside shape before cutting out holes. I made a rectangle, added circles, and extruded to get the basic shape. After that, I cut out the holes and extruded the larger circles to the proper height. The next step was setting up the toolpath so I turned on the CAM feature, selected 3D adaptive, and changed all the necessary drill and speed settings for the mill. When the path was generated I saved the file as G-code and put it on a flashdrive bound for the mill. At the mill, I opened my code in the software and used the jog pad to position the mill at the bottom left corner of my stock, which I taped onto the base. Once I zeroed the mill and cleared previous settings, I pressed the start button keeping my finger on the space bar in case something catastrophic happened. Fortunately, I didn't have to use the space bar and my brake bracket came out beautifully. The final step was to engrave my name on the bracket. I used the same Illustrator file and laser settings that I used for the maze, and quickly engraved my name on the bracket.
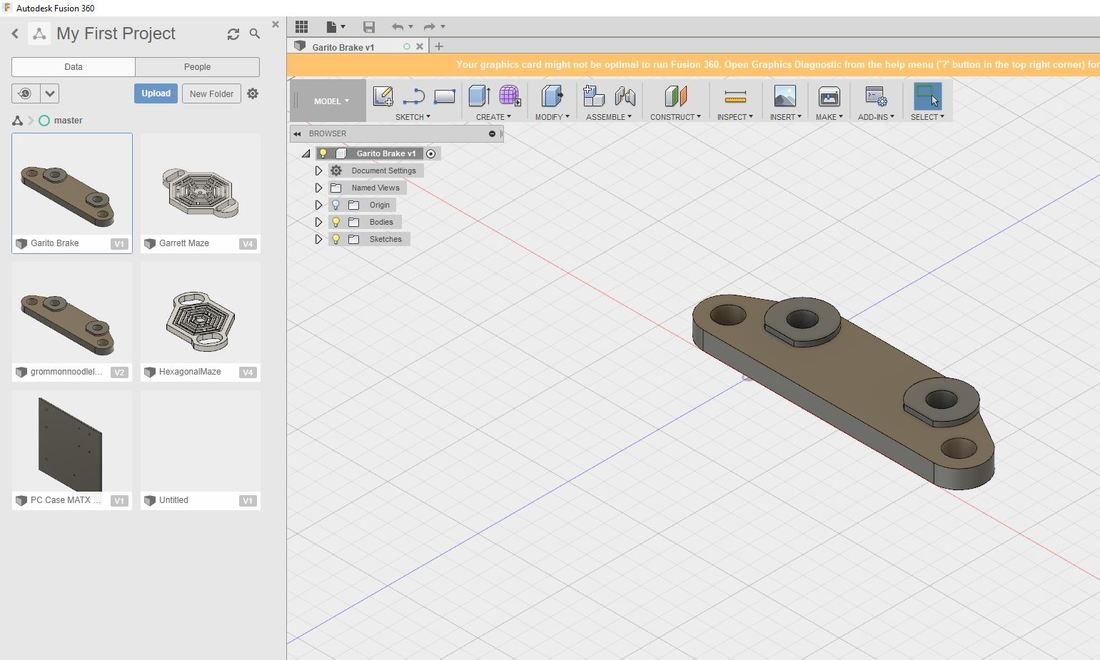
Fusion

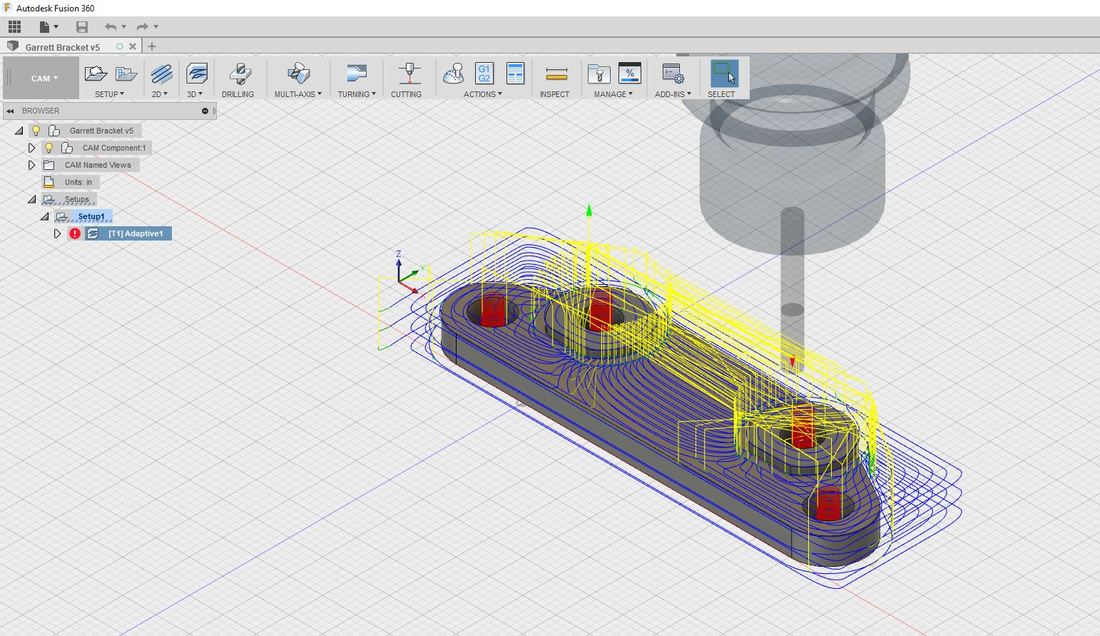
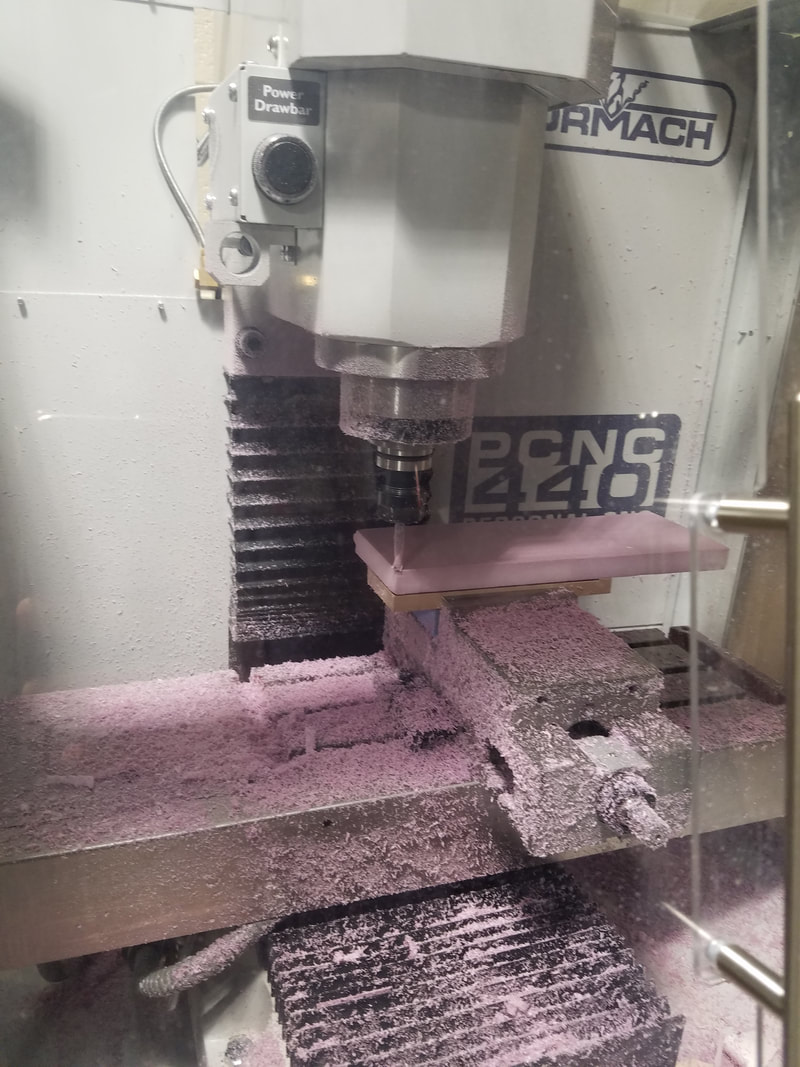
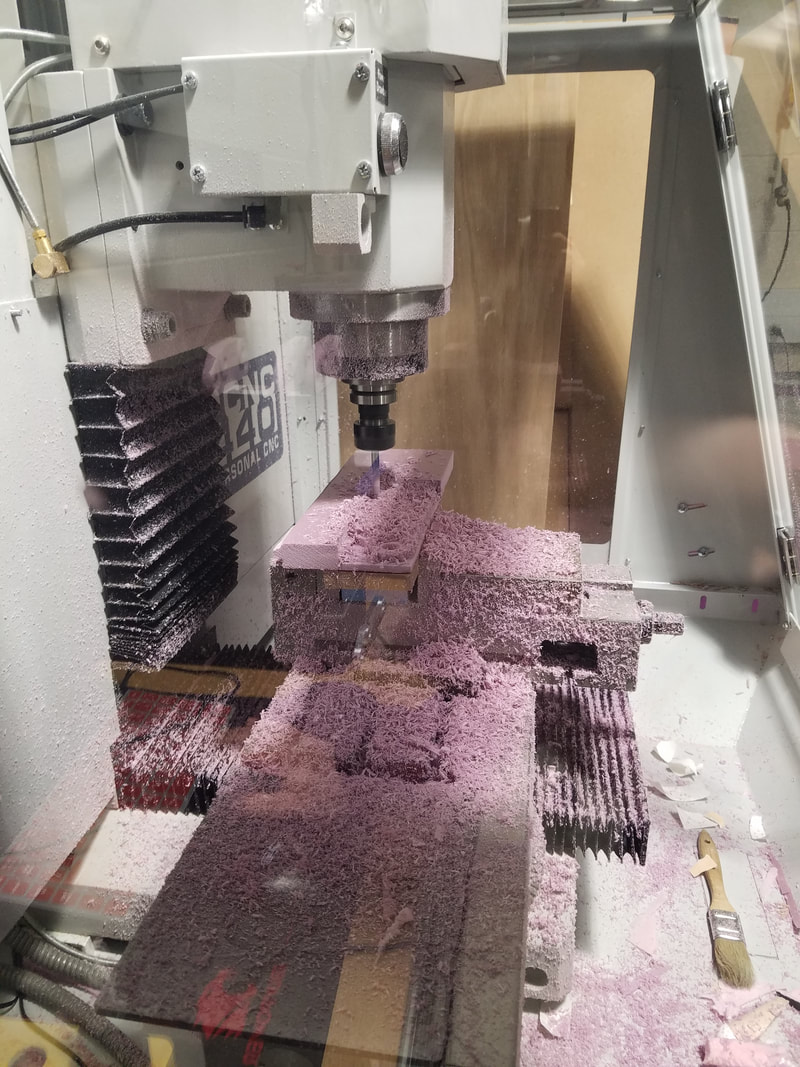
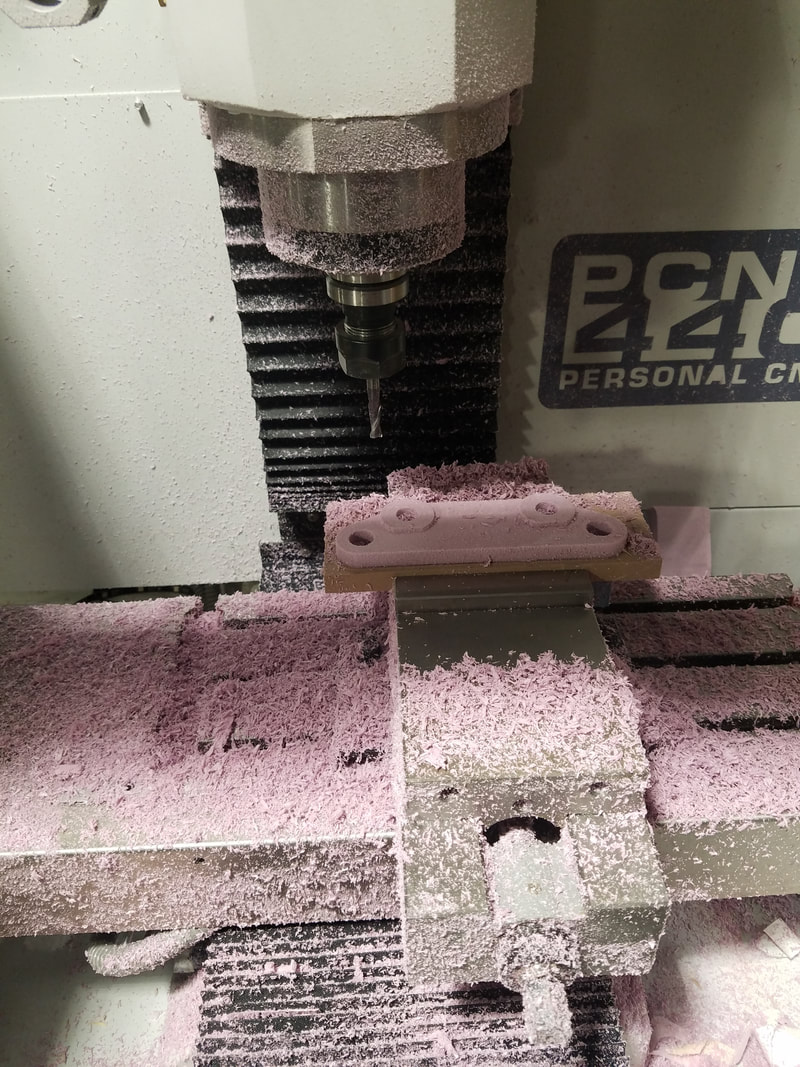
Mill Set-Up
Laser
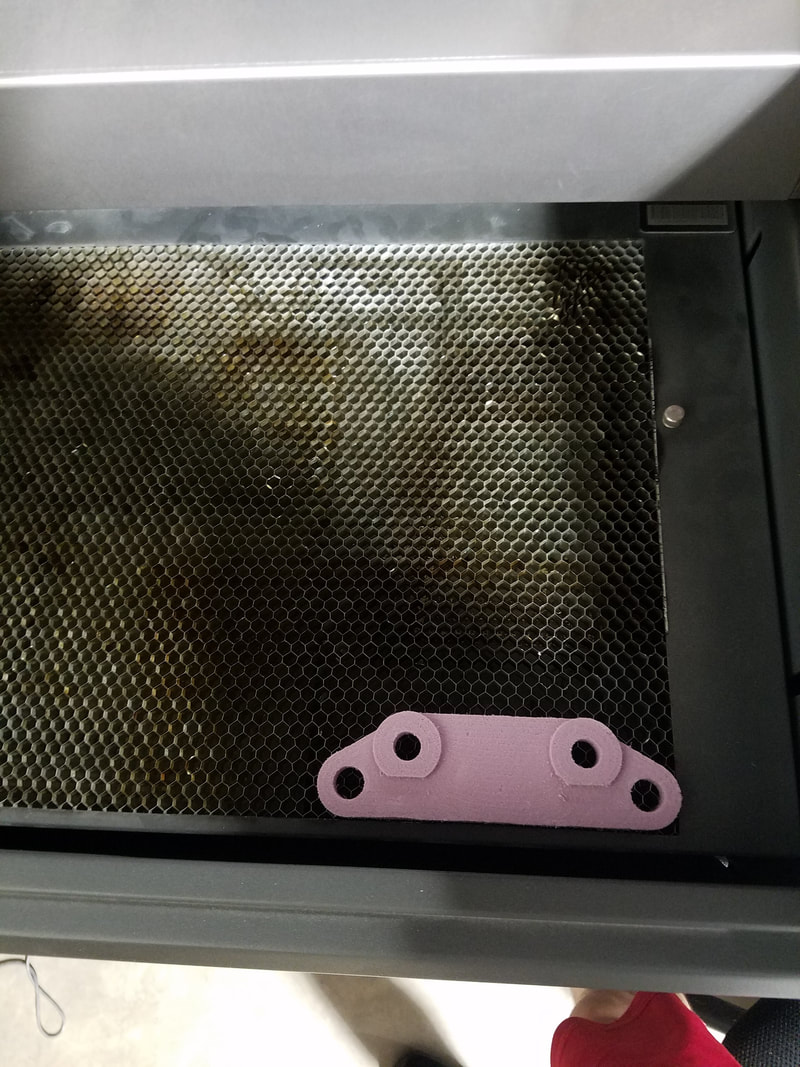
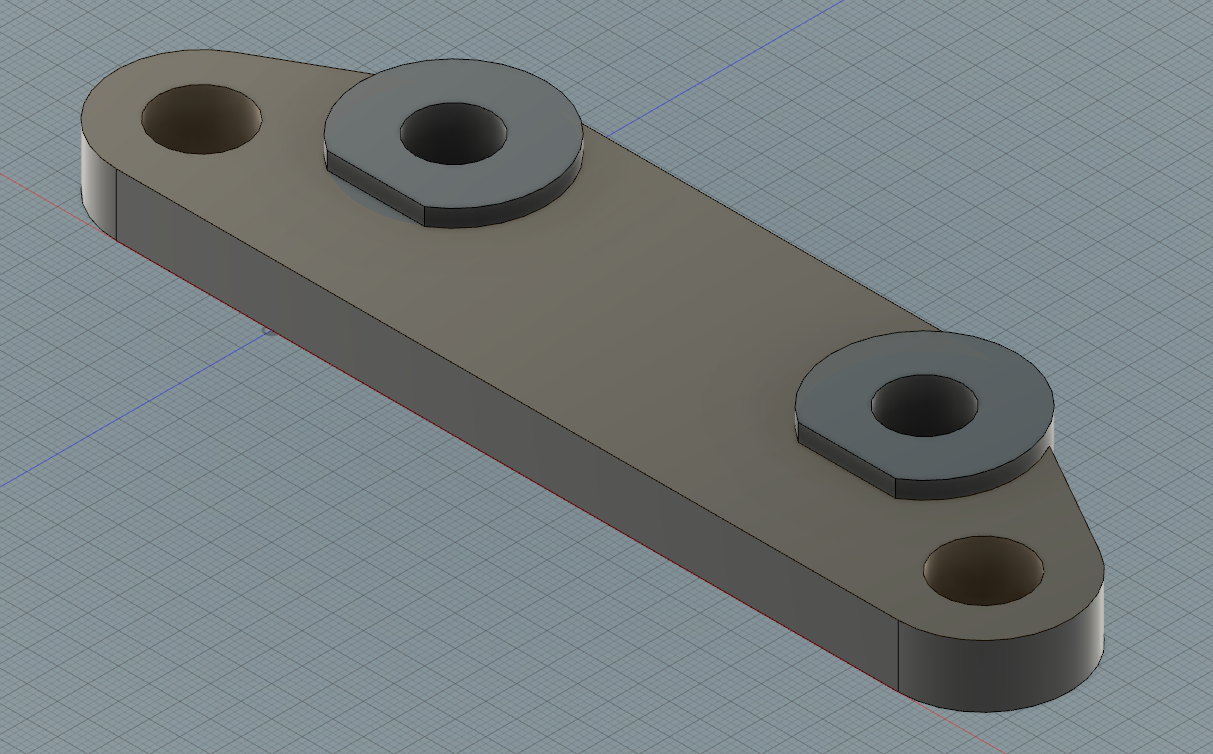
Final Brake Bracket
Final Evaluations
I learned alot from this project. I learned how machines with similar functions can be completely different to set up. Even in Fusion, the router needed a 2D contoured path, while the mill needed a 3D adaptive clearing path. Additionally, the machines and their setup are much different. Not only is the mill smaller and more compact, but its directly attached to the setup computer and jog pad. Just about the only similarity between the two is their function and the fact that you have to keep your finger on the space bar at all times. Personally, this project was cool because it had some real world applications. I work on my car, and it's super cool to see the possibilities of using the mill to potentially create parts that I need for much cheaper. This project was also helpful for honing my fusion/toolpath skills in preparation for the final project. Overall, this project is full of real world possibilities, opened my eyes about similar machines, and prepared me for the final project.
