
What is Adobe Illustrator?
Adobe Illustrator is a software program that gives the user access to a diverse allotment of drawing, shaping, coloring, and editing tools. Illustrator consists of a blank workspace surrounded by various tools and options. Illustrator can edit and convert photos into different forms-such as raster and vector-as well as create shapes and outlines that can be converted into many different file types to be laser cut, engraved, or even to create vinyl decals. Illustrator has virtually endless opportunities as a software and I look forward to digging deeper into what it has to offer.
Vinyl Decal

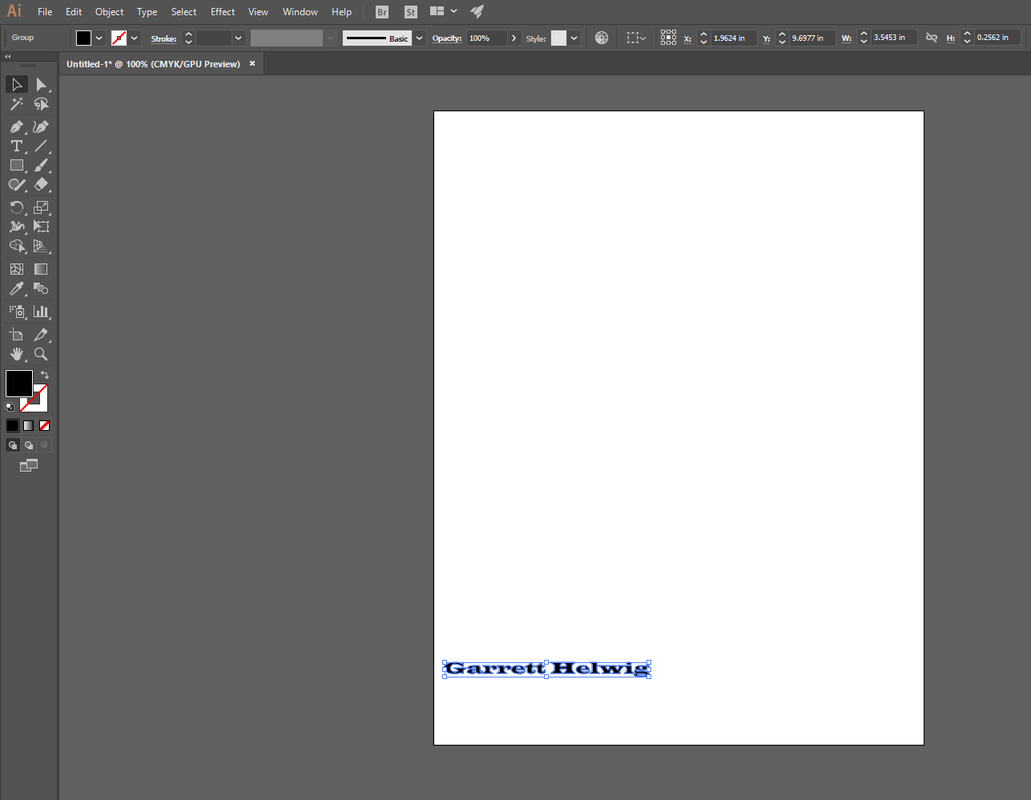
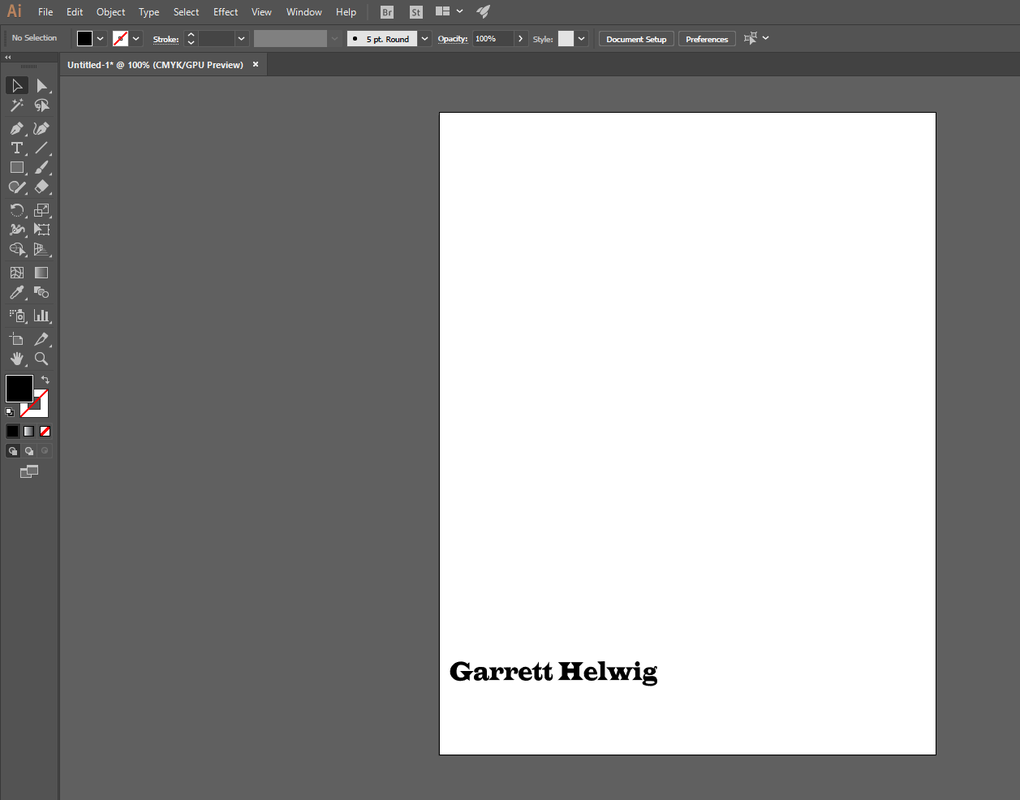
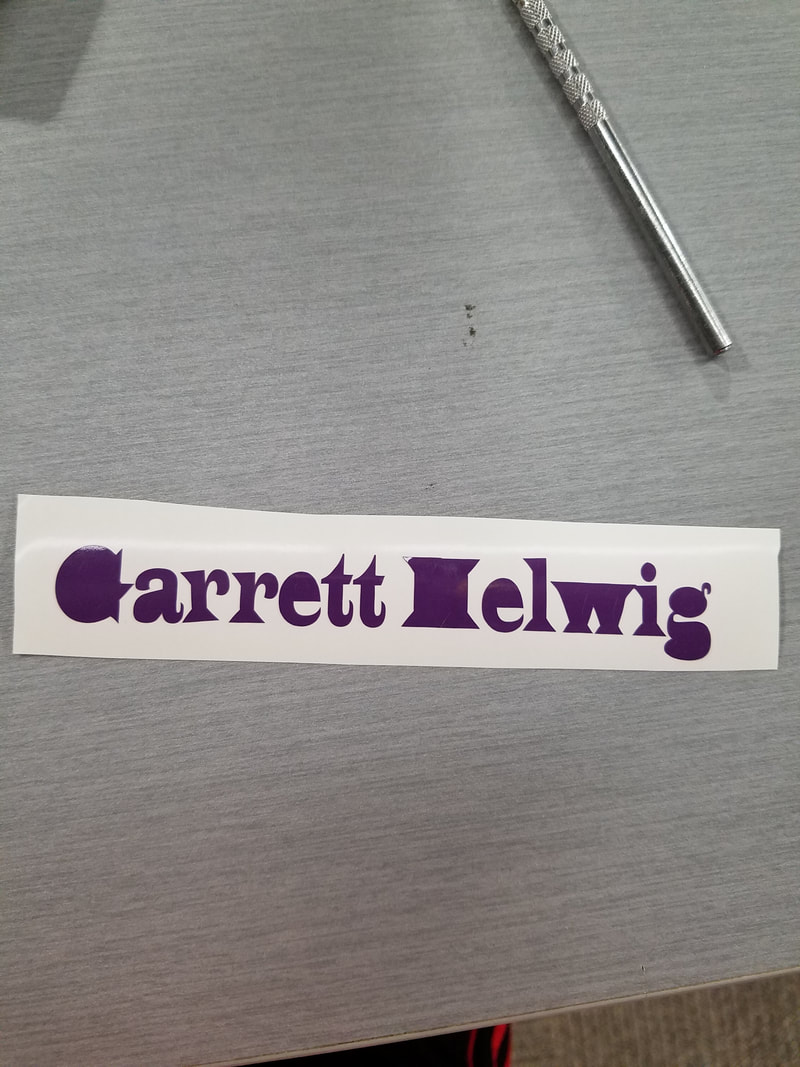
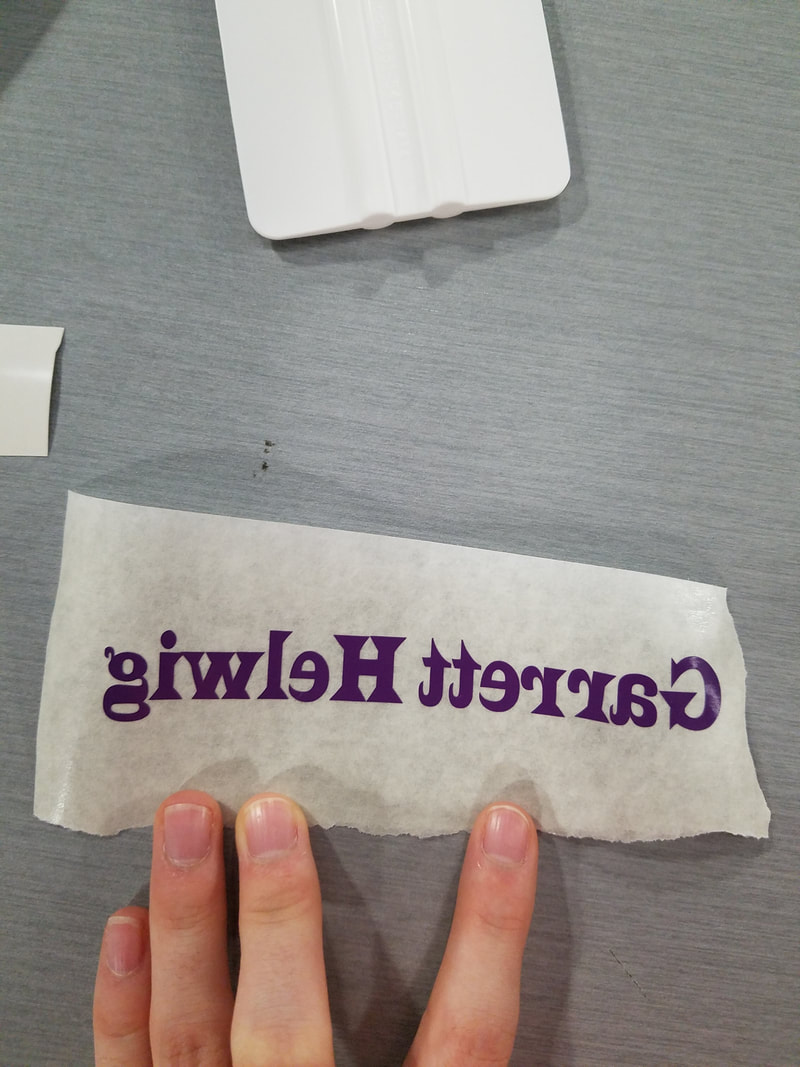
The first step for making decals was to type our names into the workspace, convert them to vector images, and then send them off to the vinyl cutter.
How to apply the decal
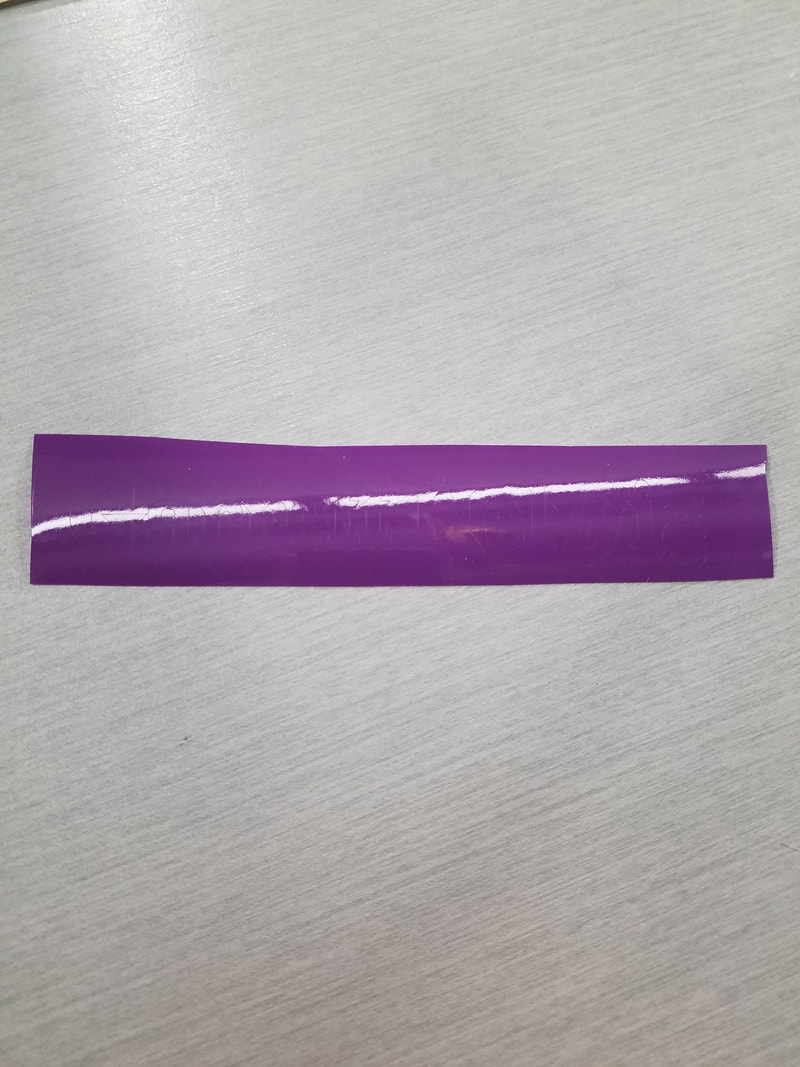
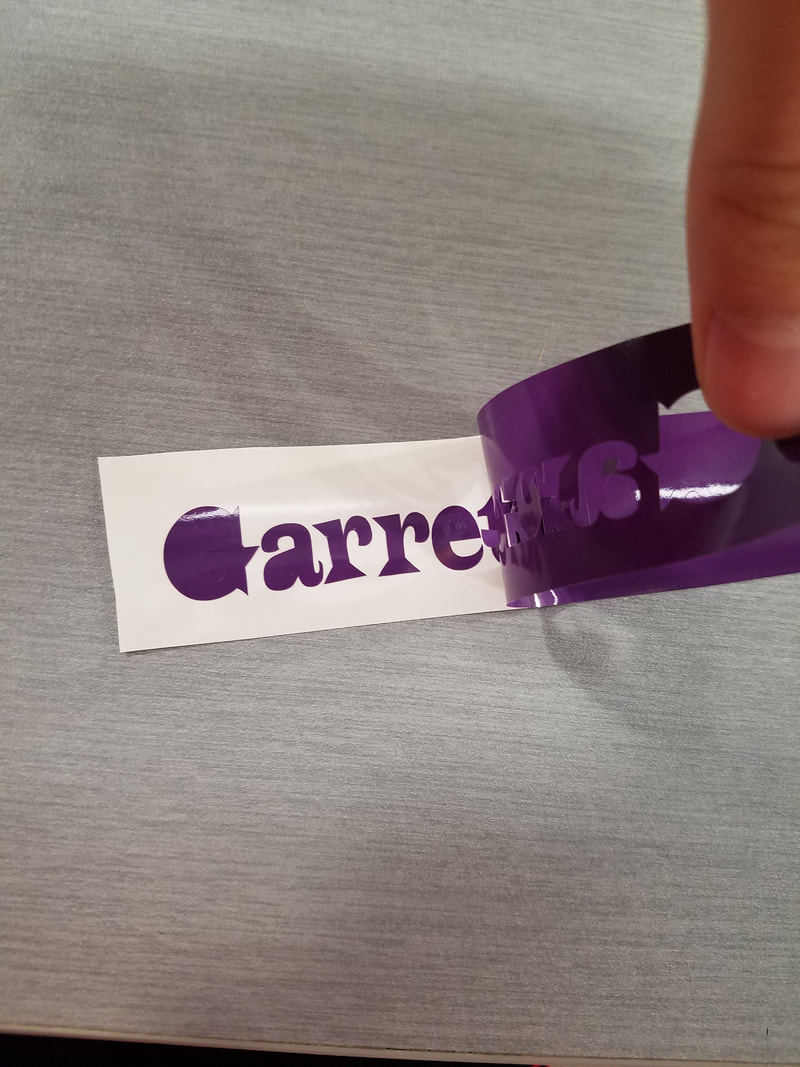
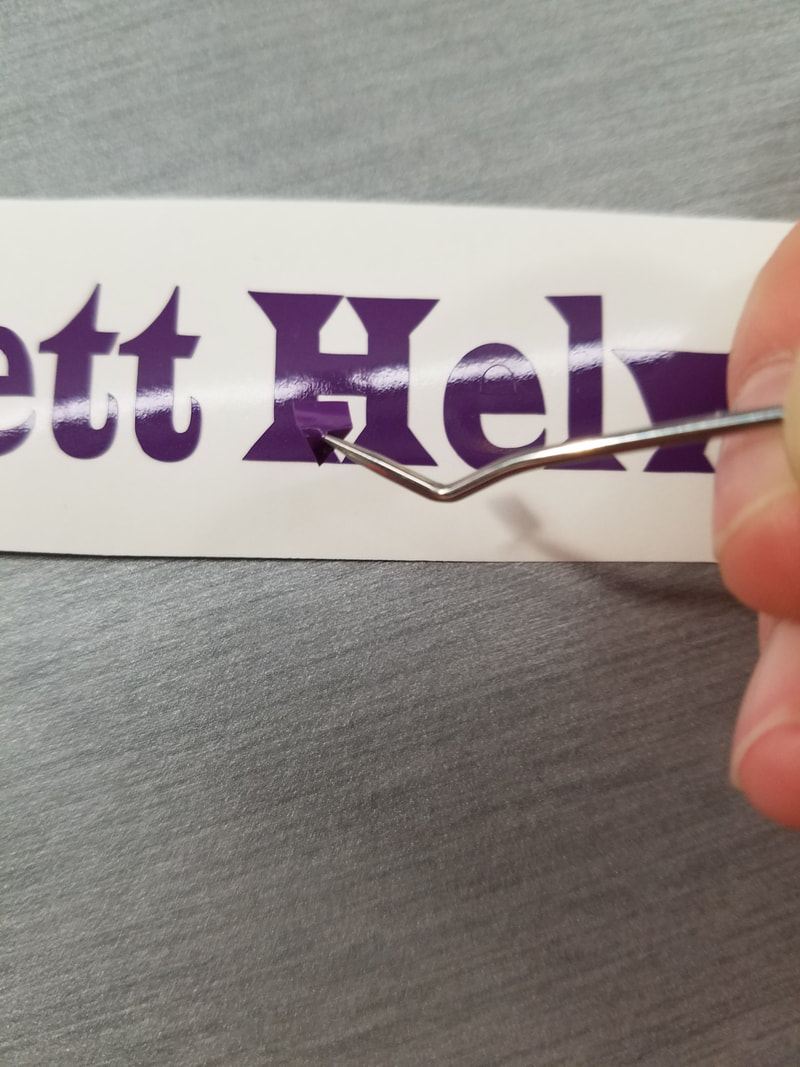
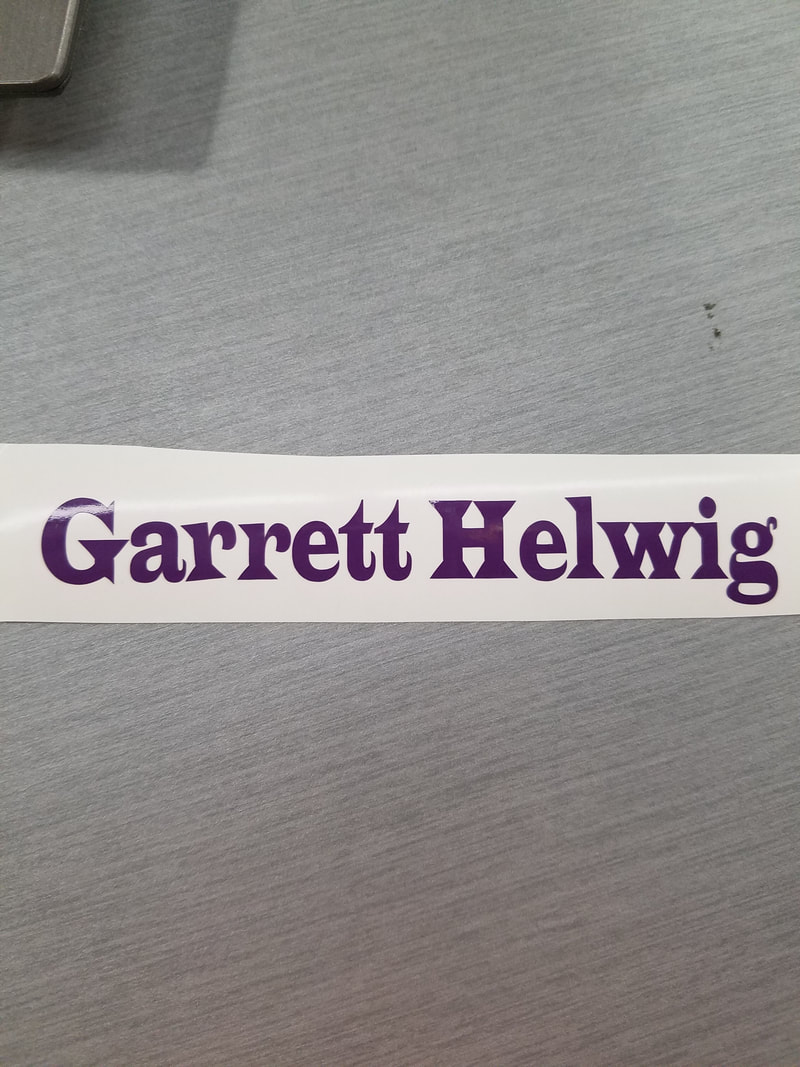
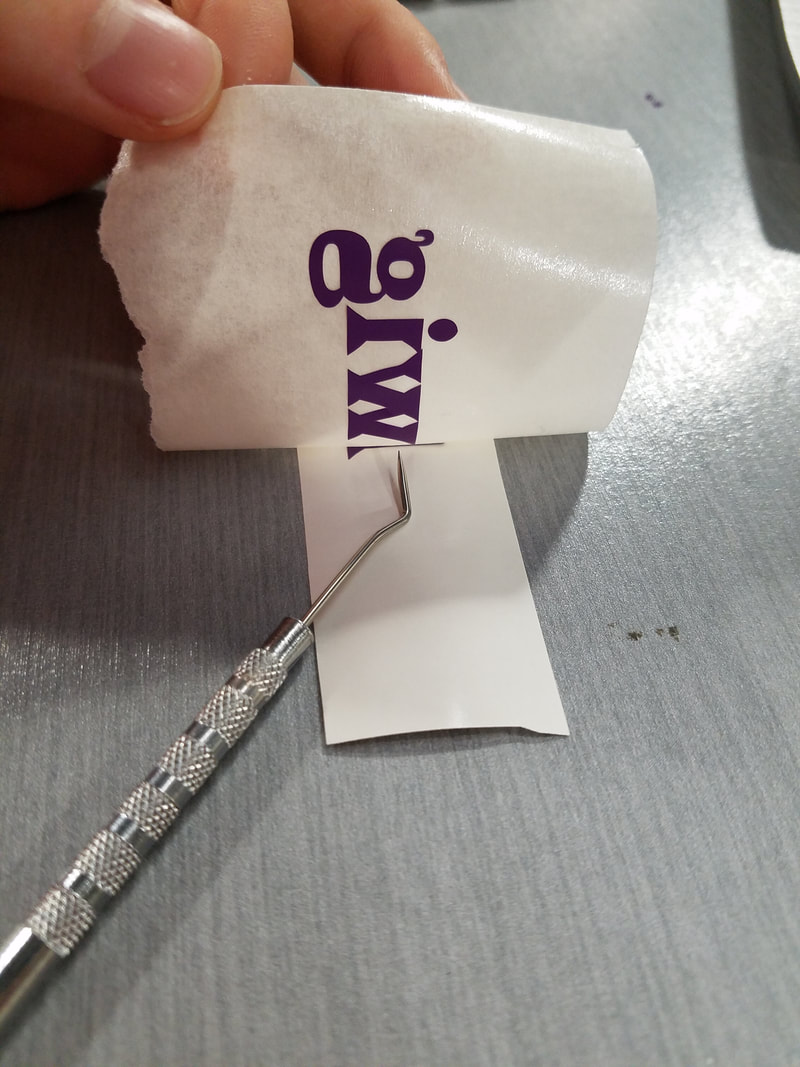
Step 1. Begin peeling the excess vinyl from around your decal. If any of your decal sticks to the excess vinyl, use a dental tool to gently separate your decal.
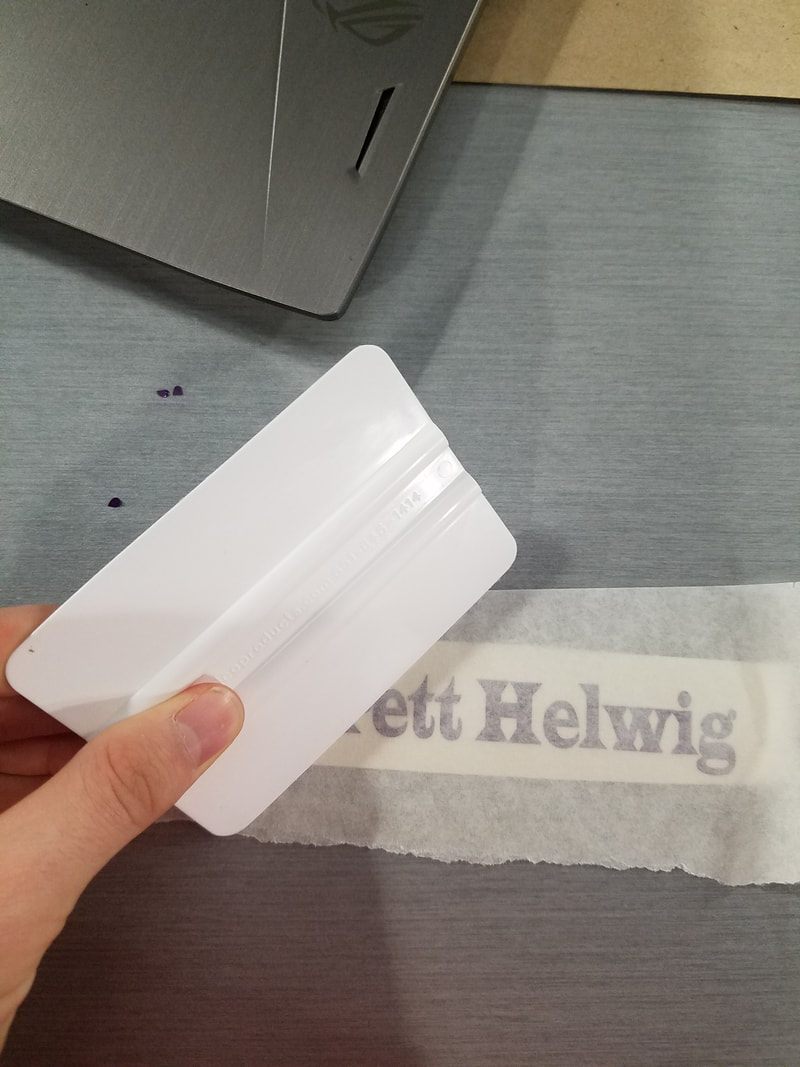
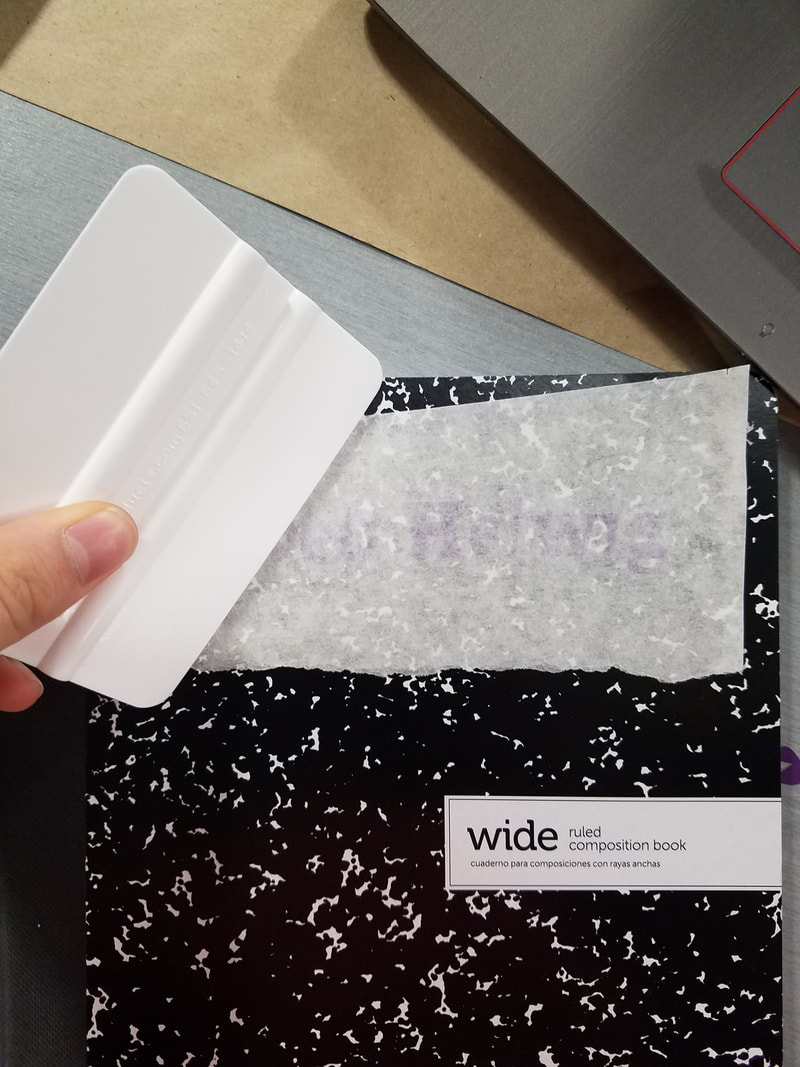
Step 2. Once your decal has been cleared of any excess vinyl, put a sheet of transfer paper over the decal and firmly slide a plastic scraper over the entire decal for about 5 minutes or until you are certain that the decal has transferred.
Step 3. Peel the transfer paper up from the paper that the decal was attached to, using the dental tool to peel up any vinyl still stuck to the paper.
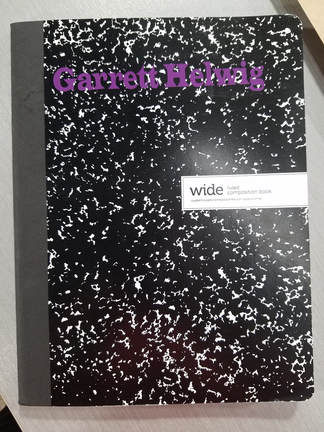
Step 4. Once the decal is on the transfer paper, it is ready for application. Simply place the decal where you want it and firmly slide the plastic scraper over it again to transfer. If any vinyl sticks to the transfer paper, use the dental tool to remove it.
Step 2. Once your decal has been cleared of any excess vinyl, put a sheet of transfer paper over the decal and firmly slide a plastic scraper over the entire decal for about 5 minutes or until you are certain that the decal has transferred.
Step 3. Peel the transfer paper up from the paper that the decal was attached to, using the dental tool to peel up any vinyl still stuck to the paper.
Step 4. Once the decal is on the transfer paper, it is ready for application. Simply place the decal where you want it and firmly slide the plastic scraper over it again to transfer. If any vinyl sticks to the transfer paper, use the dental tool to remove it.
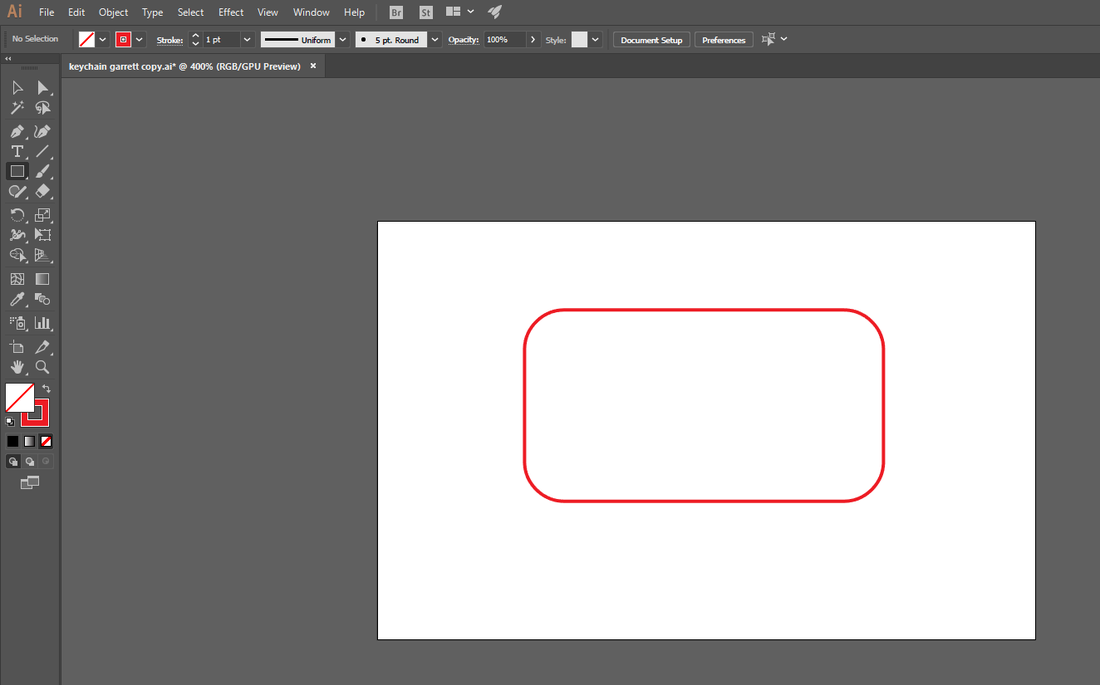
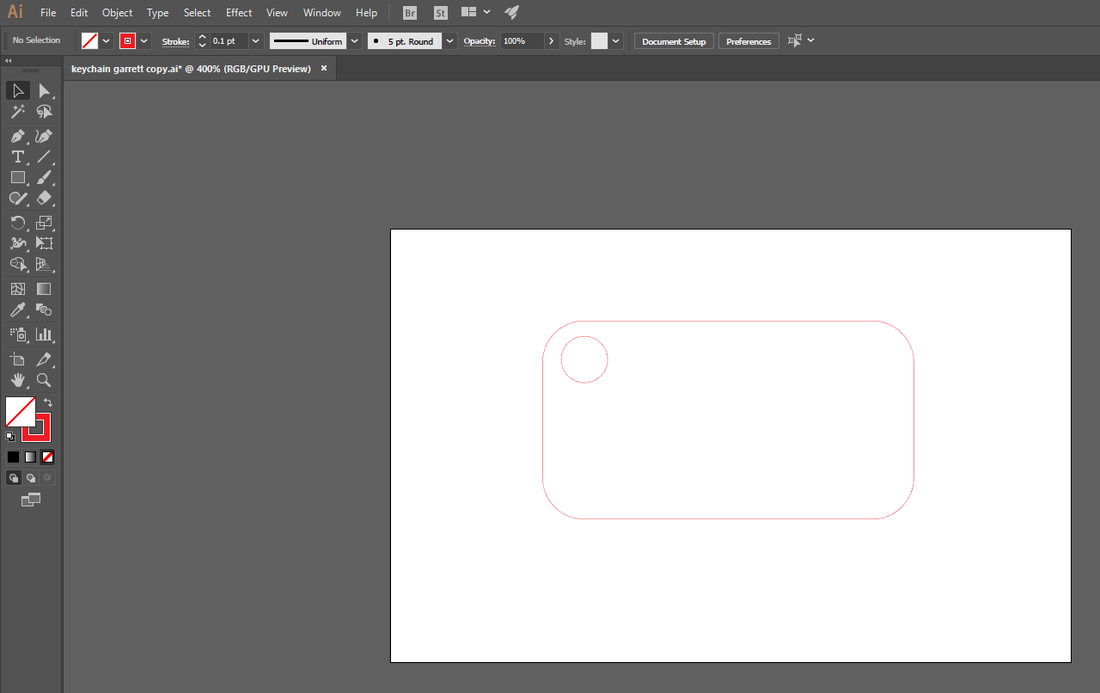
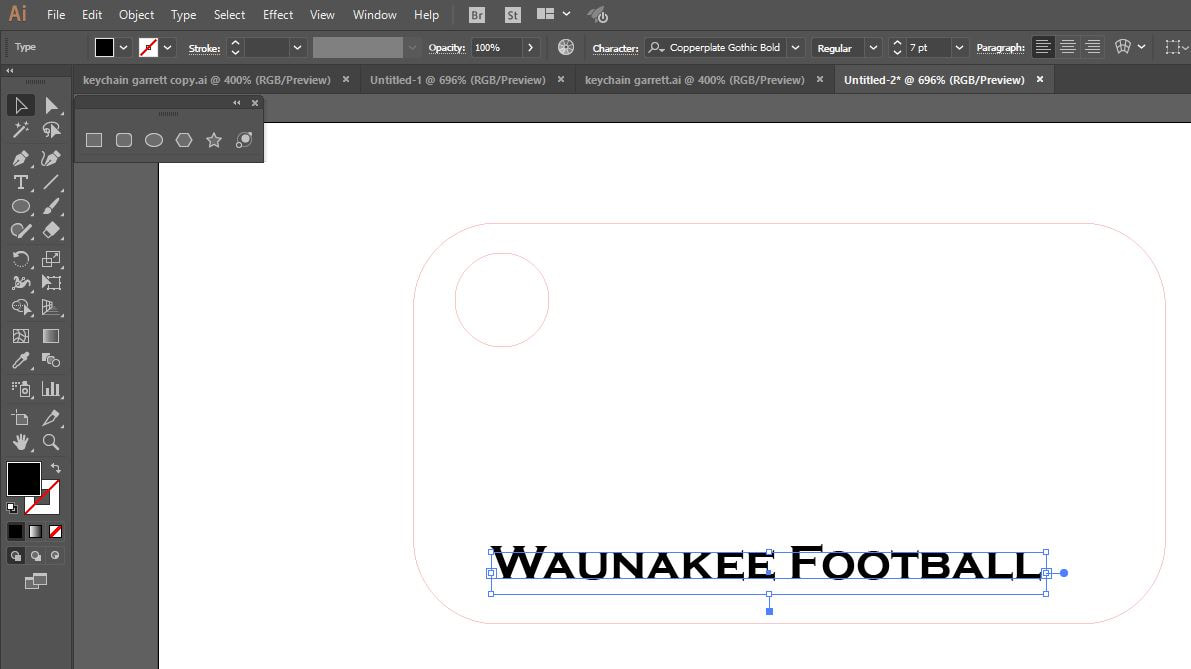
Keychain
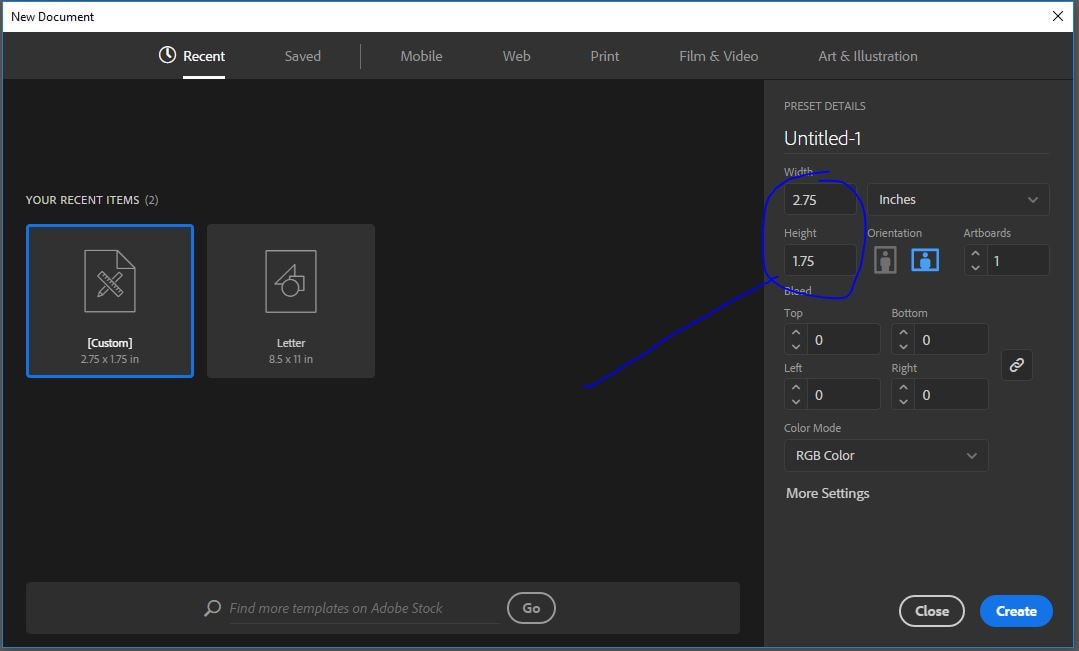
How to use the Laser
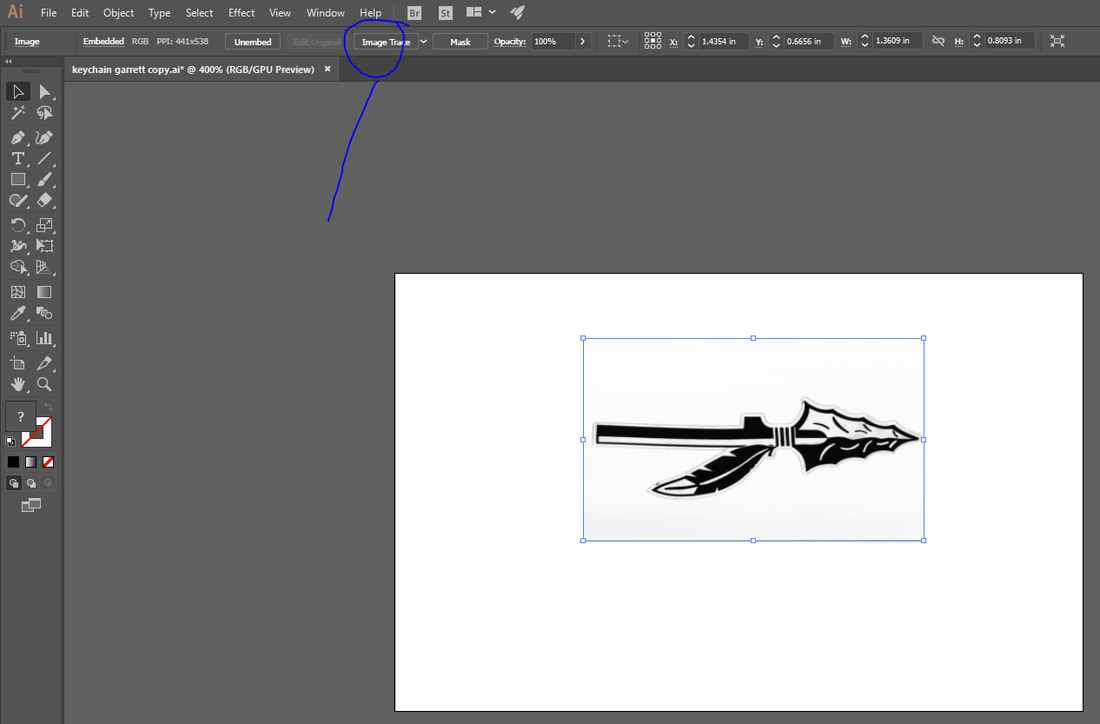
Step 1: Plug in your flashdrive and open your Illustrator project file
Step 2: Under the print tab, go to VLS6.60, setup, and then preferences. This is important so that the project is sent to the laser that is prepared for the proper materials
Step 3: Enter the thickness of your material and then search for that material. In this case I used Extruded Acrylic.
Step 4: Load the Illustrator file on the UCP software and activate the laser.
Step 5: Turn on the exhaust, this step is crucial to avoid blowing up the laser
Step 6: Put the material in the laser and use the focus/relocation tools to move the laser to the corner of the material you want to cut out, making sure that this aligns with the projection on the software.
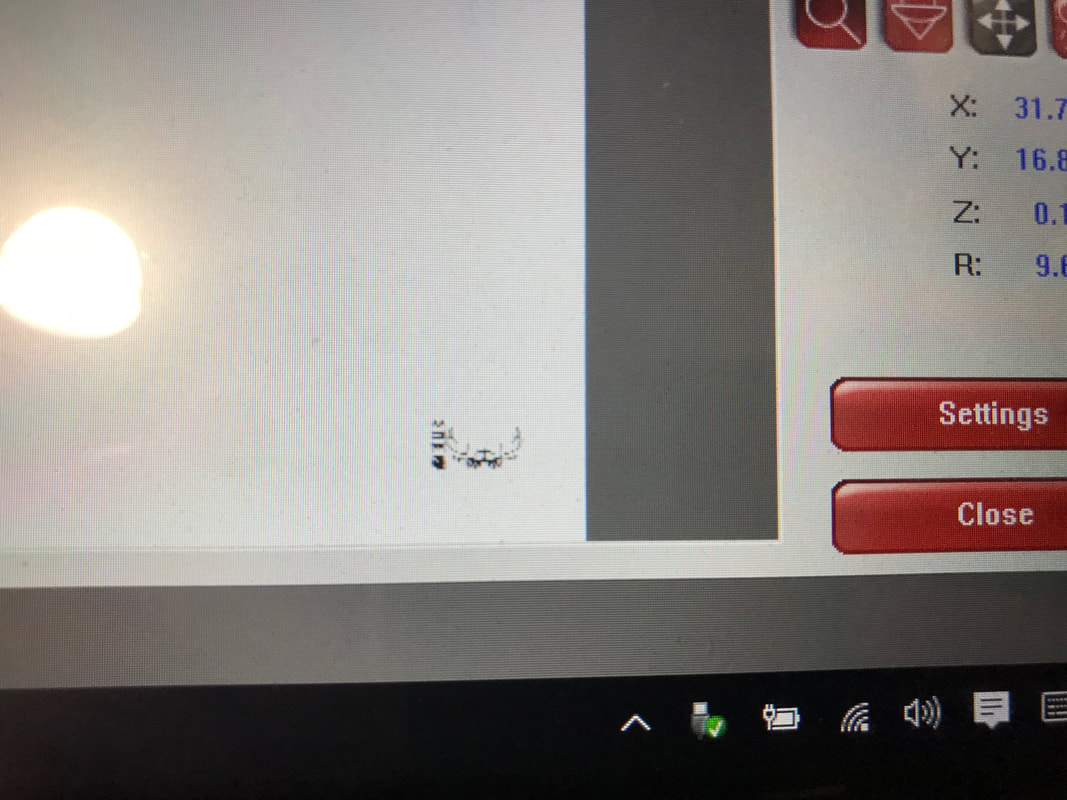
Step 7: Check all corners of the image to avoid printing outside the material
Step 8: Close the lid and press the large green play button
Step 9: Wait until the entire image is cut before removing it, never leave the laser unattended while it is running
Step 2: Under the print tab, go to VLS6.60, setup, and then preferences. This is important so that the project is sent to the laser that is prepared for the proper materials
Step 3: Enter the thickness of your material and then search for that material. In this case I used Extruded Acrylic.
Step 4: Load the Illustrator file on the UCP software and activate the laser.
Step 5: Turn on the exhaust, this step is crucial to avoid blowing up the laser
Step 6: Put the material in the laser and use the focus/relocation tools to move the laser to the corner of the material you want to cut out, making sure that this aligns with the projection on the software.
Step 7: Check all corners of the image to avoid printing outside the material
Step 8: Close the lid and press the large green play button
Step 9: Wait until the entire image is cut before removing it, never leave the laser unattended while it is running
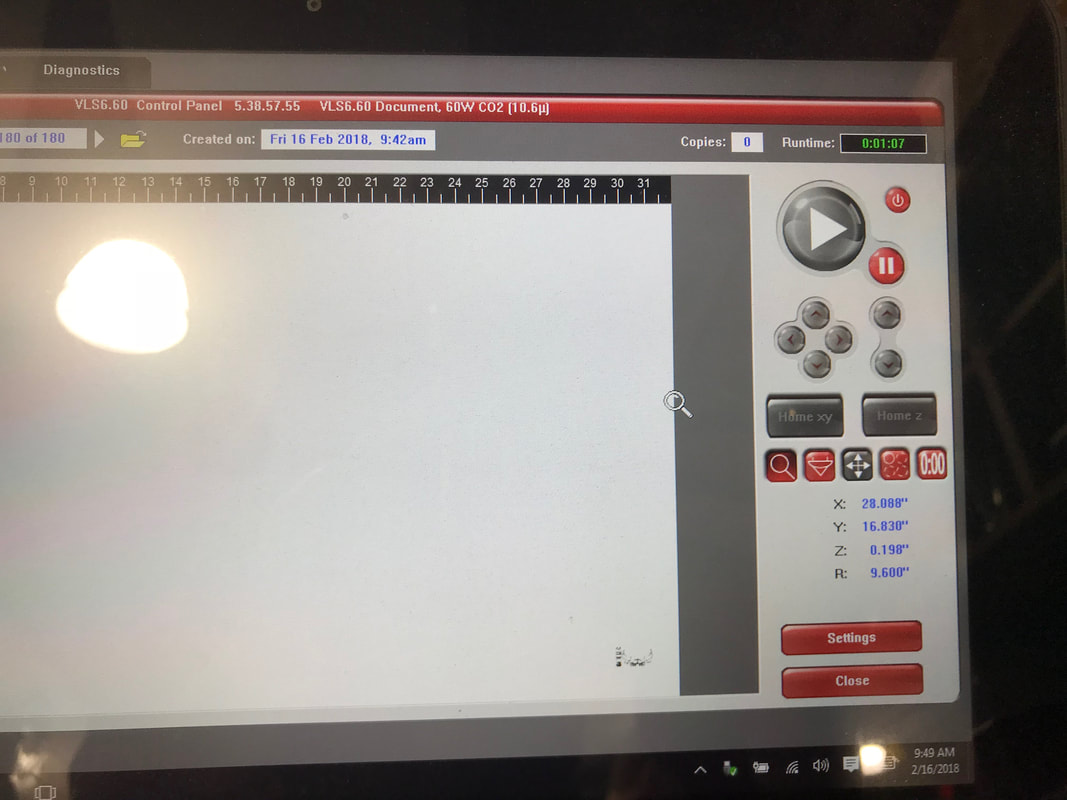

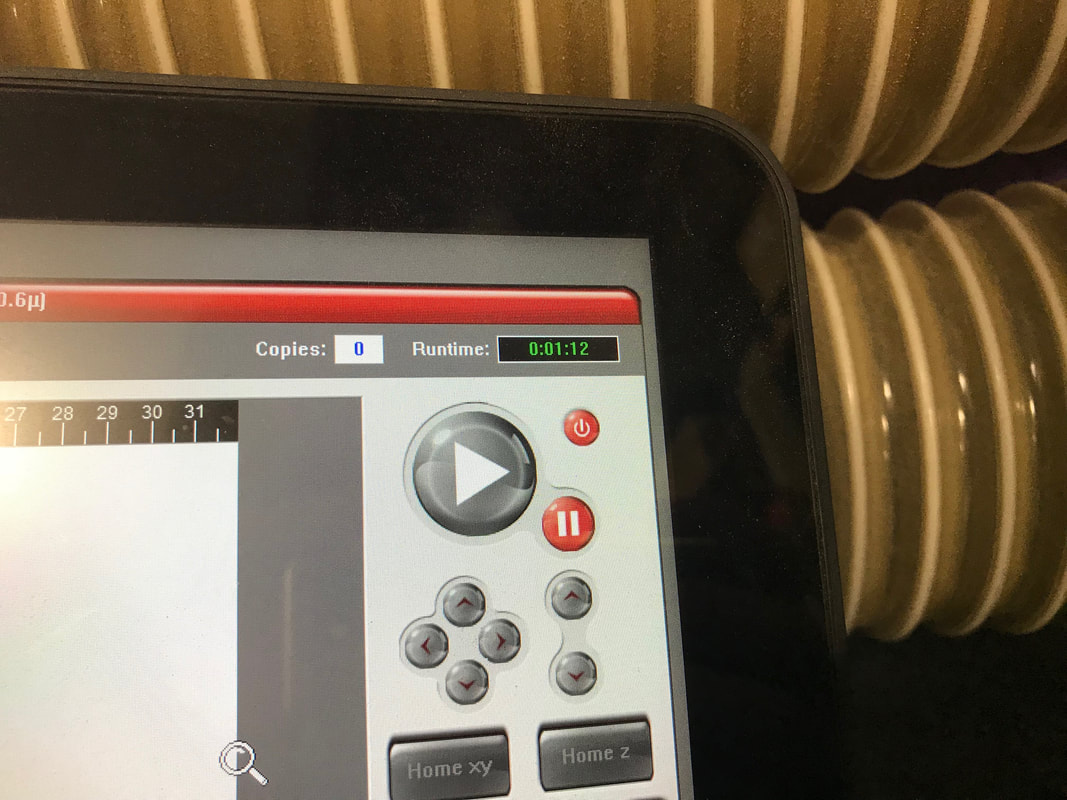
The pictures above show several of the key steps for using he laser cutter. ( Not all of the steps are included due to technical difficulties with taking screenshots on the computer)
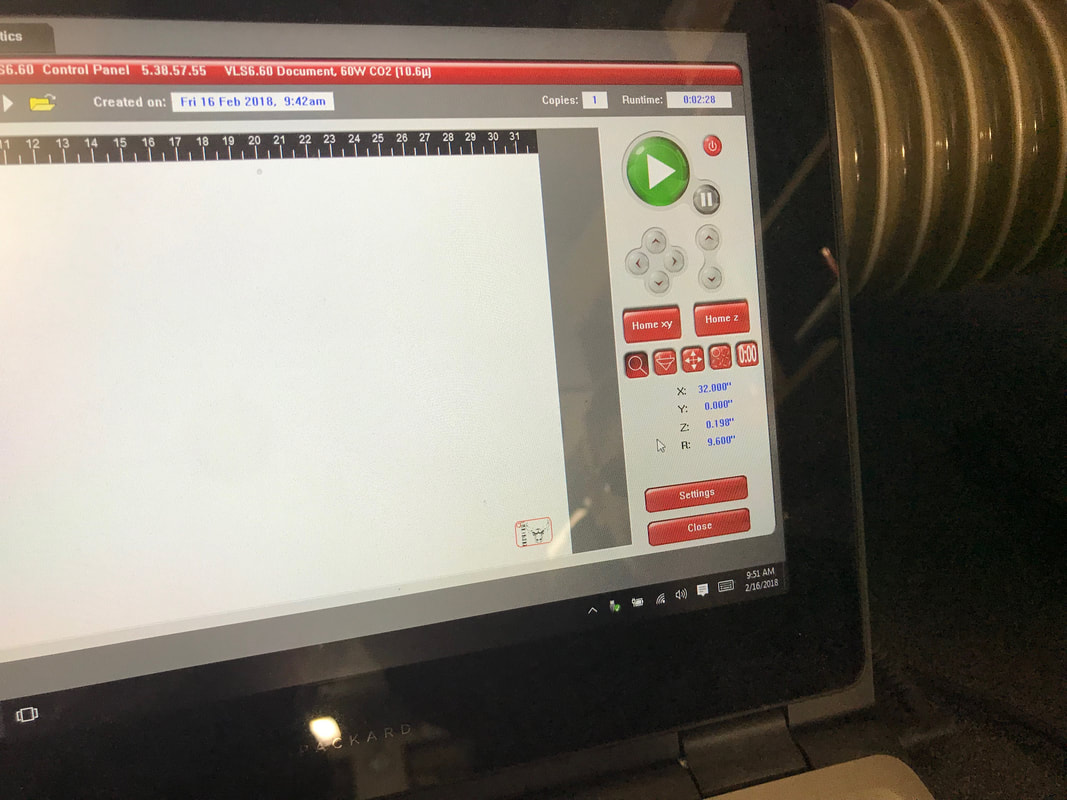
The first column shows the procedure for moving the laser into position once the image has been uploaded.
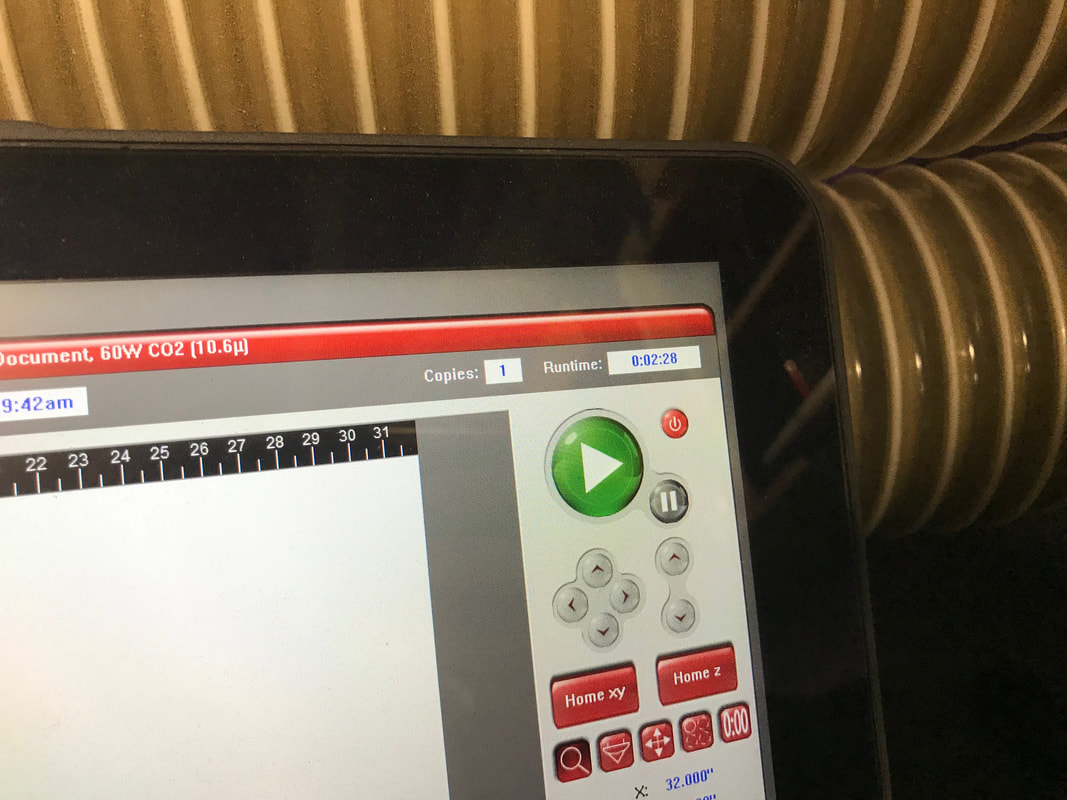
The second column shows the final stages of aligning the laser up with the material and selecting the green play button to commence cutting.
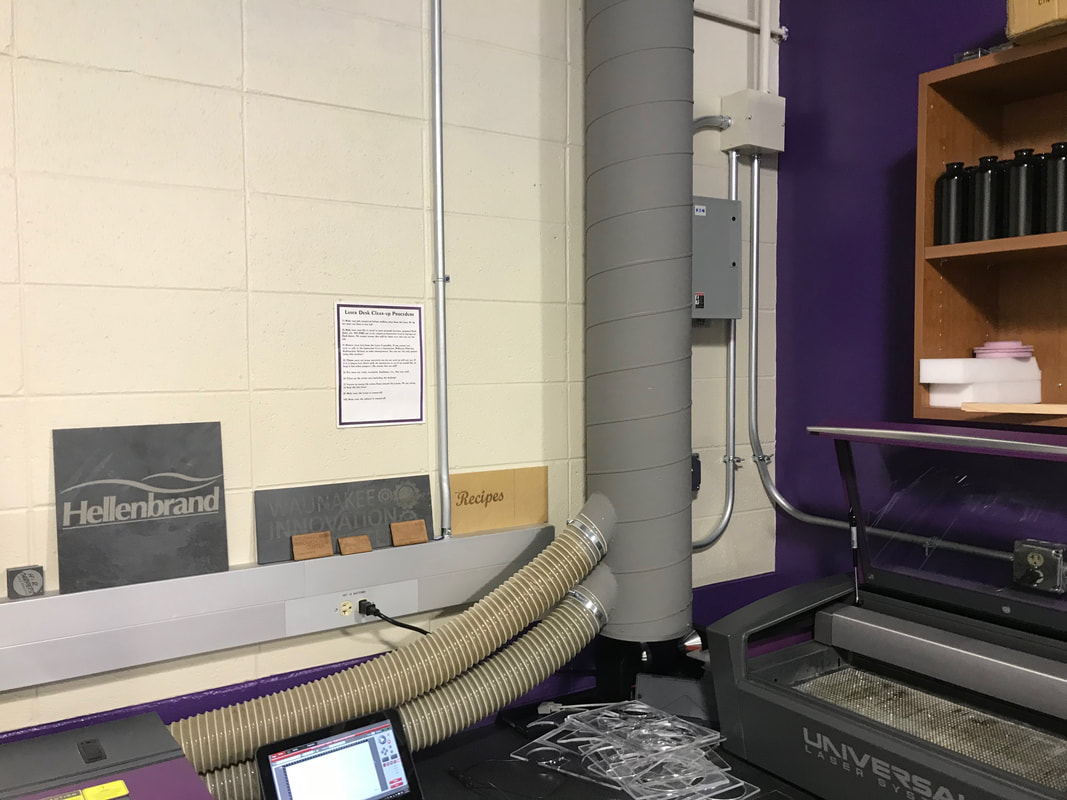
The third column shows the exhaust and the switch to turn it on.
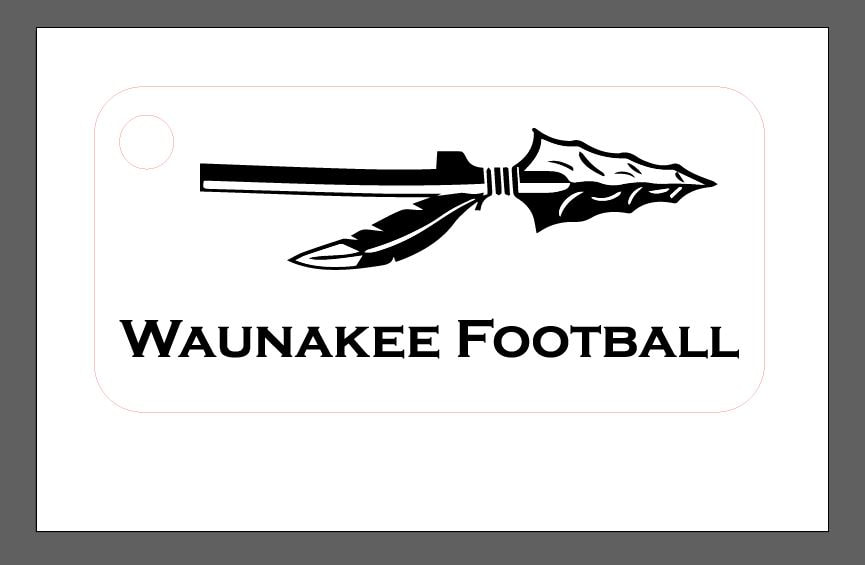
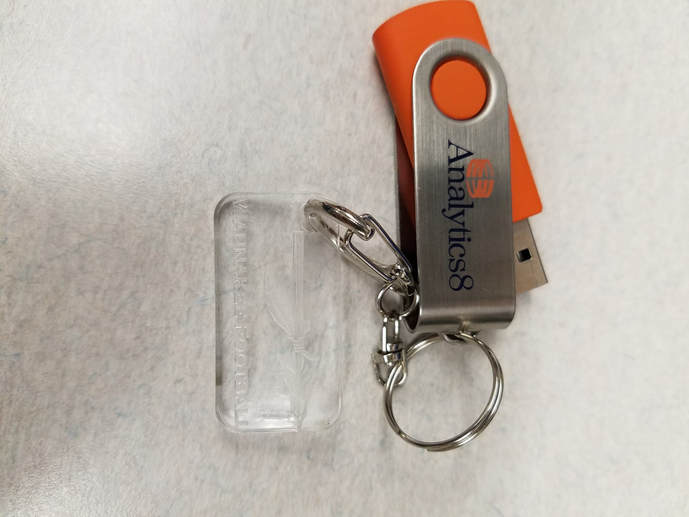
Below is the final product on a keychain.
The first column shows the procedure for moving the laser into position once the image has been uploaded.
The second column shows the final stages of aligning the laser up with the material and selecting the green play button to commence cutting.
The third column shows the exhaust and the switch to turn it on.
Below is the final product on a keychain.
Final evaluations
I was exited to learn another new software and Illustrator definitely did not disappoint. Illustrator has so many practical applications that I have barely even scratched the surface to. Having never used it before, there were definitely struggles and there are a lot of things that I can improve, but it was a good experience to use the same software for two completely different applications, which brings me back to another point. At first, I didn't know what a vinyl cutter was and I certainly didn't think anyone would let a sophomore operate a laser cutter, but it's so cool to even have this opportunity that so many other people couldn't even dream of. This small introduction just gets me more excited for the many projects and applications to come in the near future.
