
Documentation and Sketches
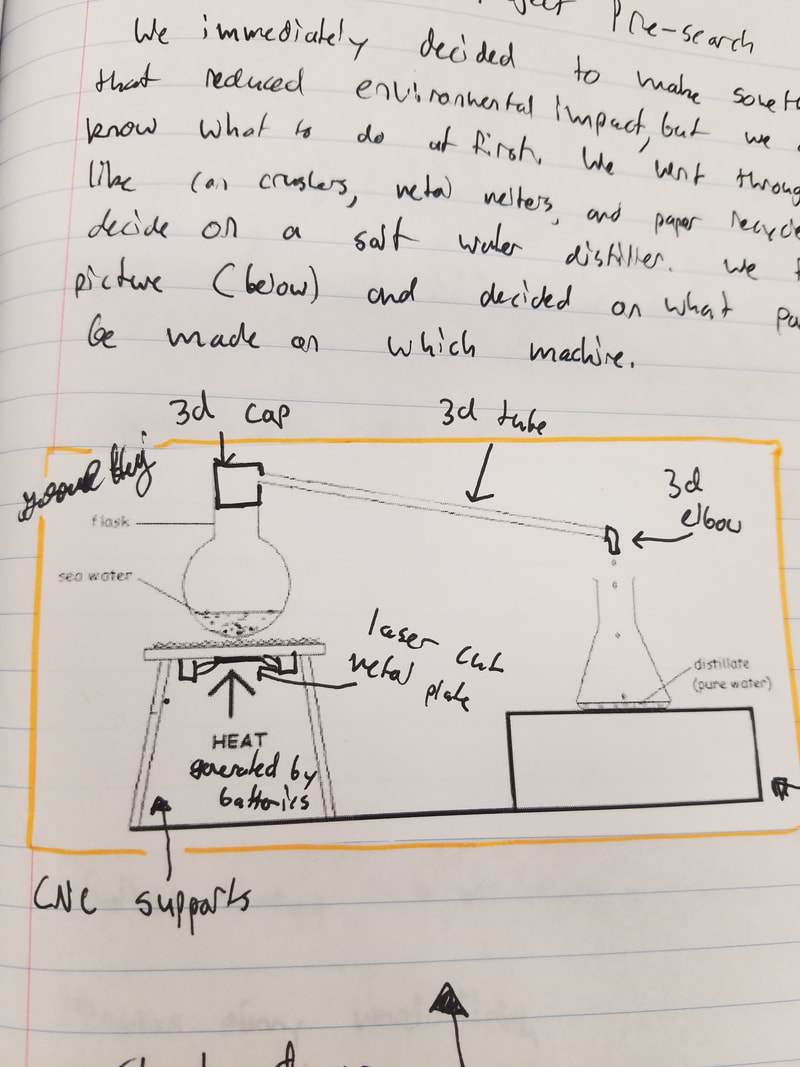
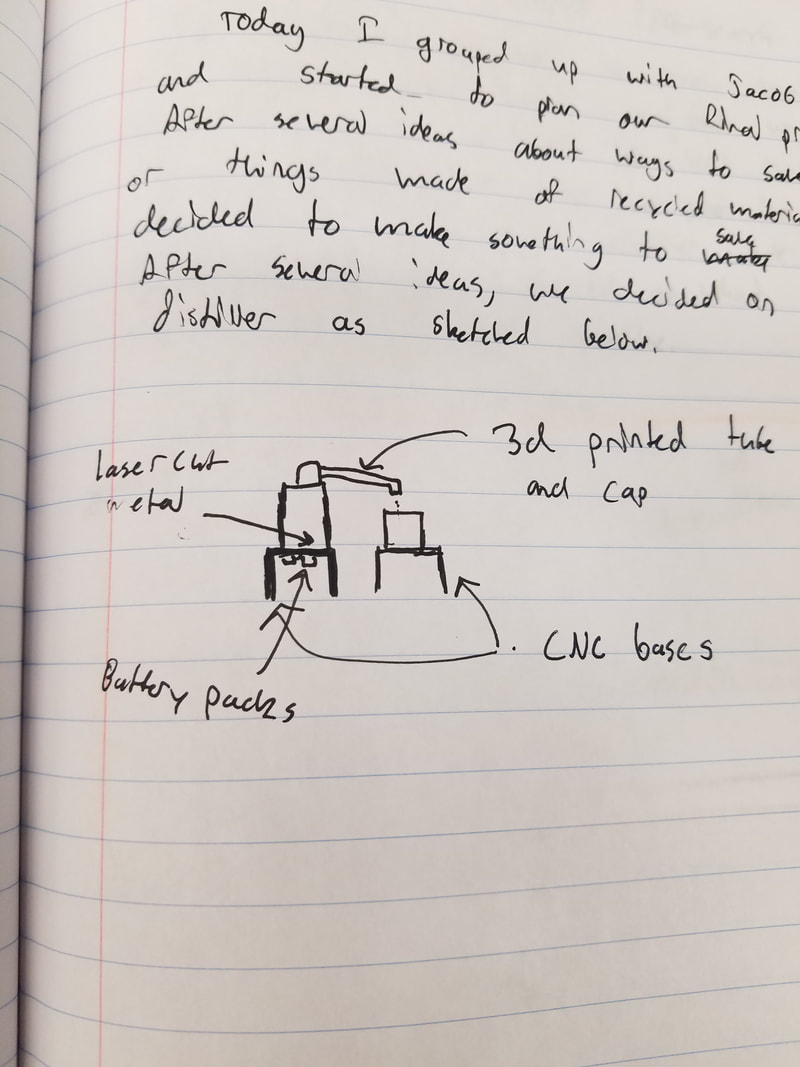
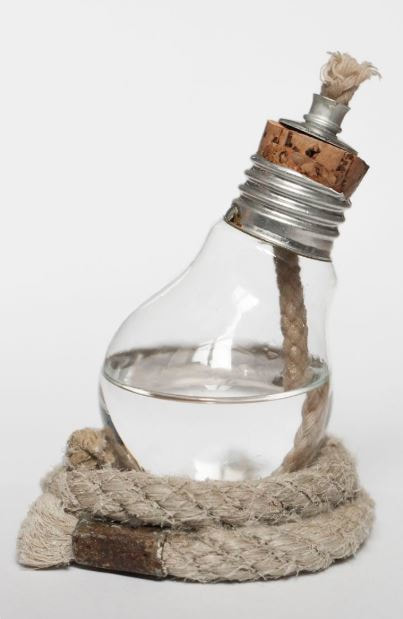
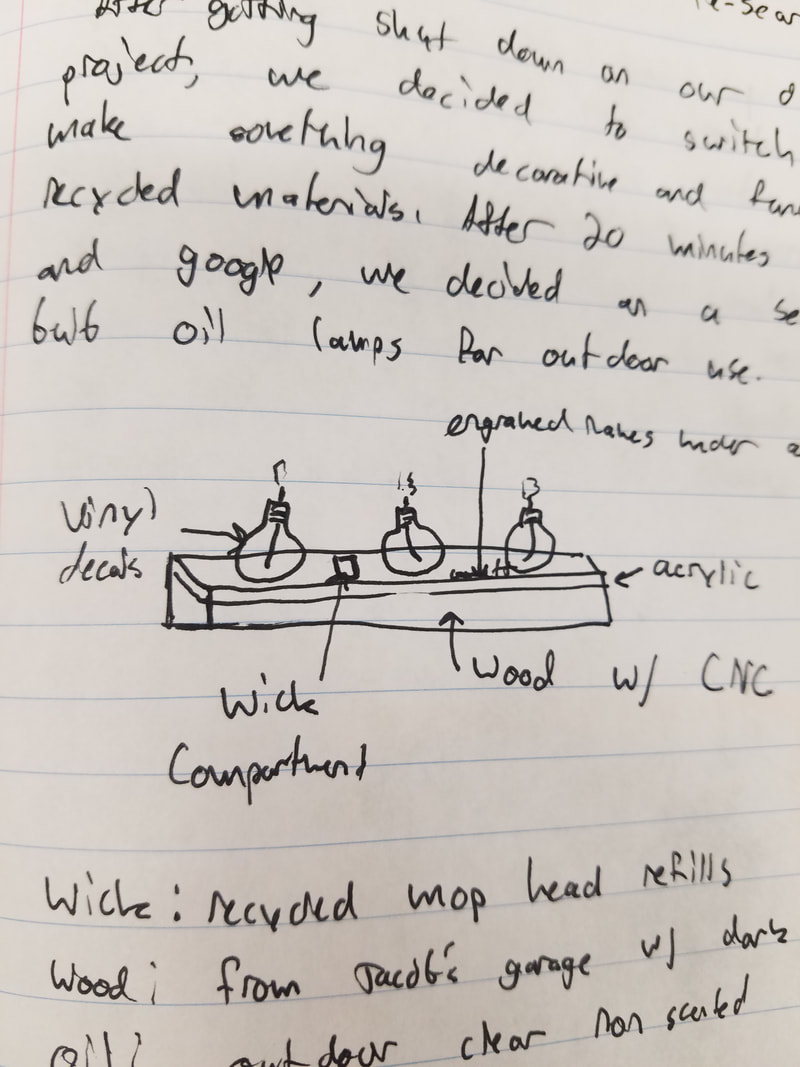
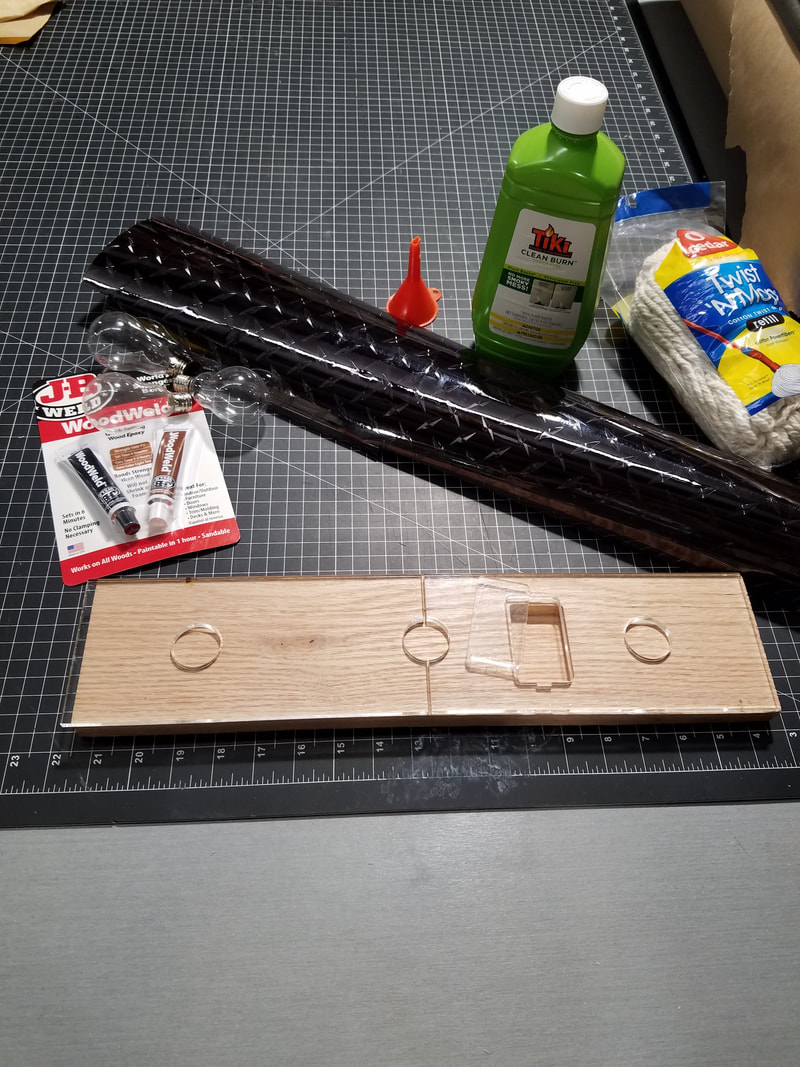
We immediately decided to make something to reduce environmental impact, so Jacob and I put our heads together and came up with several ideas including can crushers, garbage cans, metal melters, and paper recyclers. Eventually, we decided to make a salt water distiller, so we researched what outside materials we would need, and sketched what it would look like. Unfortunately, we were told that we couldn't make the distiller due to "project parameters" so we hopelessly went to google looking for inspiration. Luckily we came across a recycled materials page on pinterest, and saw a really cool design where you flip a lightbulb upside down and turn it into an oil lamp. This was a very attractive idea because it would be difficult but not too difficult to design, and it would serve a function as an outdoor decoration/lamp. We decided to use an 18x4 in piece of recycled scrap wood covered in scrap acrylic with 3 used lightbulb lamps on it. I would use Illustrator to design the acrylic cover for the wood as well as the vinyl strip that would surround the design, giving it a solid fluid look. Jacob would be in charge of cutting a slot in the wood for extra wicks using fusion and the router. We would also go on Amazon to purchase mop heads as wicks and environmentally friendly clear lamp oil. After our project was verified and we got our jobs, Jacob and I got straight to work.

How the Project was Completed
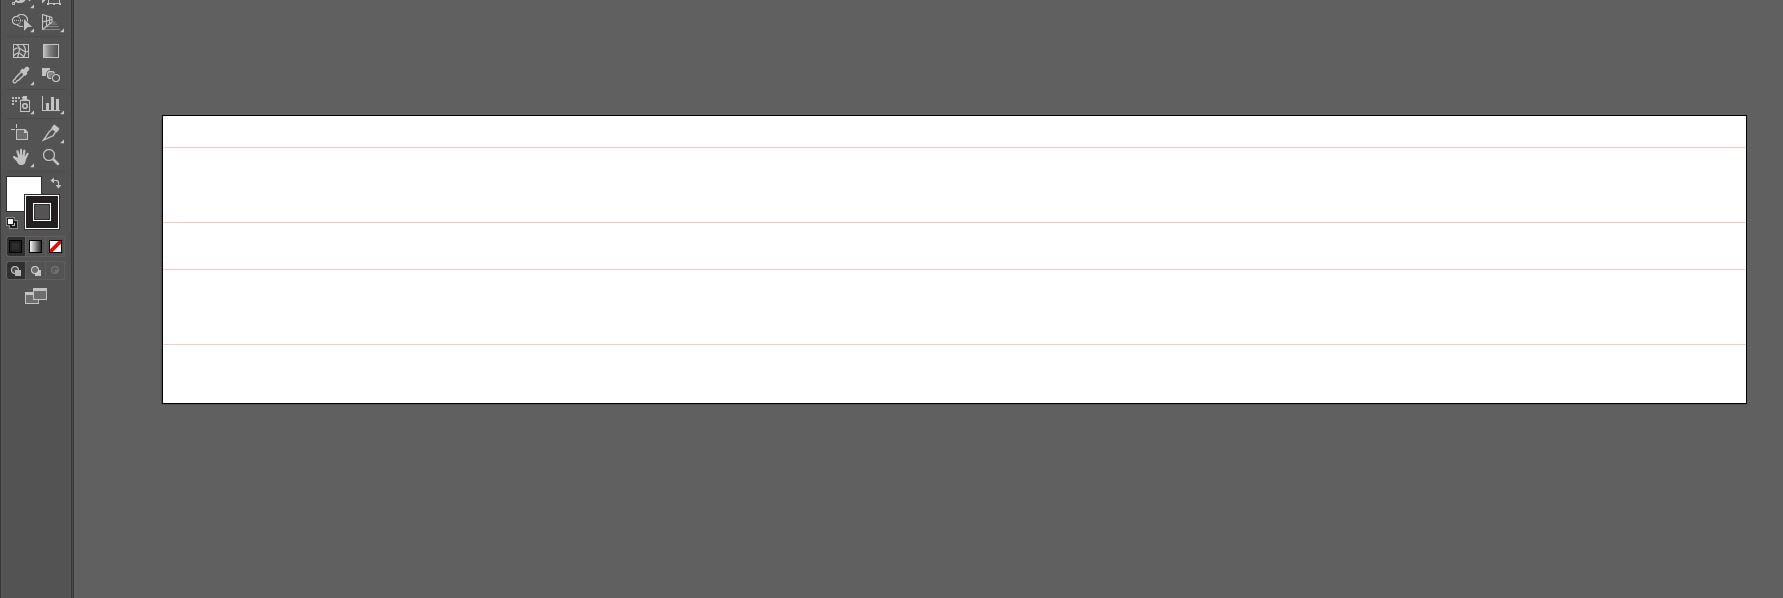
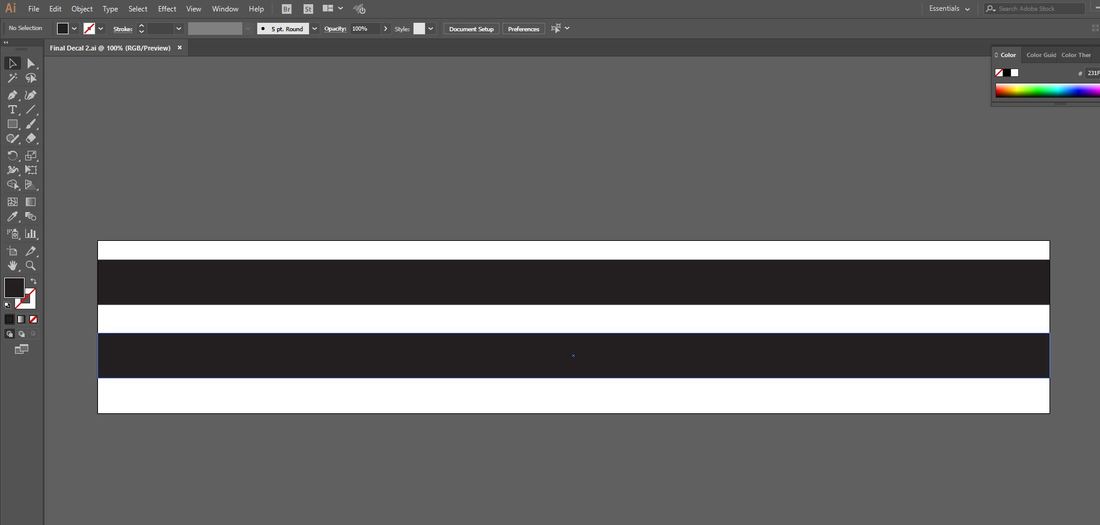
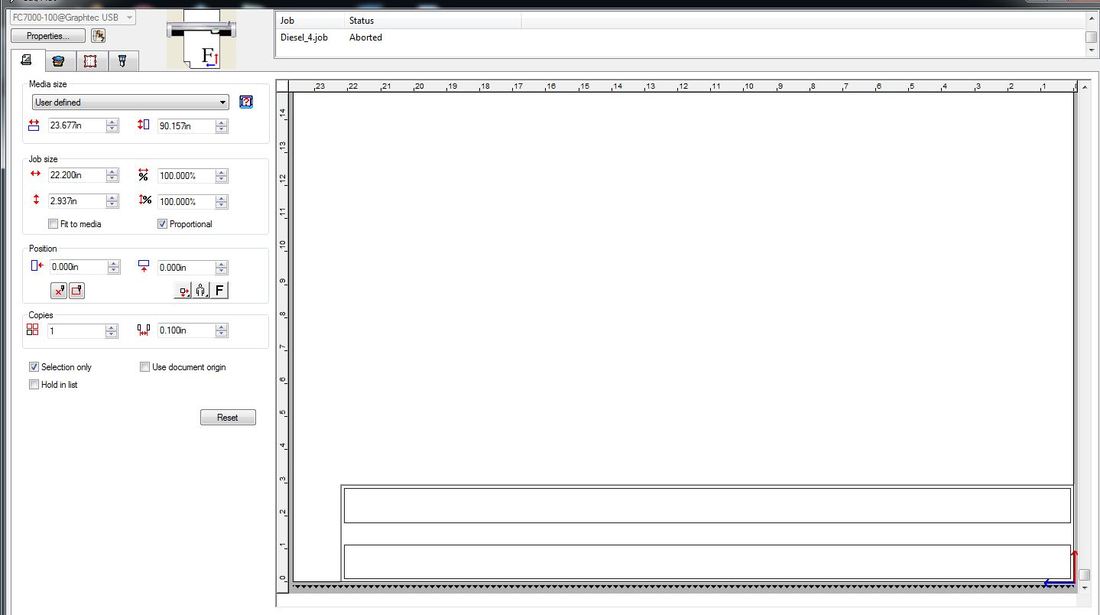
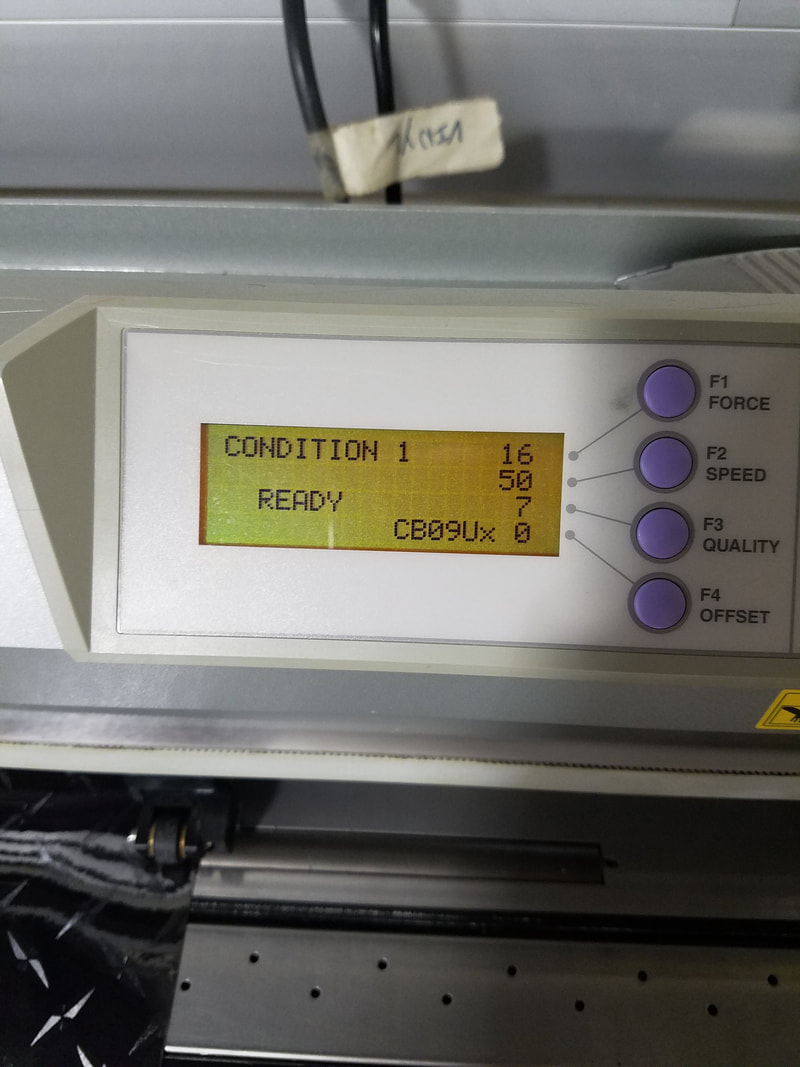
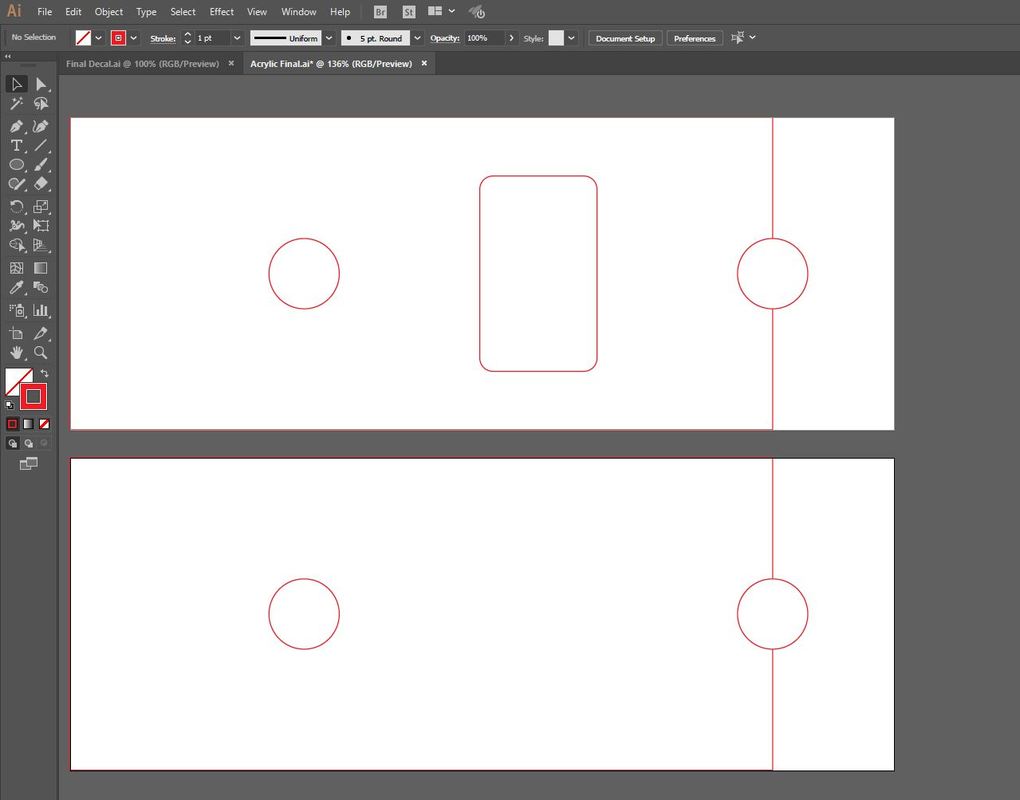
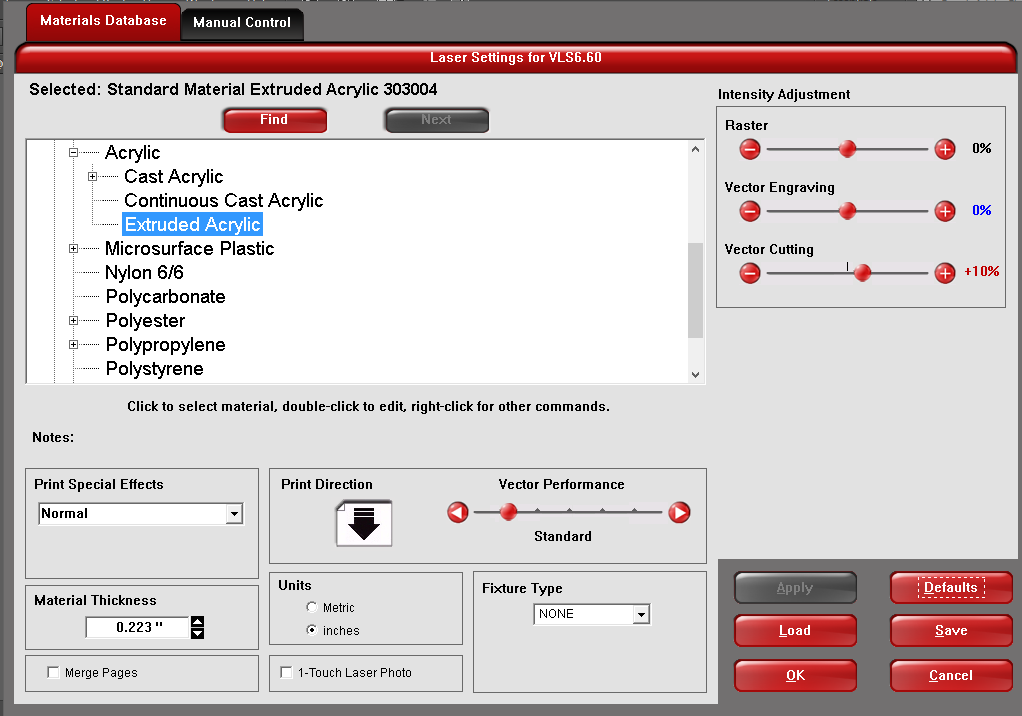
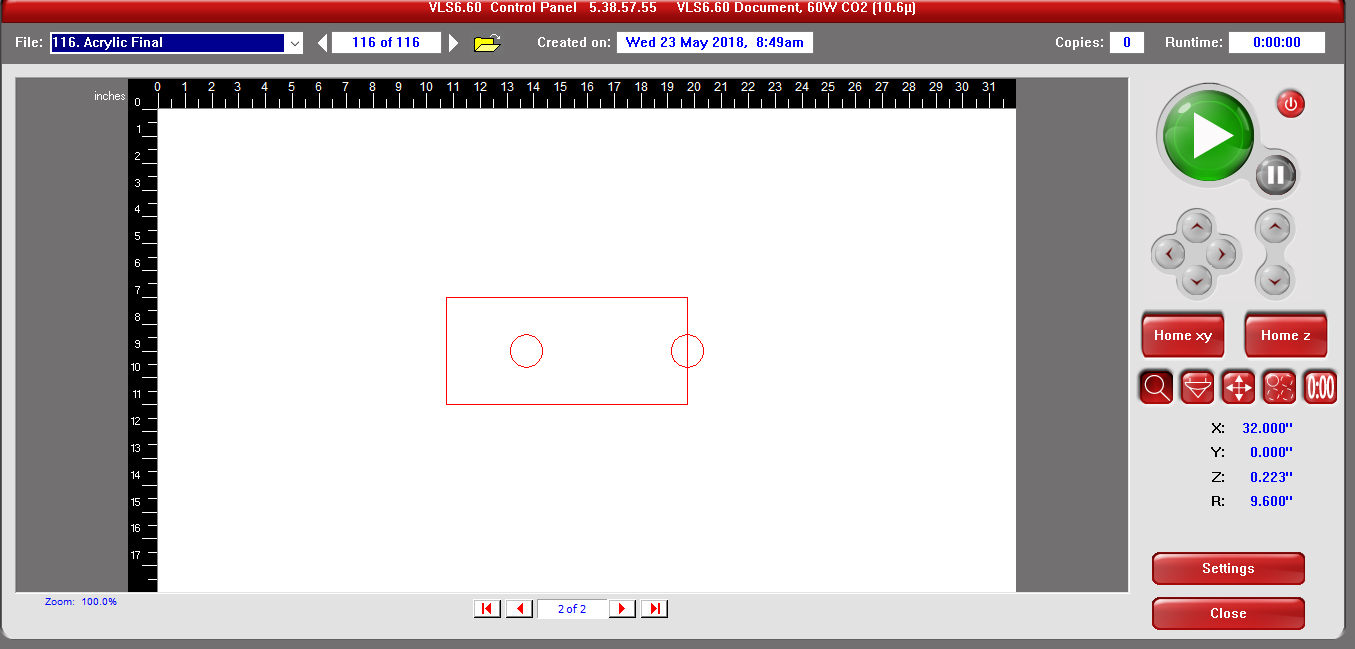
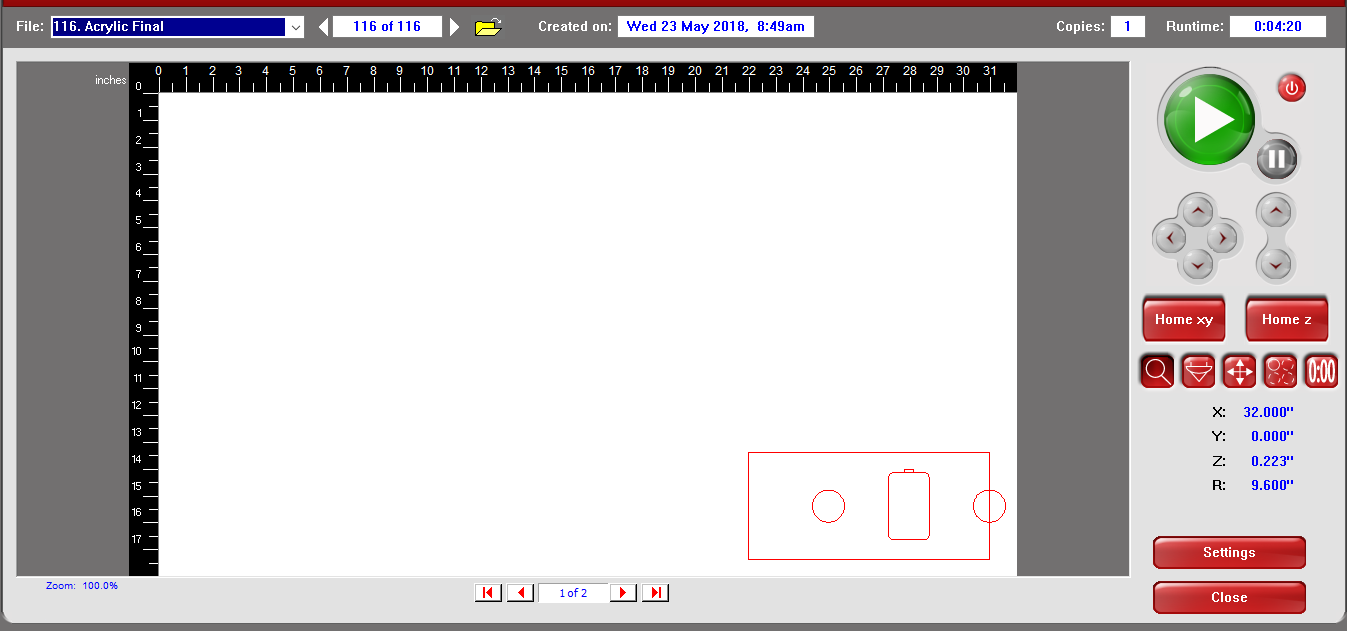
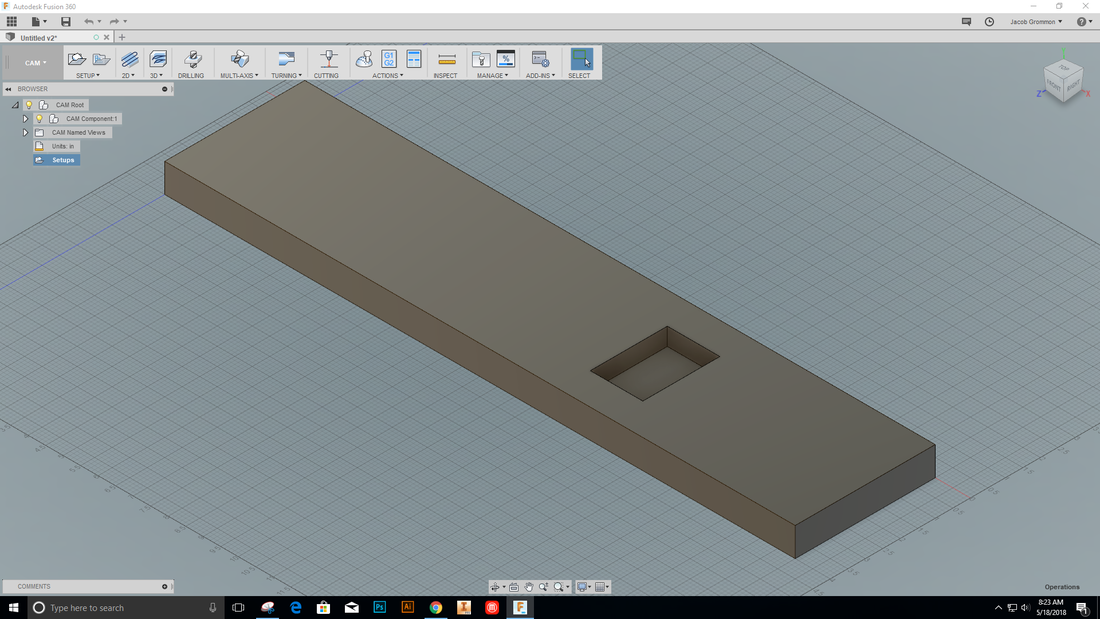
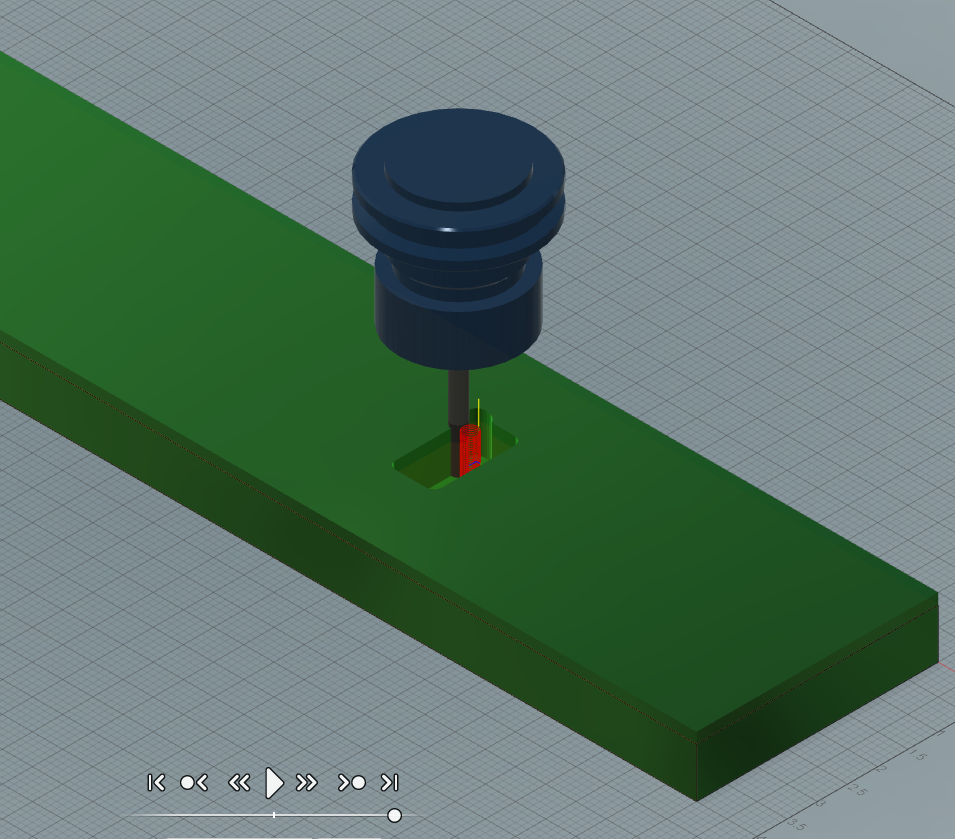
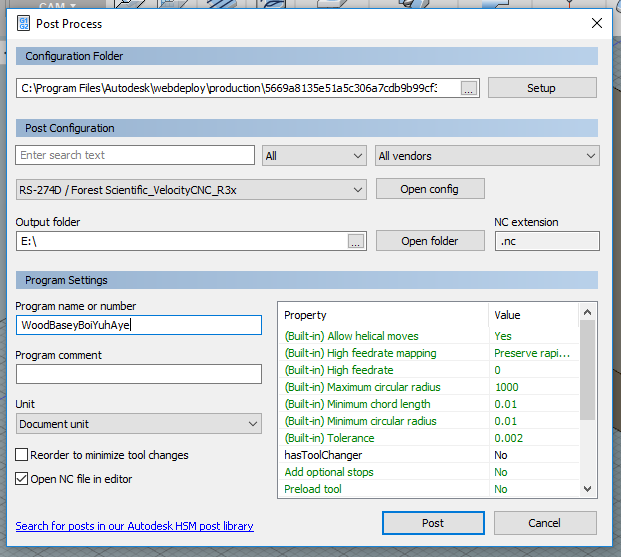
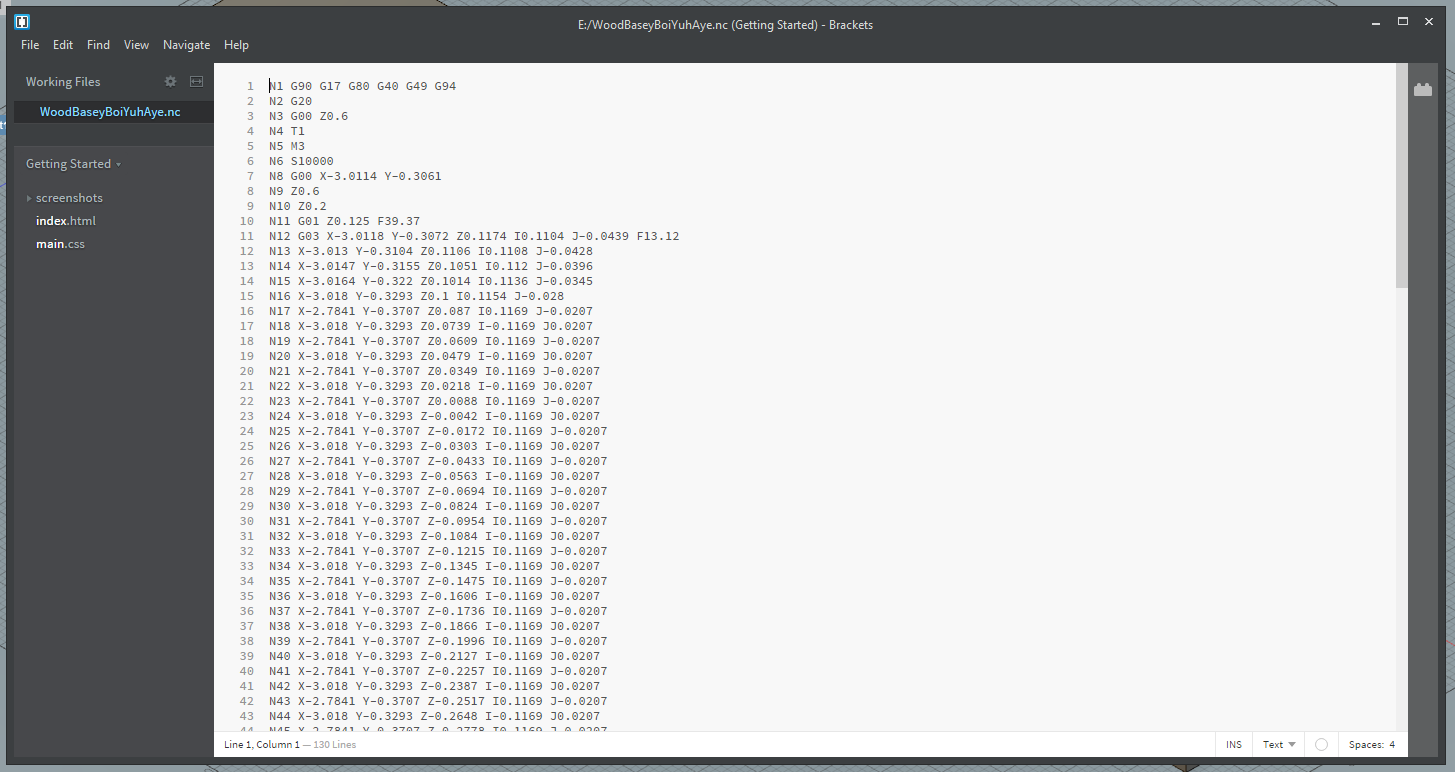
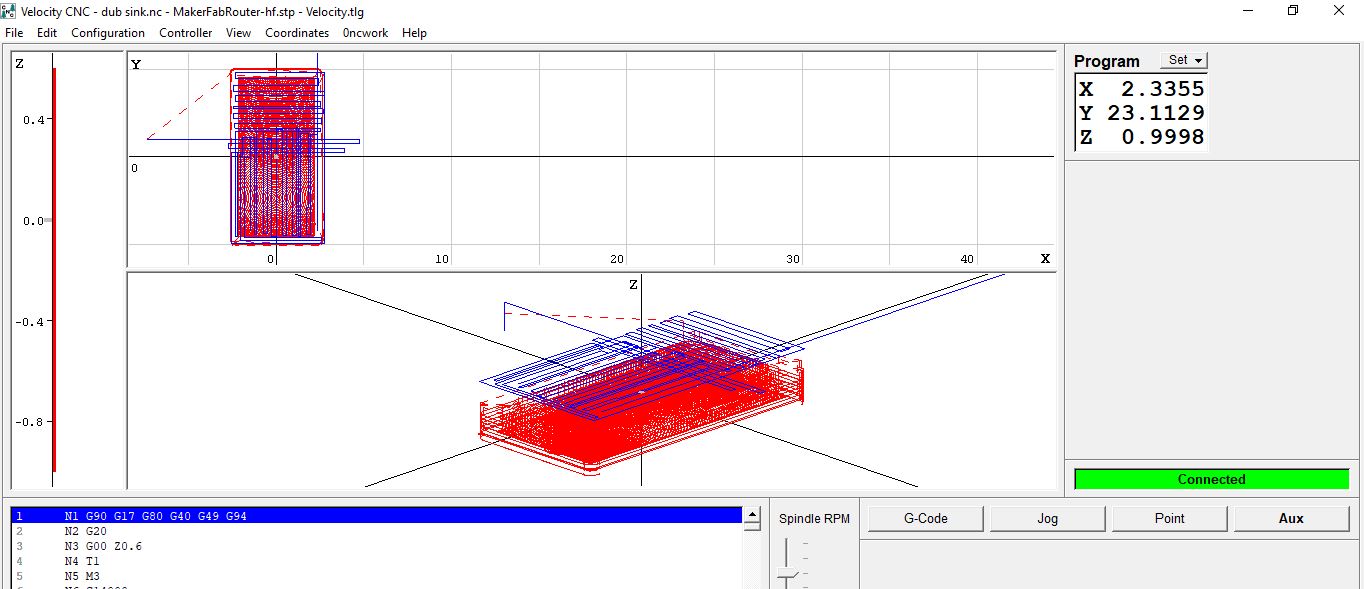
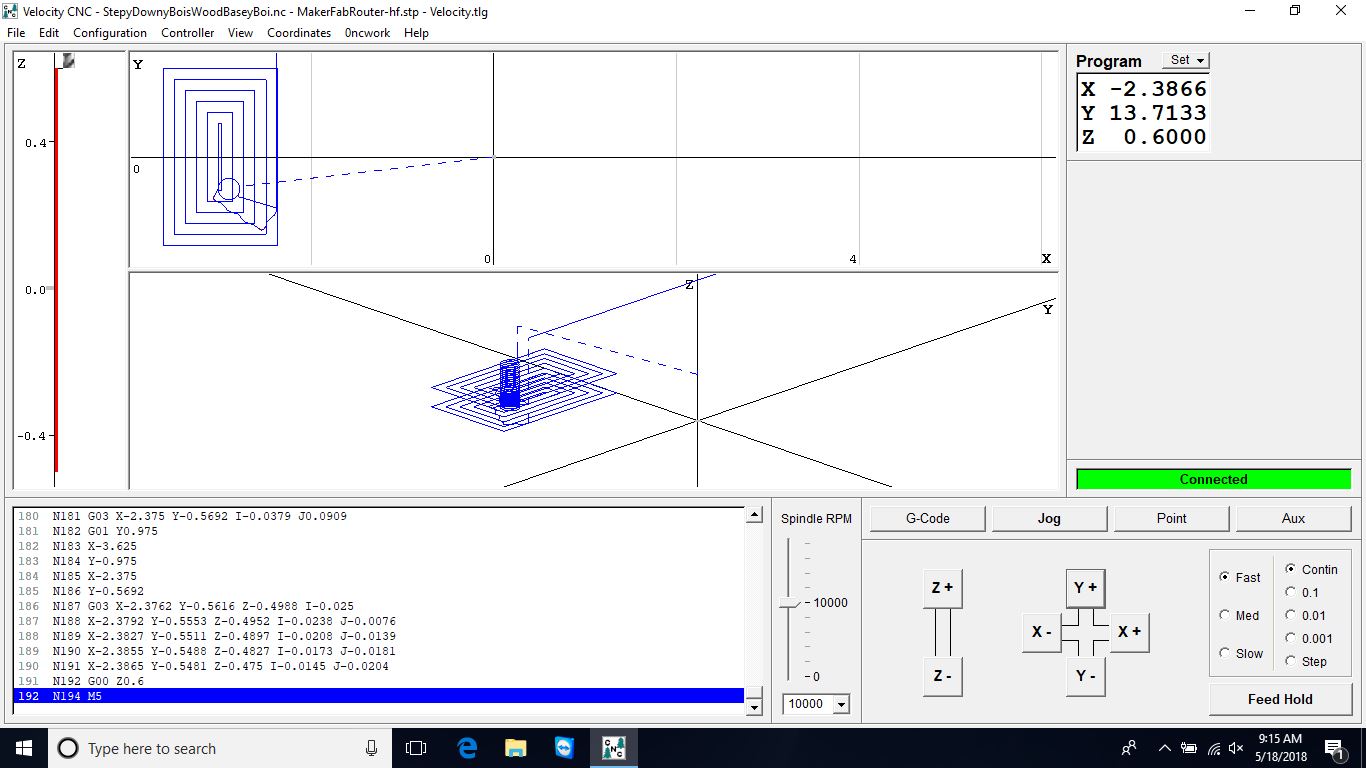
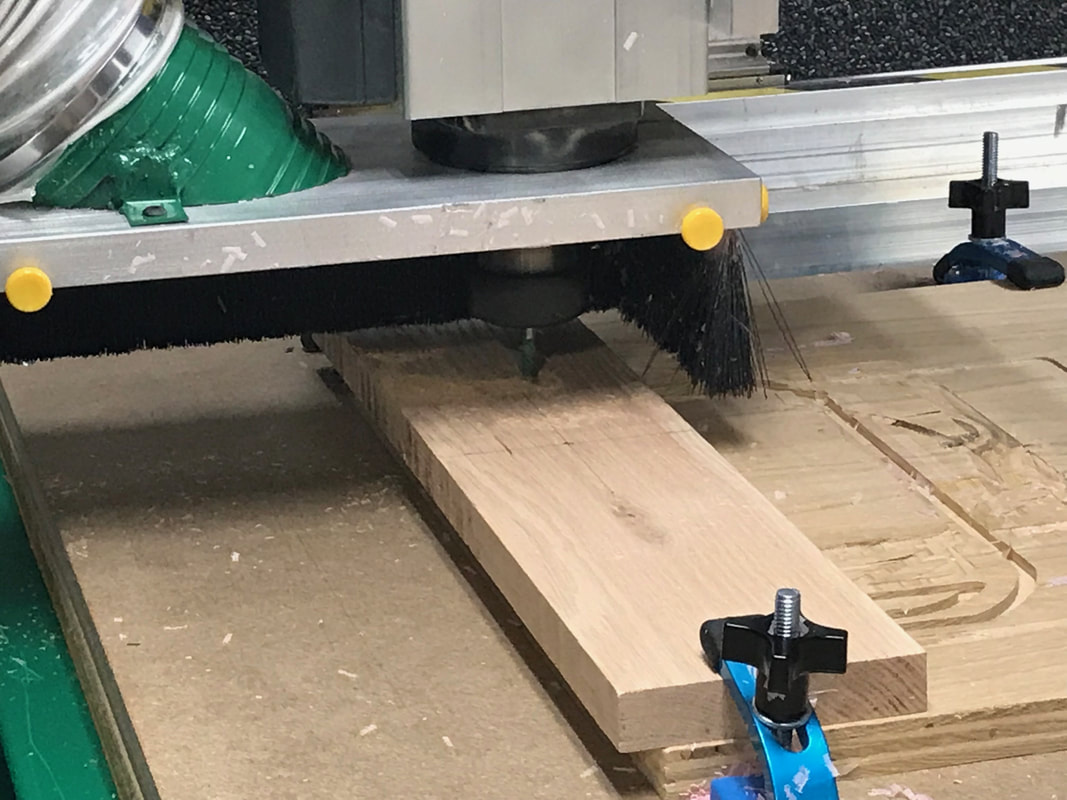
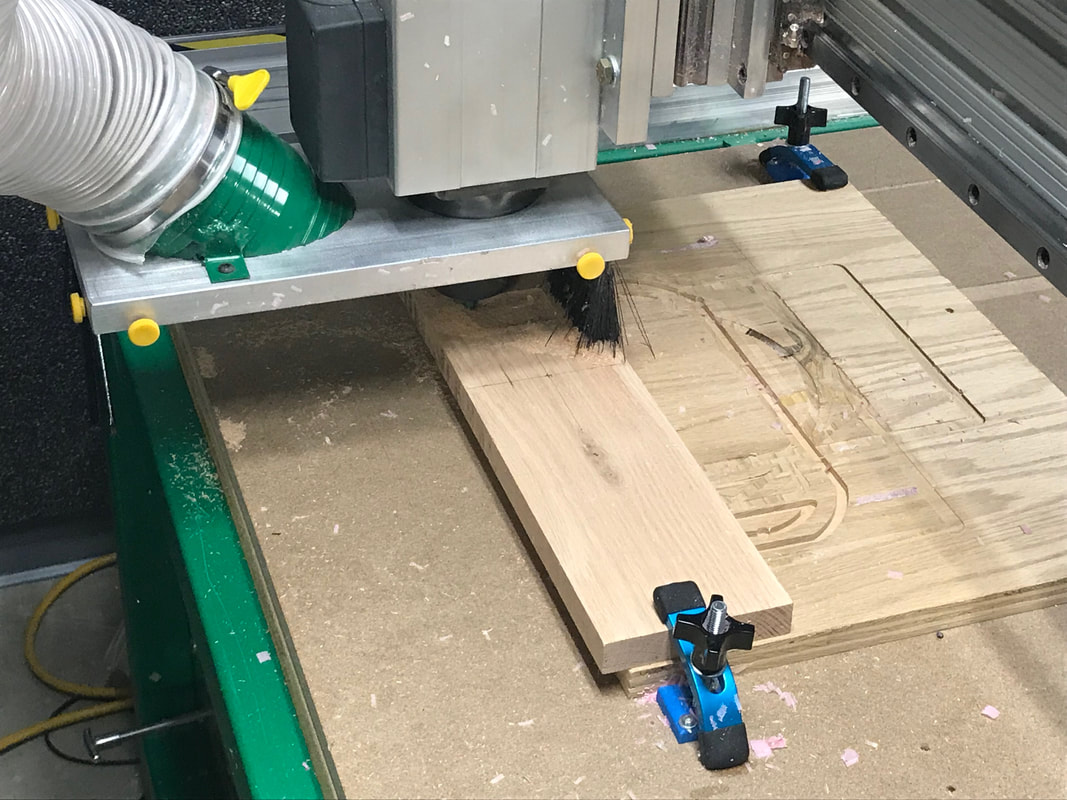
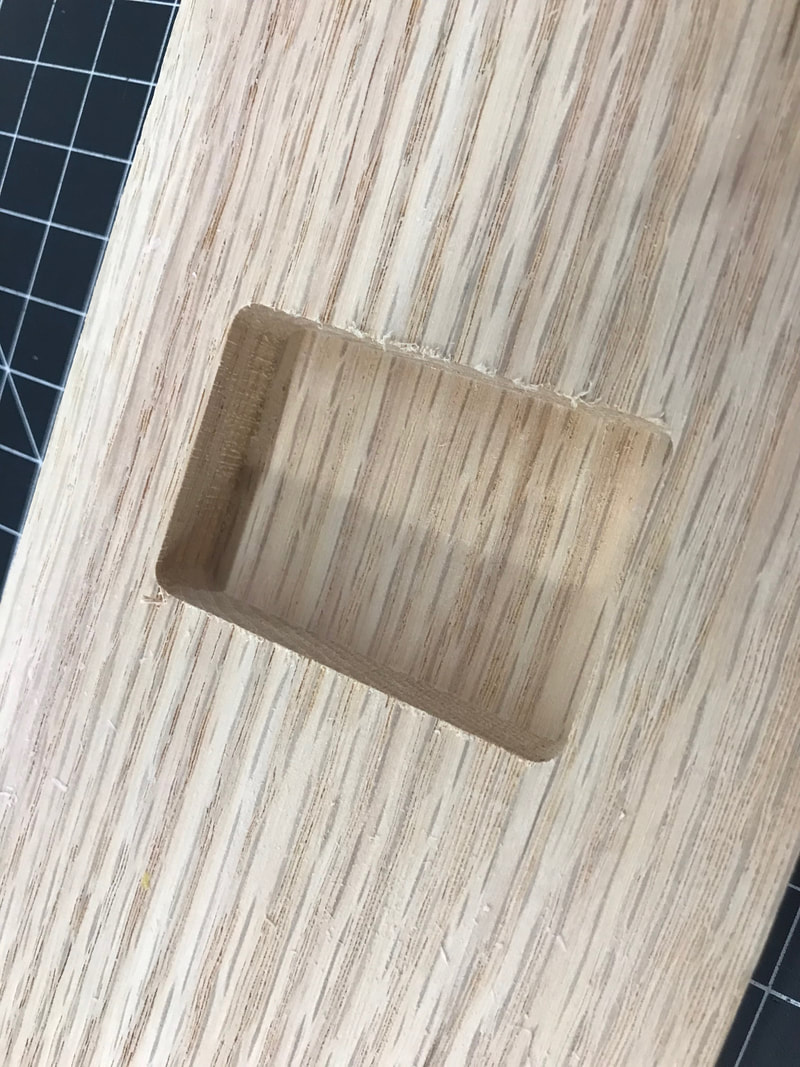
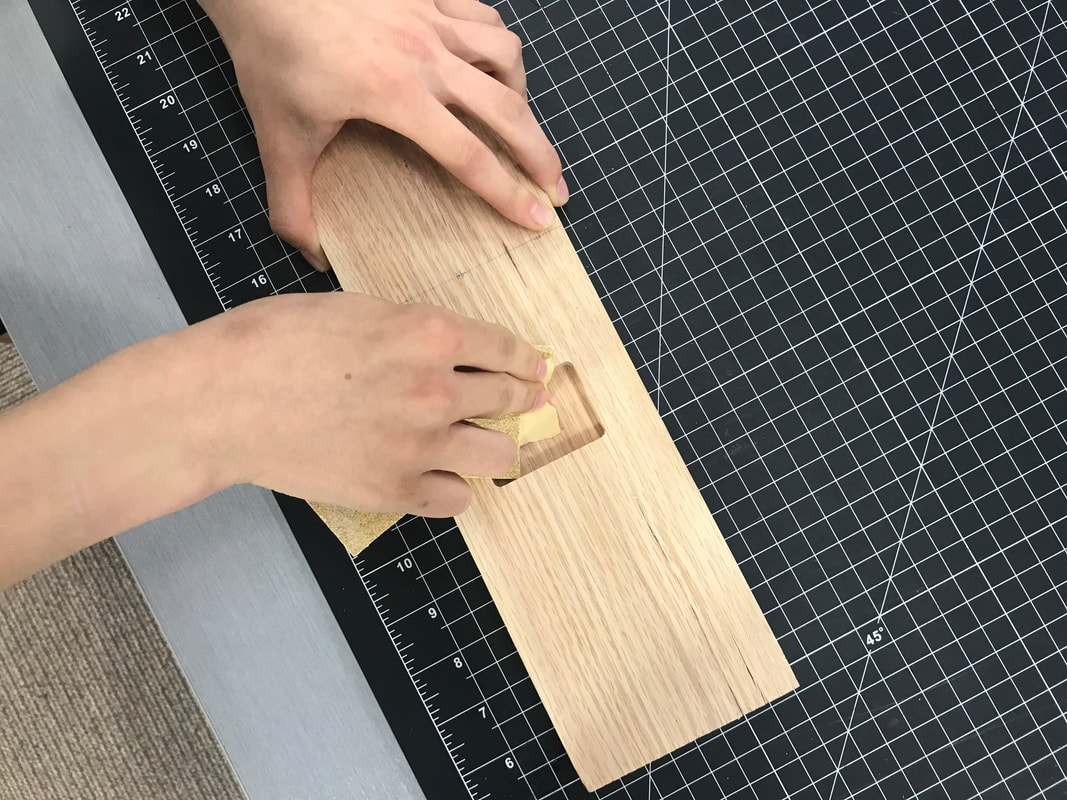
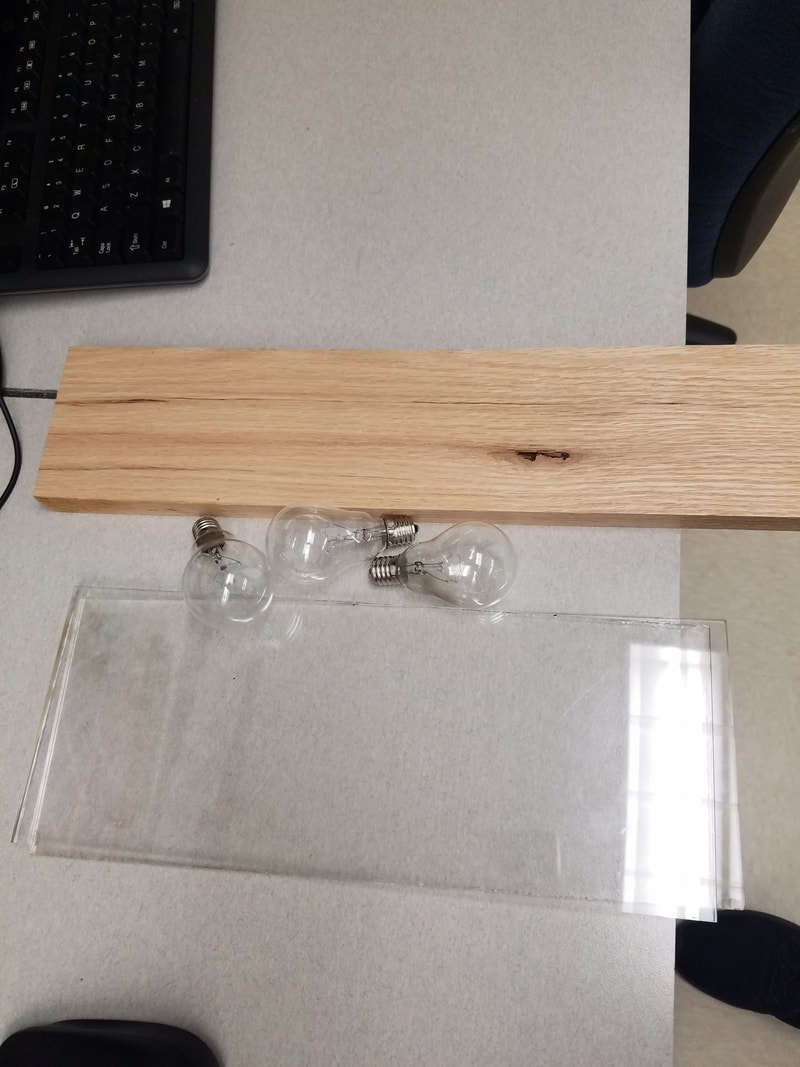
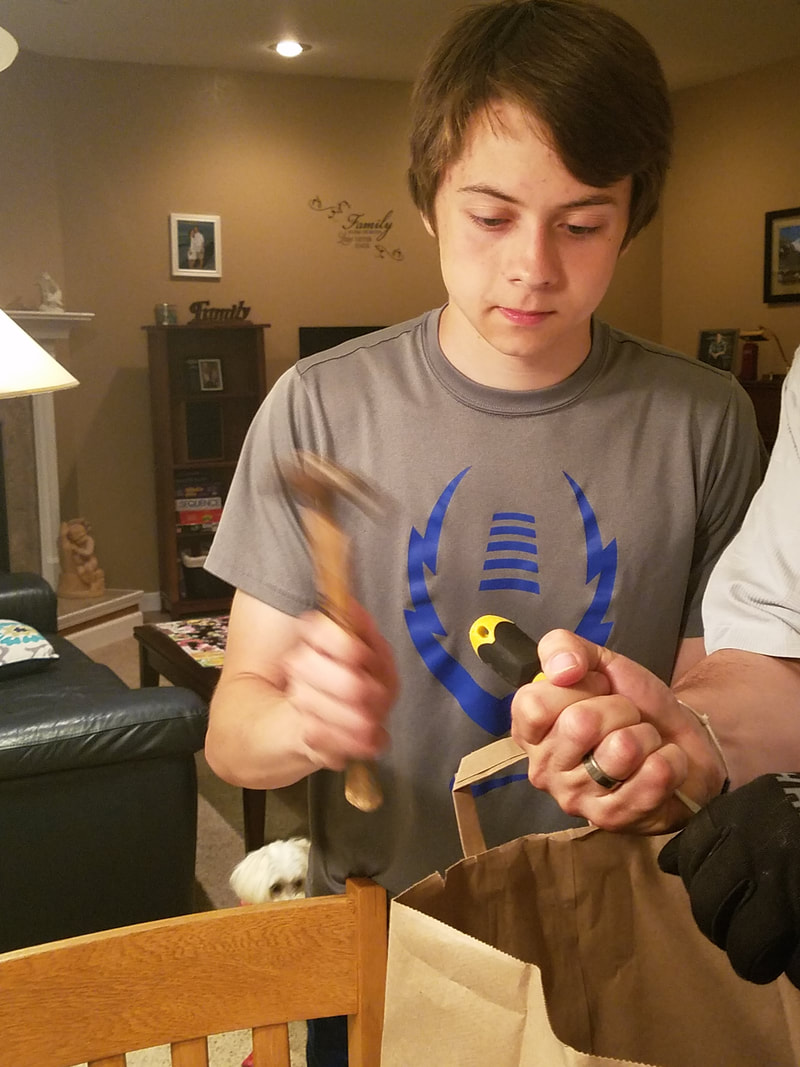
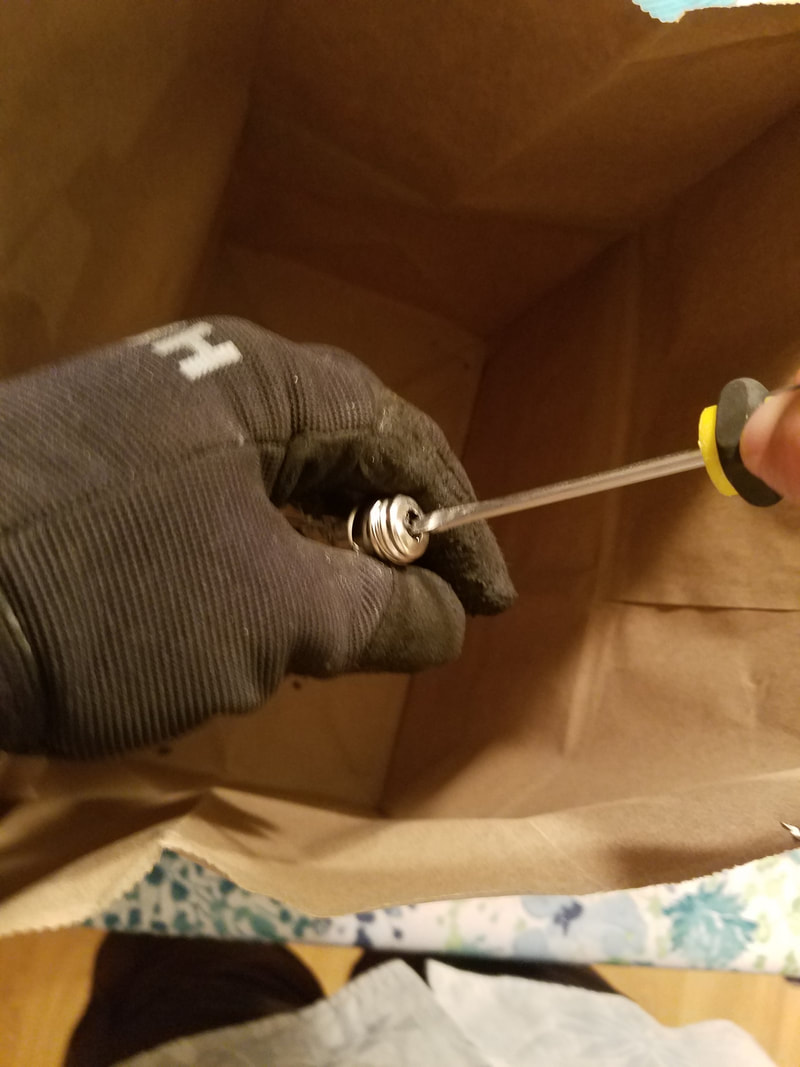
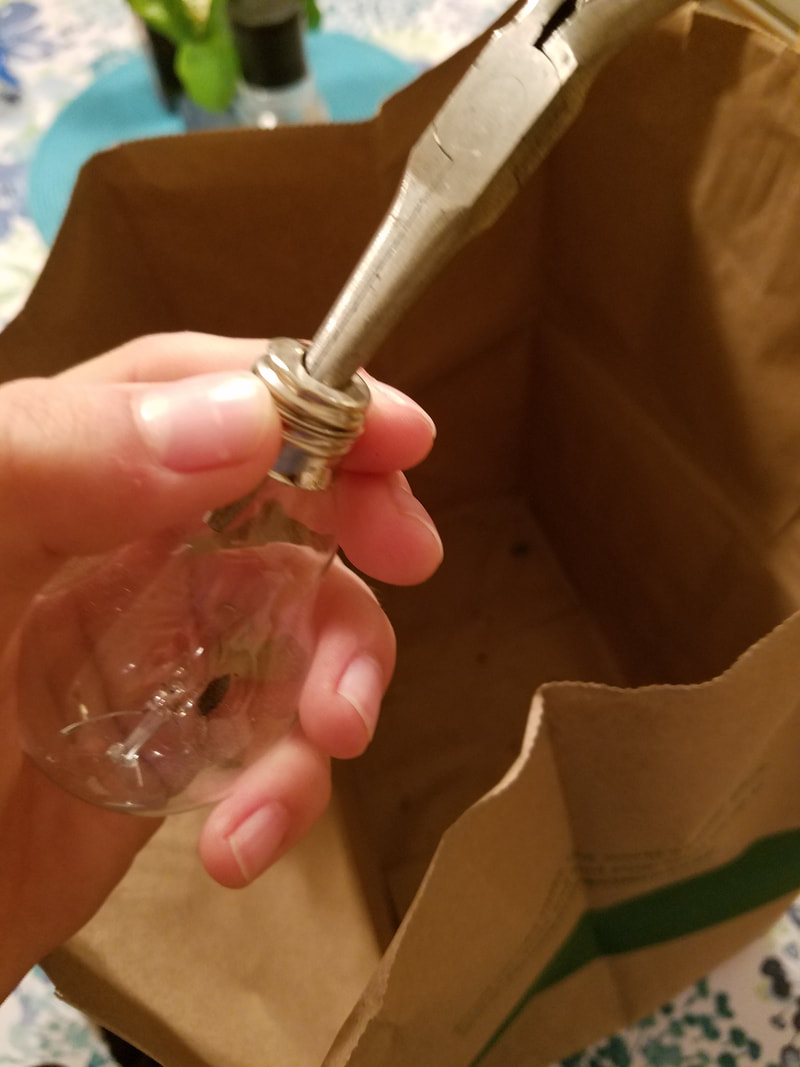
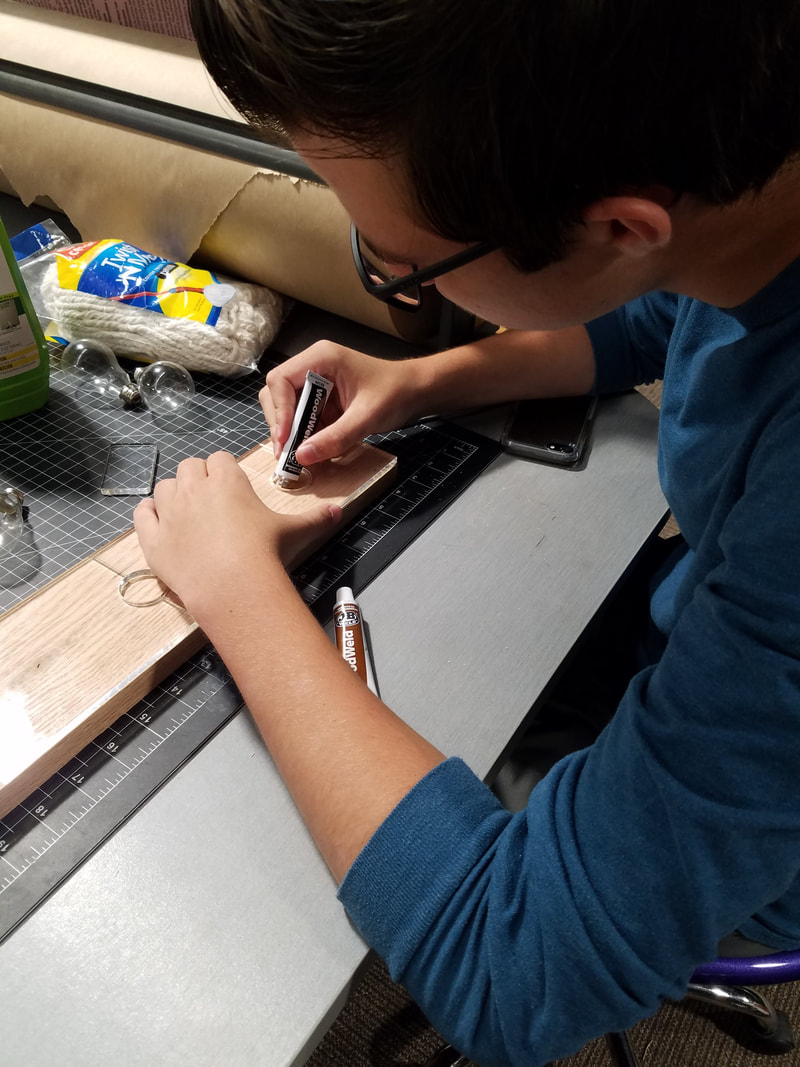
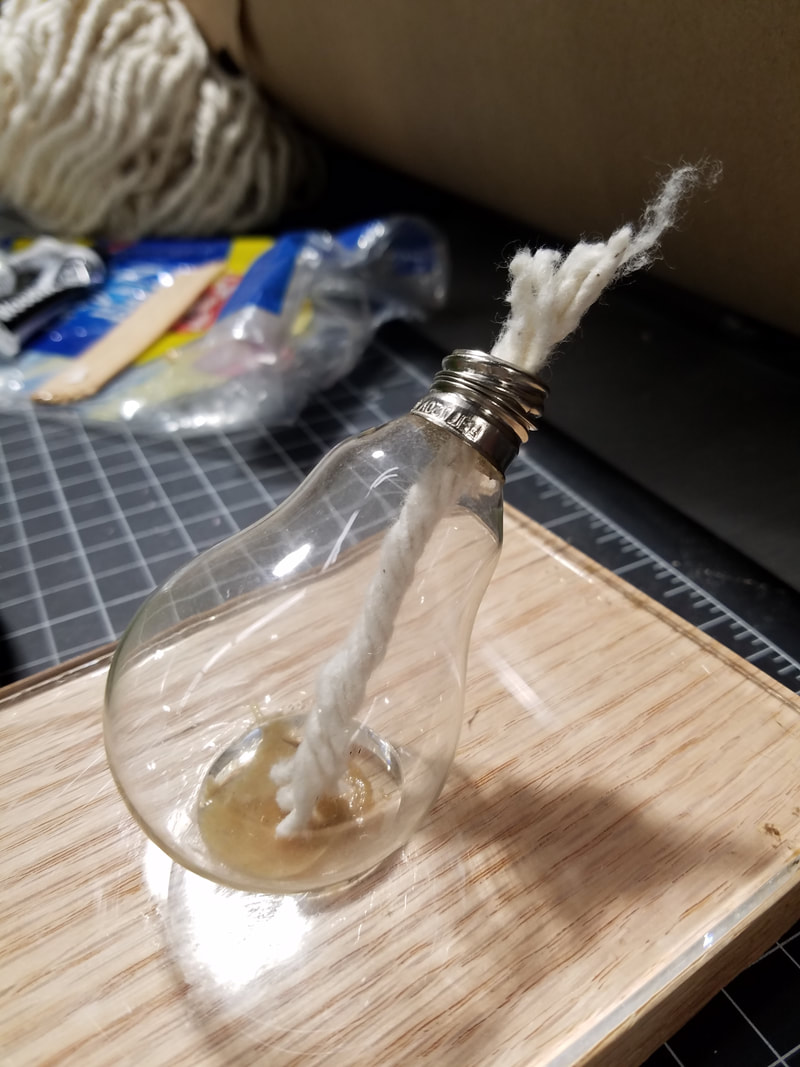
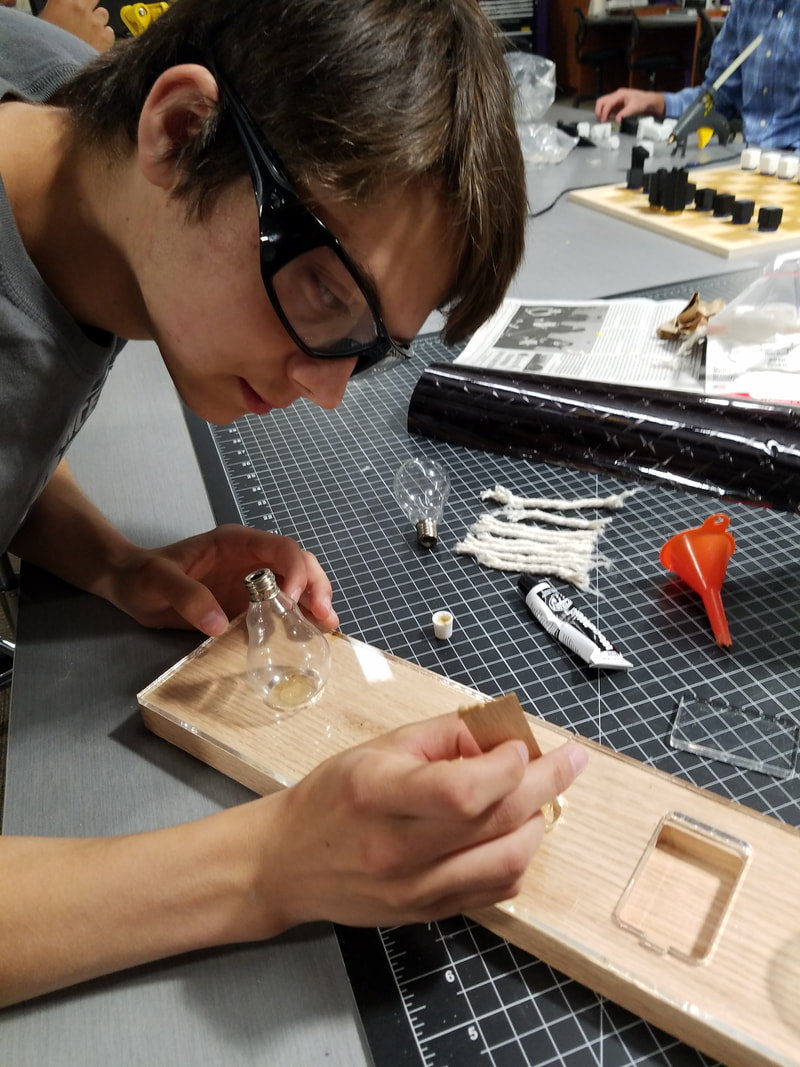
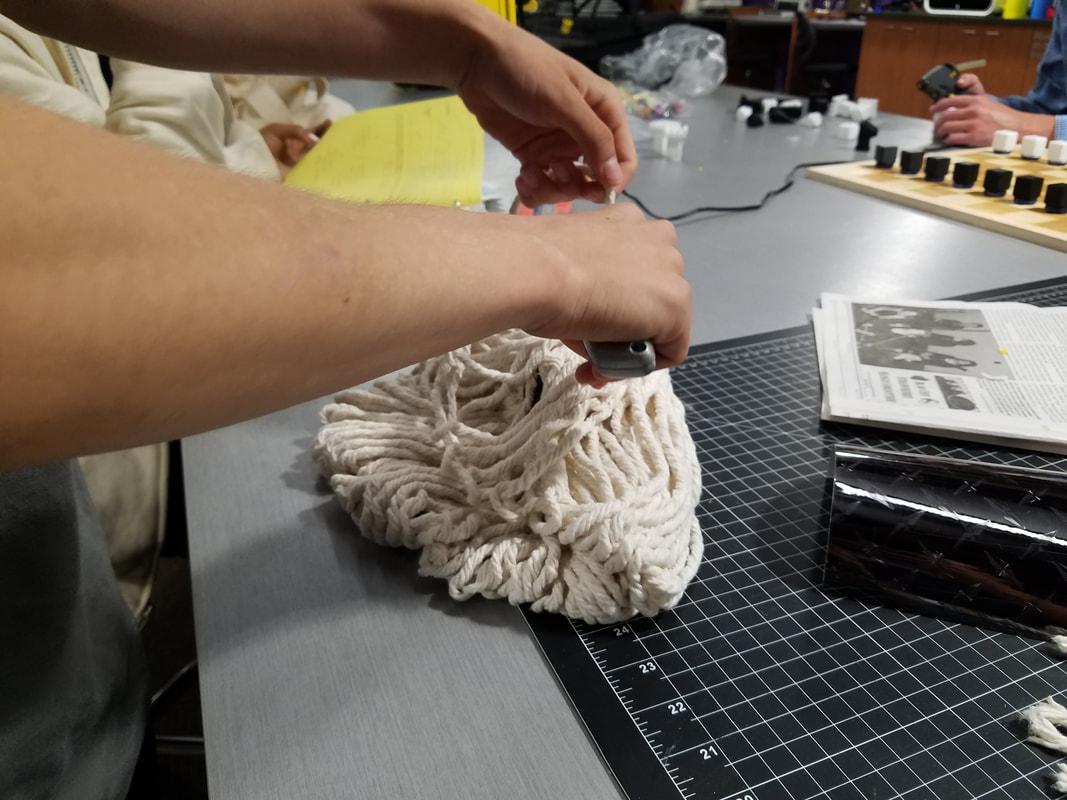
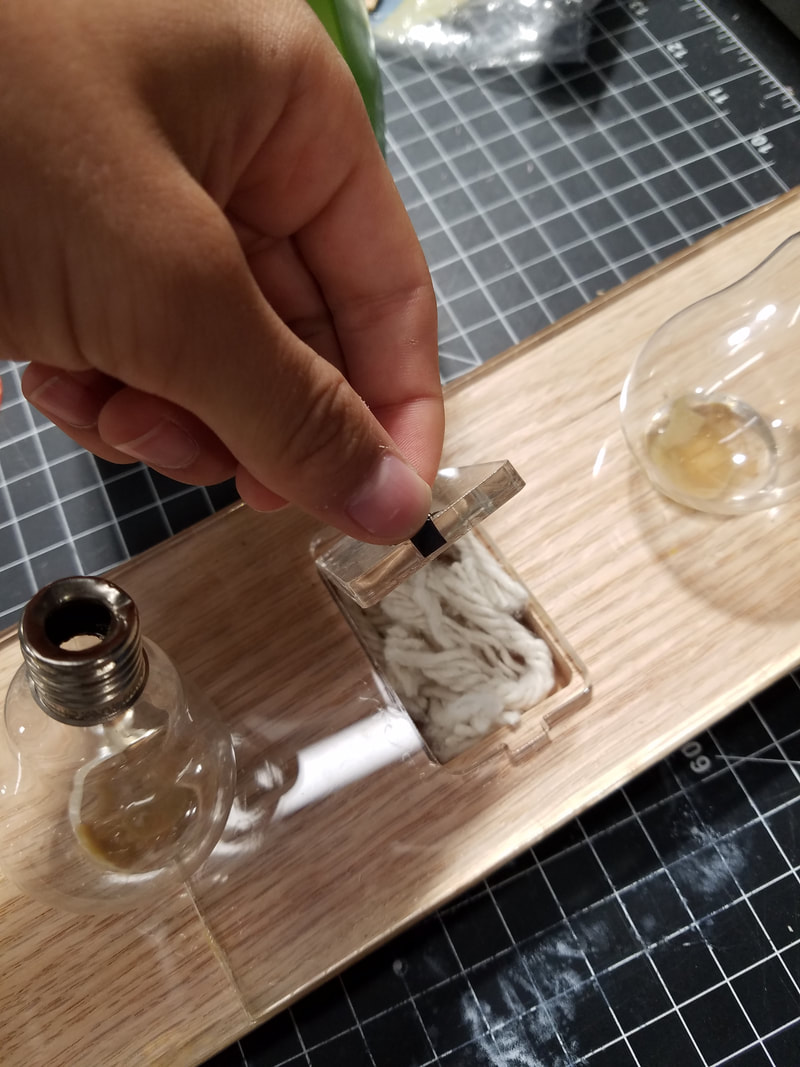
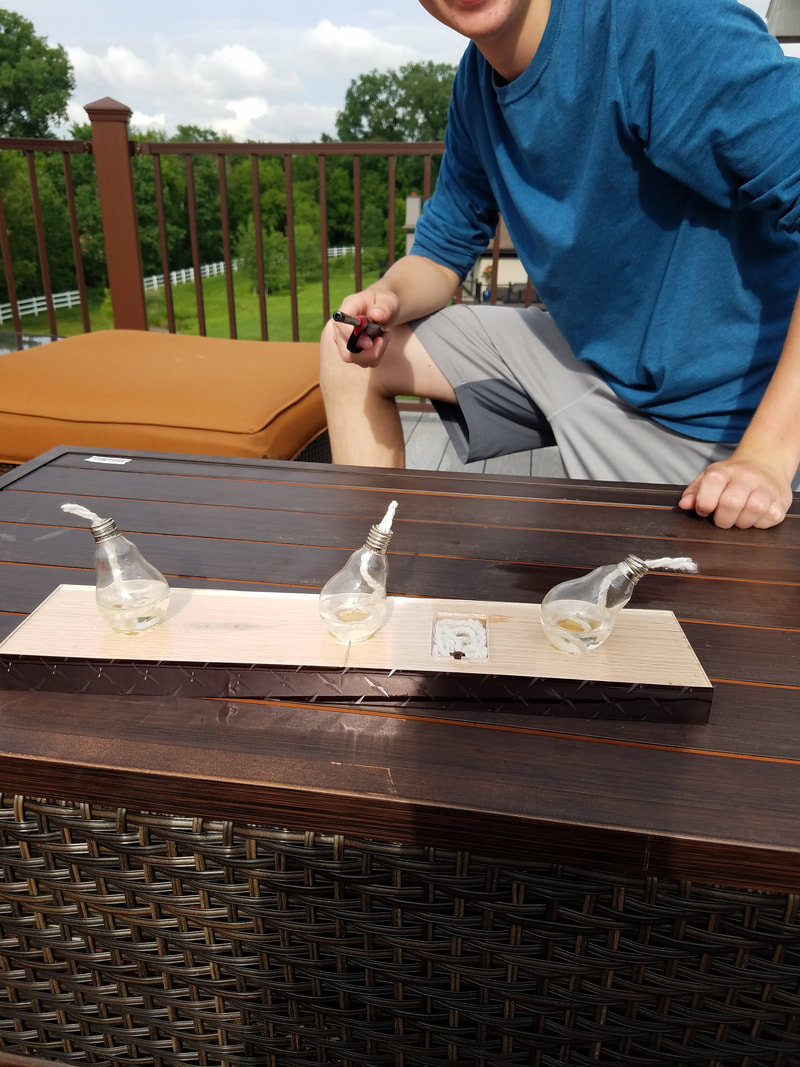
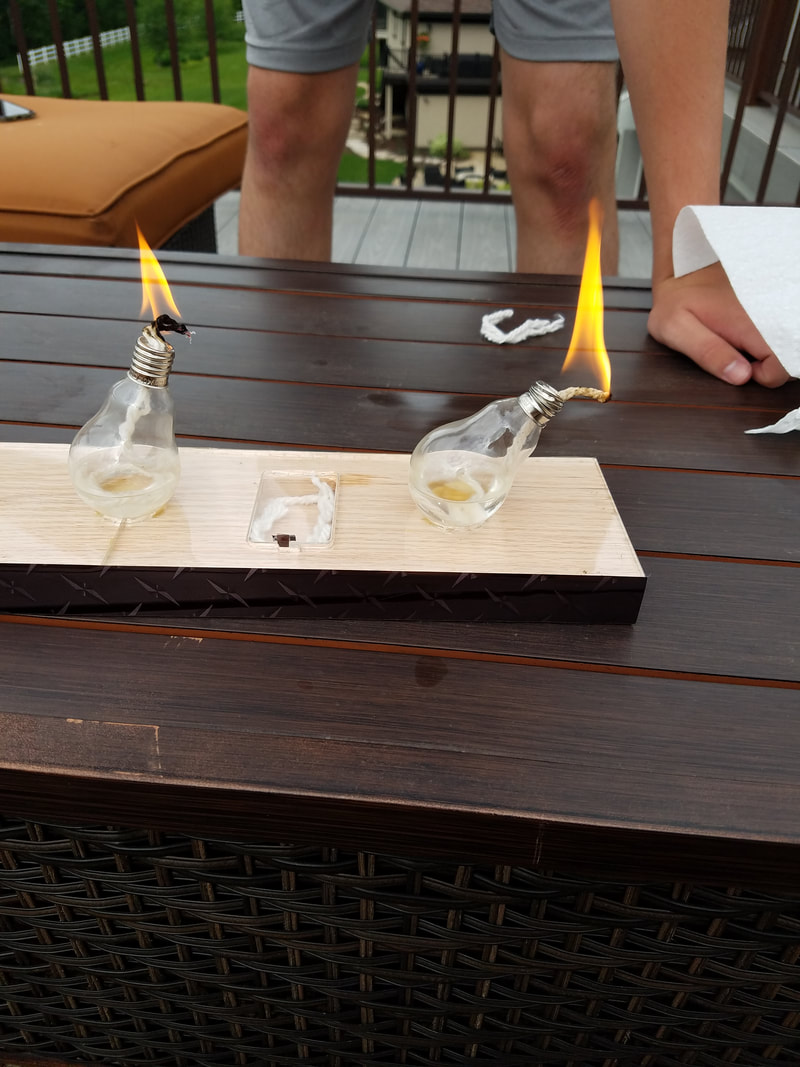
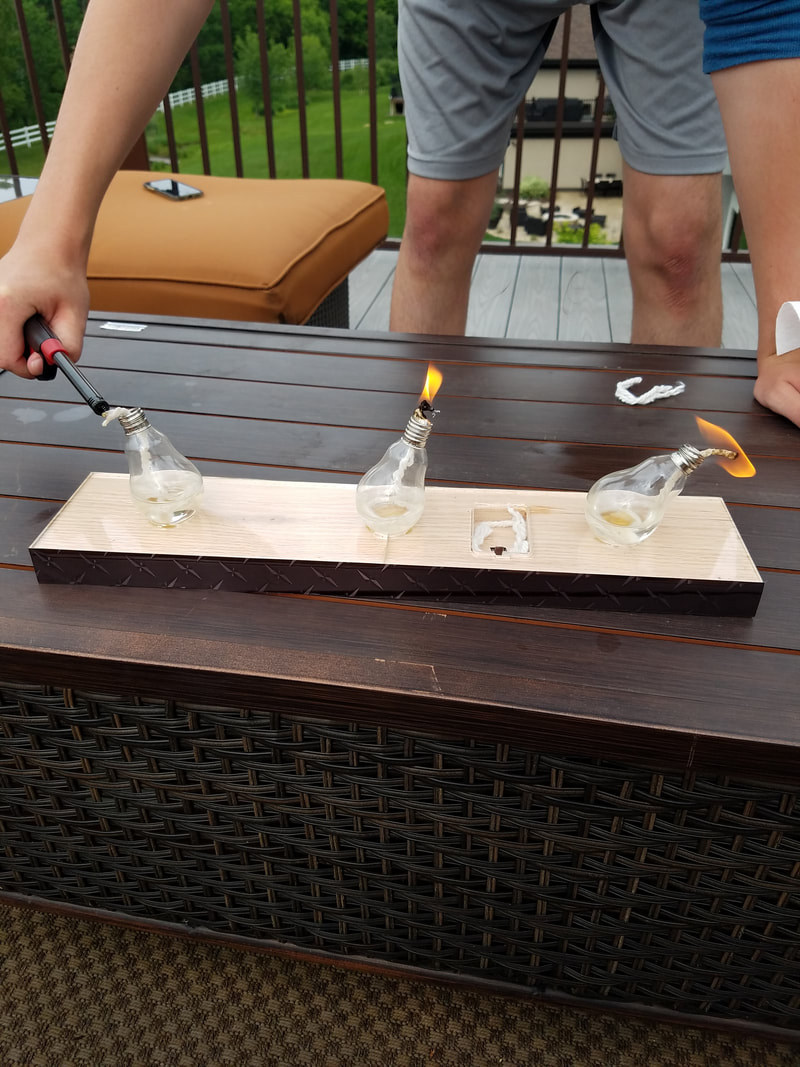
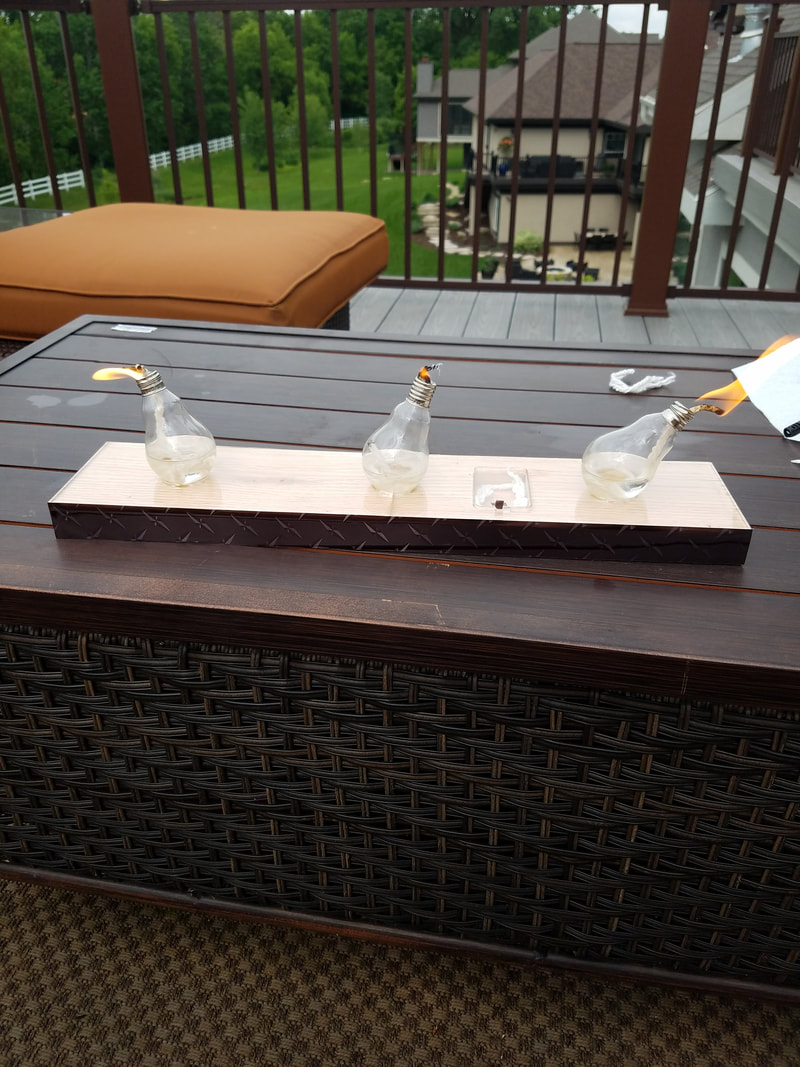
After we brainstormed what machines to use on which parts of the projects, we had to get our outside materials before we could dimension and design. We went to the wood shop and found a piece of scrap wood that was 18x4 inches. Then I went home and found light bulbs that had a diameter of 1.75 inches at their widest point. Once I noted all of these features in my notebook, we got to designing the features of the project. The easiest part was the vinyl, which would be wrapped around the wood/acrylic to give the project a more professional and cohesive look. I made two 22x4in strips in Illustrator, loaded the vinyl, and cut them out. The next process still involved Illustrator, but it was the laser file that would cut out the acrylic topper for the base. Because we only had acrylic sheets that were 14 inches long, I had to fit the design on two separate sheets and combine them later. I first drew two 4x9in rectangles so that they would cover the wood base. Next I decided to draw three circles of diameter 1.2in so that the light bulbs would have a place to sit comfortably. After spacing the circles evenly, adding a cover for the wicks and adjusting the stroke weight and color, I saved the design and sent it to the laser. I changed the settings for acrylic of .22in thickness, turned on the fan, and cut out the two acrylic sheets. The last machine we had to use was the router. We decided to use the router to cut out a pocket in our wood to hold extra wicks for the oil lamps. We quickly extruded the small section in Inventor and used pocket clearing to draw the toolpath in Fusion. We loaded the G-code in the router computer, positioned the router over the center point of the wood, and started it. When it finished cutting out, I dumped out the sawdust and sanded the pocket until it was smooth. The final step was assembly. We used wood epoxy to attach the acrylic to the wood as well as attach the light bulbs to the wood (I opened up the light bulbs at home with a hammer and pliers). Then I wrapped the vinyl around the wood/acrylic base and used a funnel to fill the bulbs with clear tiki torch fuel. Next I put three wicks in the light bulbs and the extra wicks in the wick container. Finally, we lit the three wicks and stood back to admire our handiwork.
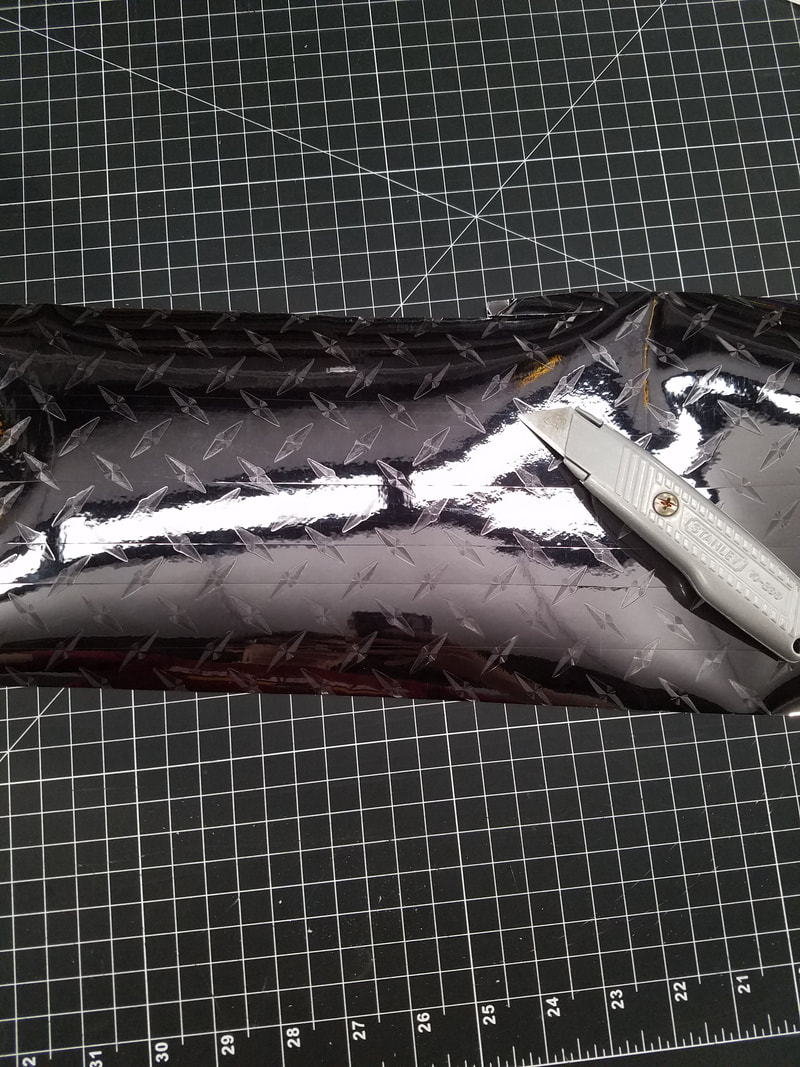
Vinyl

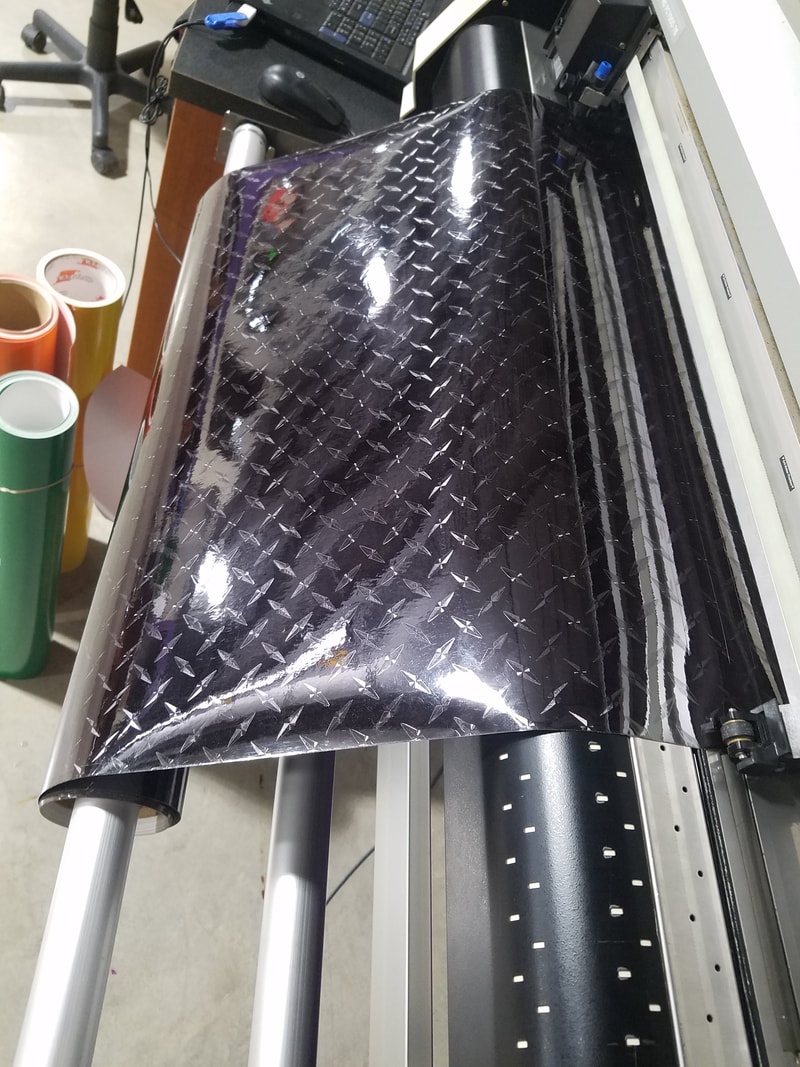
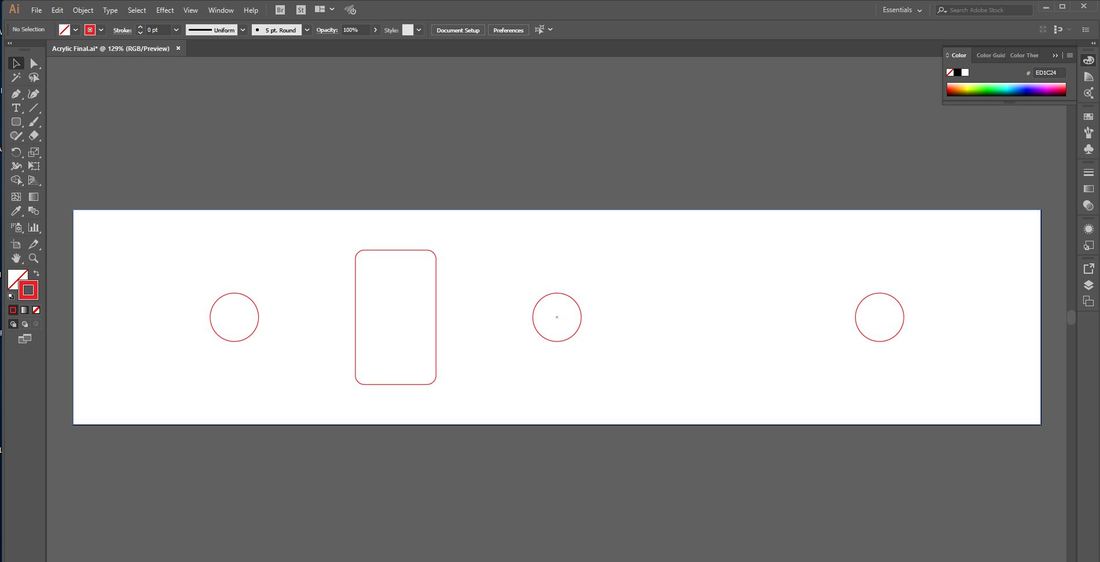
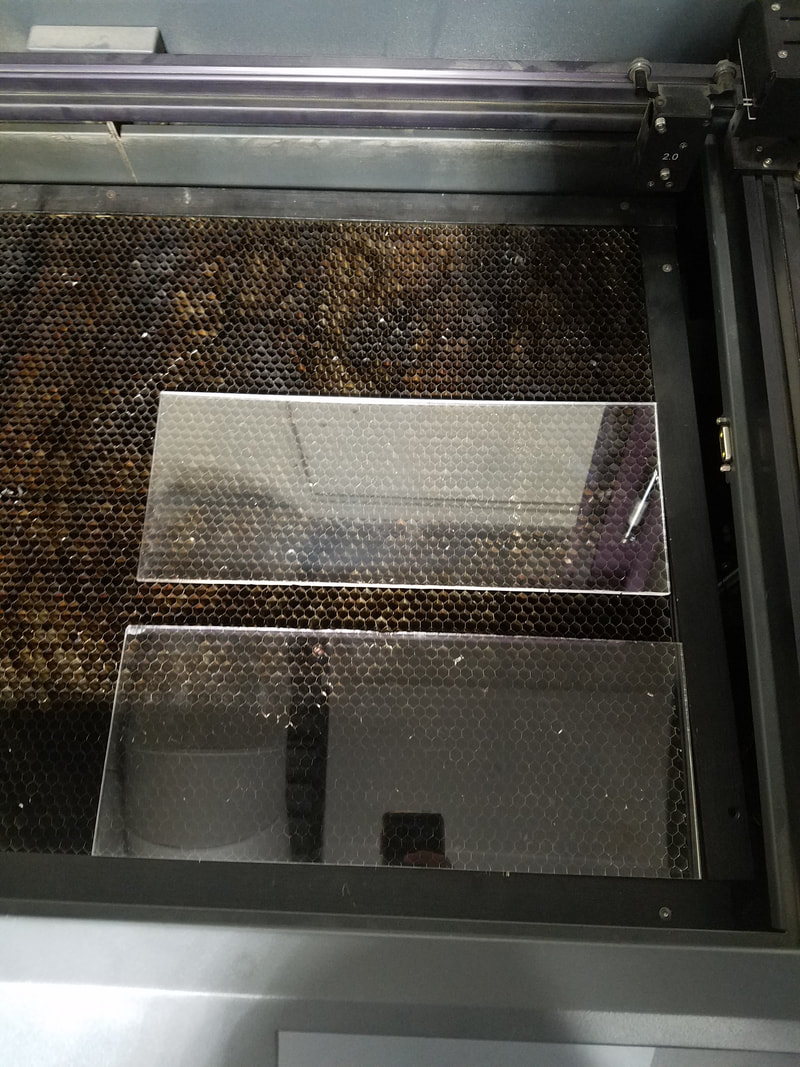
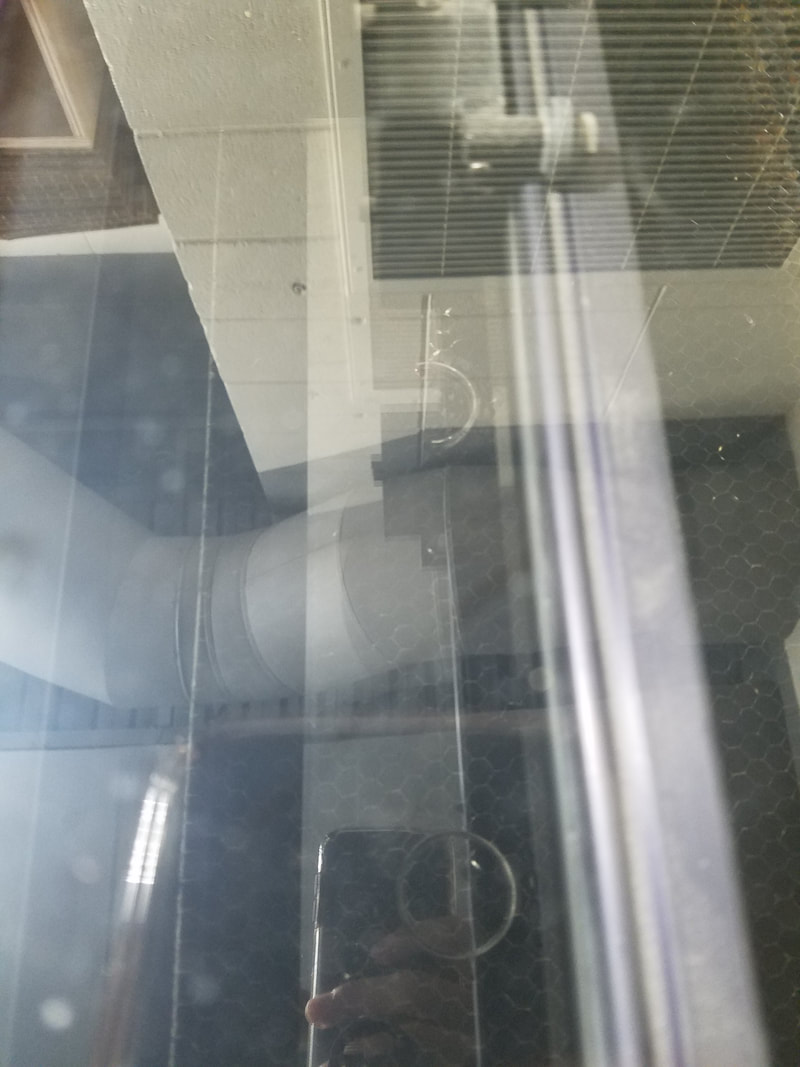
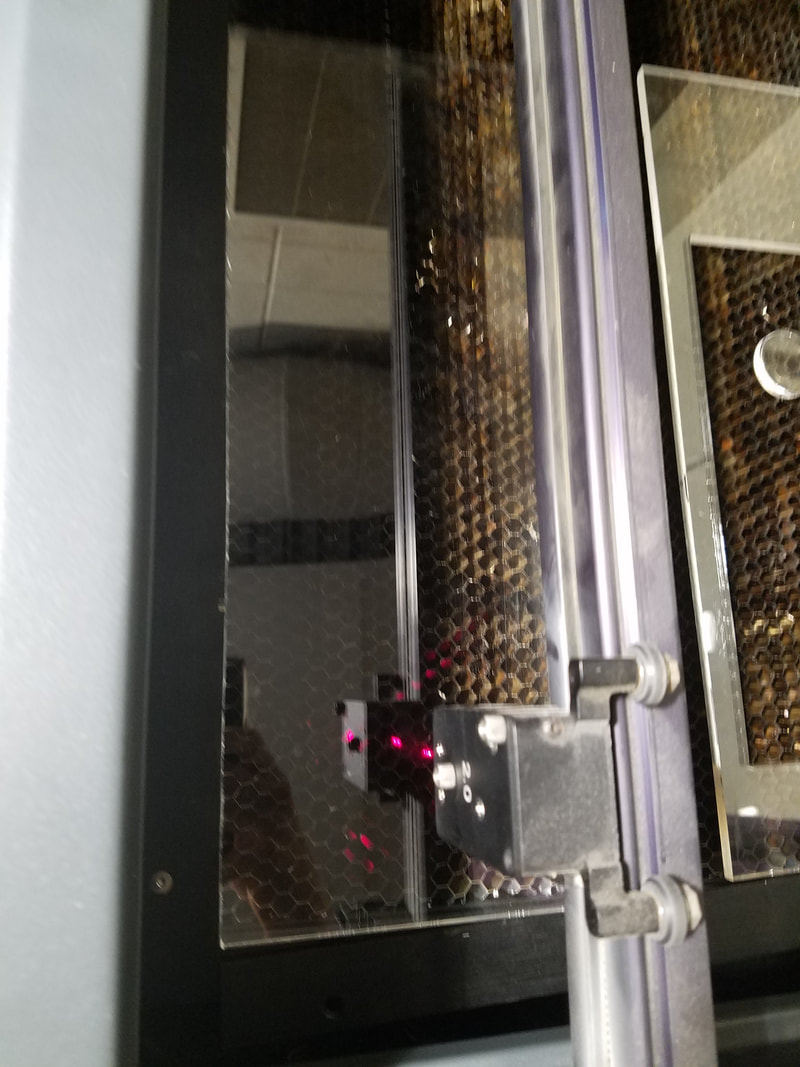
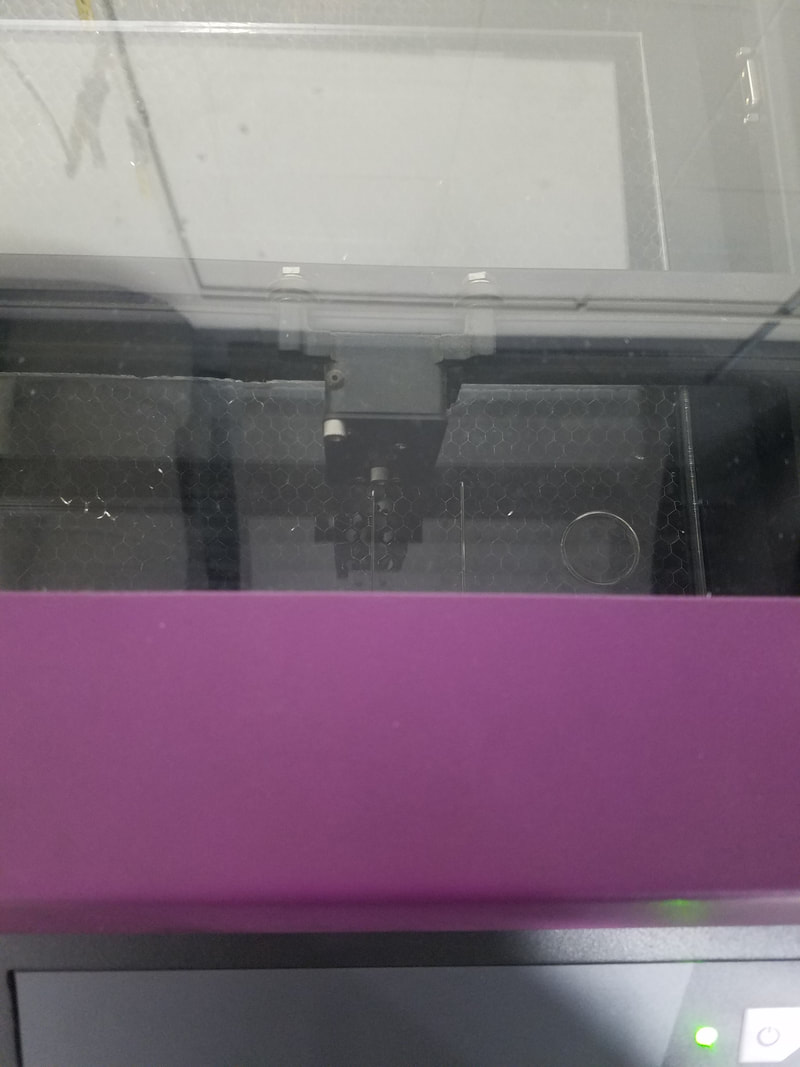
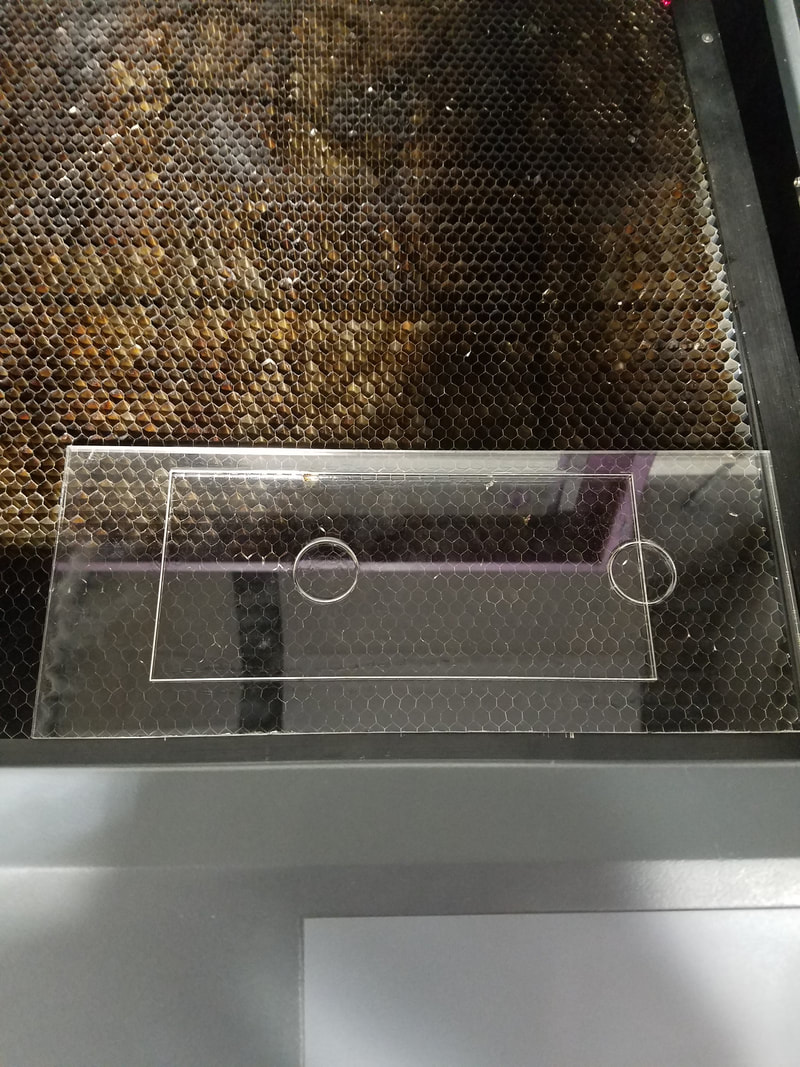
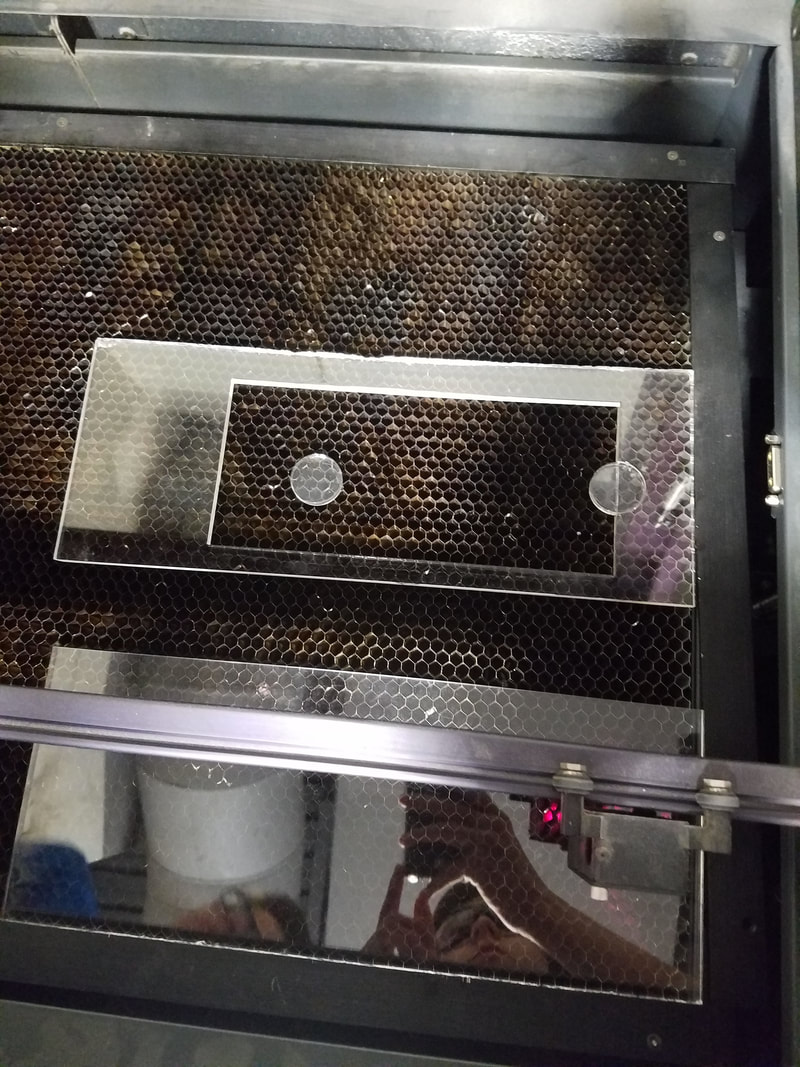
Laser
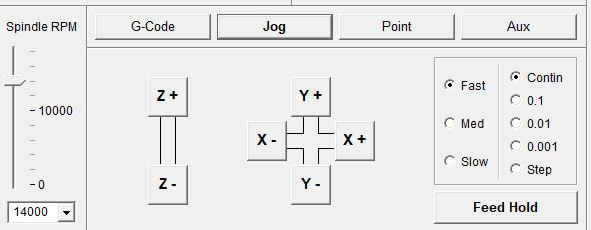
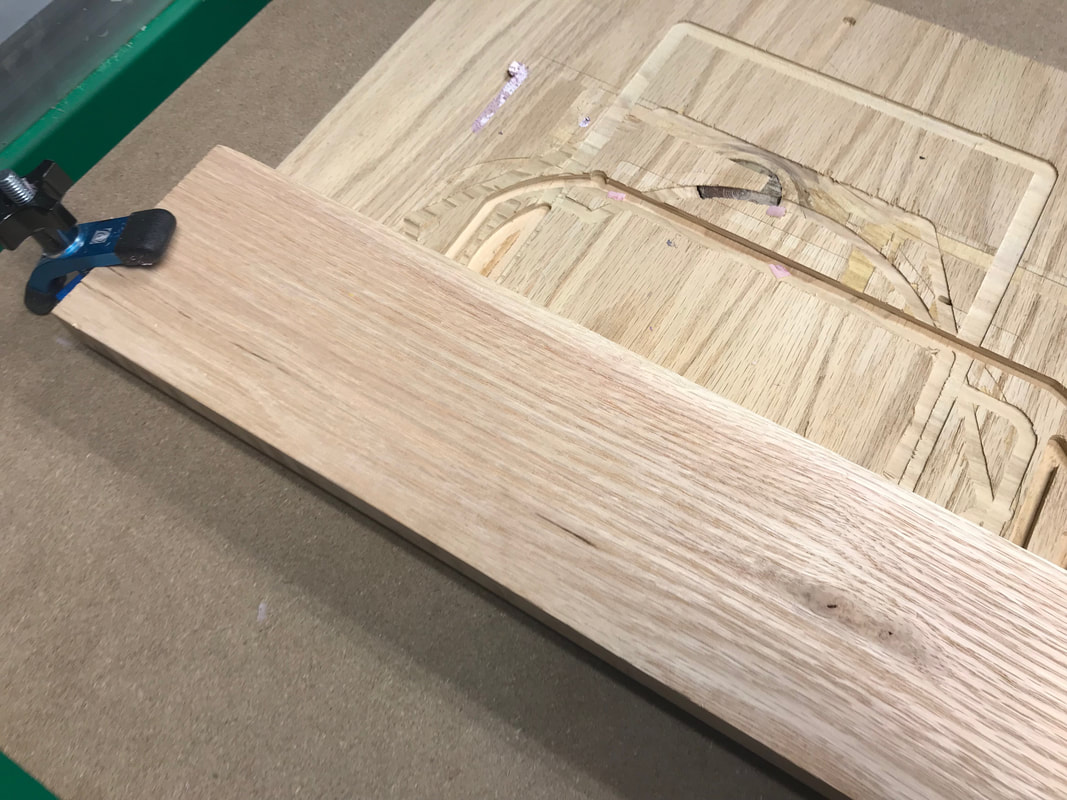
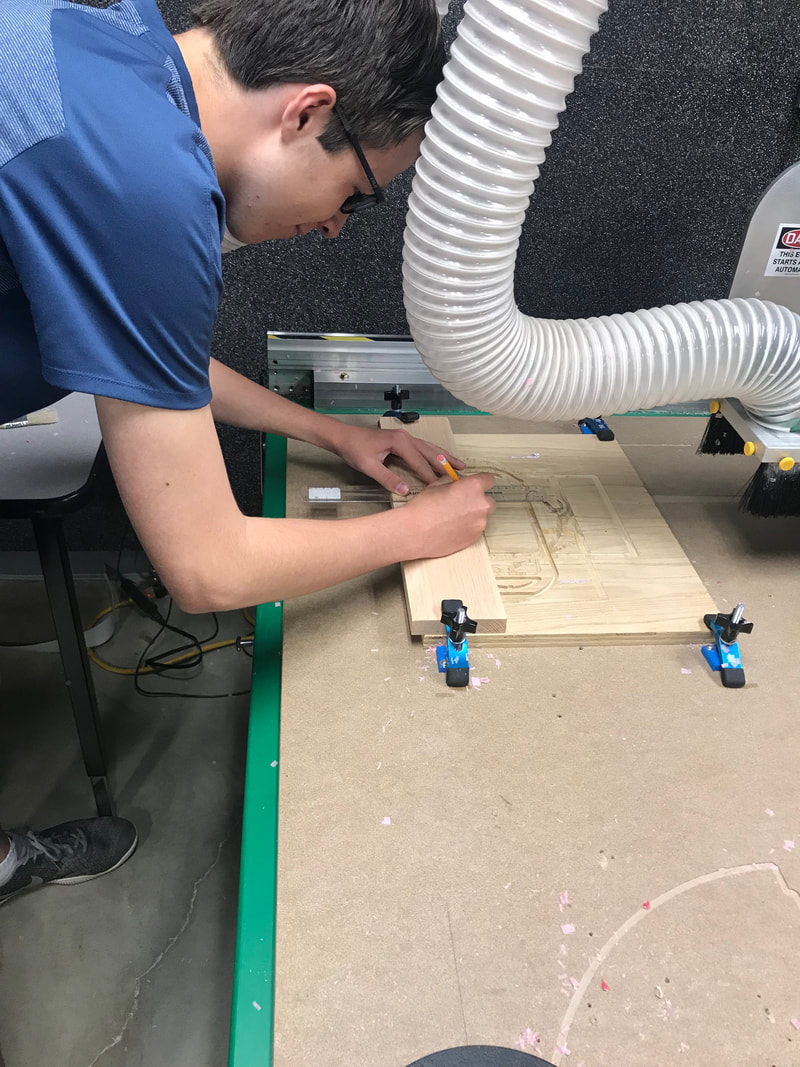
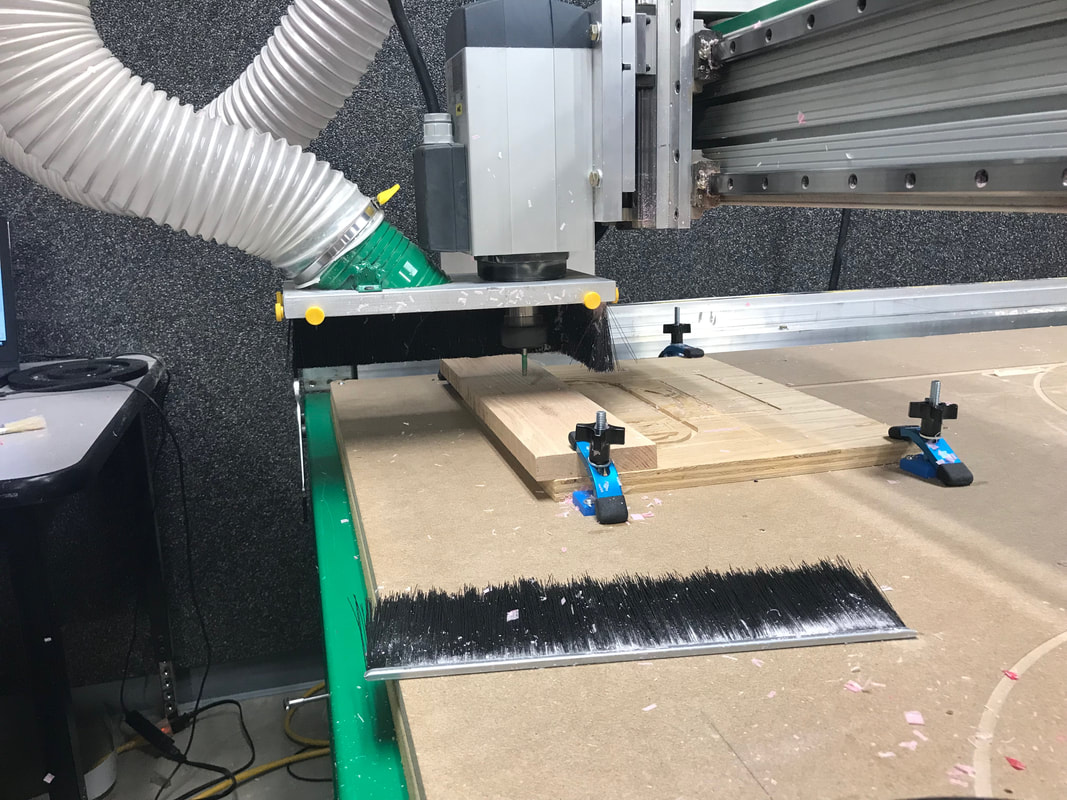
Router

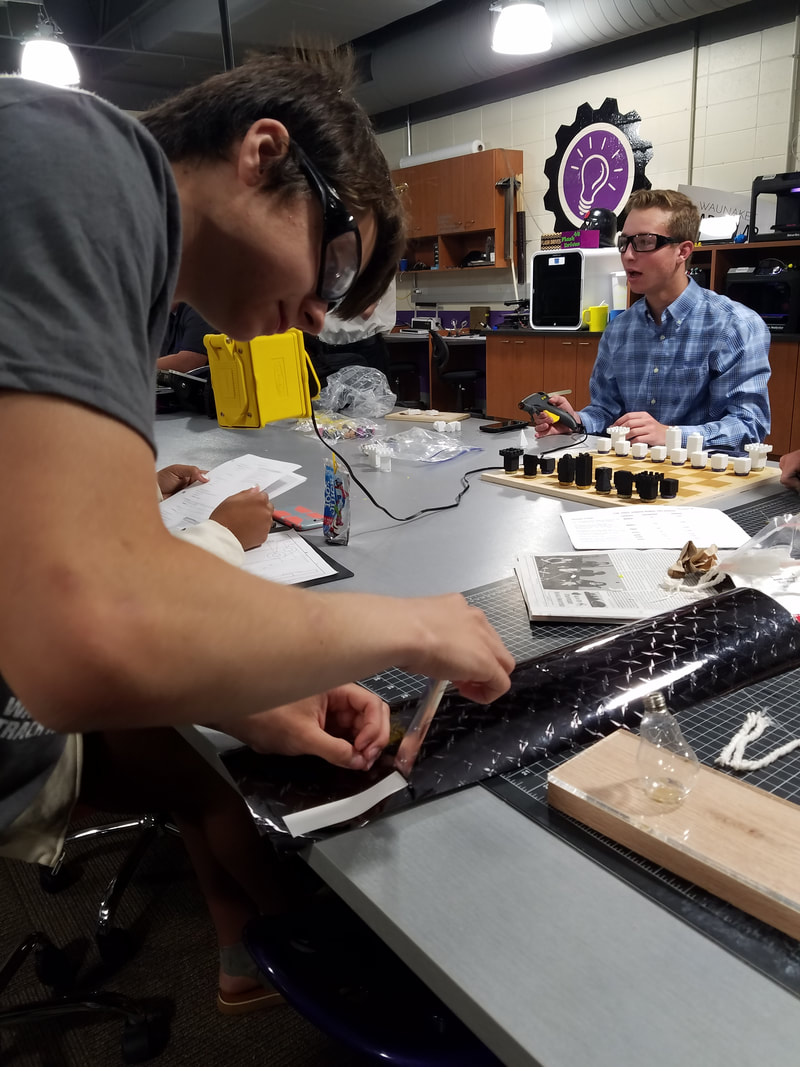
Assembly


Final Design
Final Evaluations
As the culmination of an entire semester of learning and problem solving, this project was a huge step for me. I began the year having no idea what Inventor, Fusion, Illustrator, or even what vinyl was, but I was able to finish the year combining all of the above to make a fluid and honestly pretty cool design. I went from struggling to draw isometric sketches to making a lamp out of vinyl and recycled light bulbs/wood. My CAD skills increased exponentially with the use of Illustrator and fusion, but my creative process was also tested through this process. After the first design was rejected, it was difficult to come up with something new without losing confidence in myself. However, I persevered (a common theme of this class I might add) and was able to successfully submit and create a new project. Overall, this project was priceless in it's technical and real life applications as I will continue to take Engineering classes and pursue a STEM career. Additionally, this project helped build the important life and engineering skills of perseverance, determination, creative thinking, and problem solving.
